
Setting up a station doesn’t have to be complicated. Just think of it as making a cozy little home for these worms where you can observe their activities. You don’t need to be a gardening expert or a scientist; all you need is a bit of curiosity, some basic supplies, and a willingness to learn. Let’s dive into how you can easily create your own earthworm observation station!
Gather Your Supplies
First things first, let’s gather what you need. Building an earthworm observation station doesn’t require a shopping spree at the local hardware store. Here’s a simple list of supplies to get started:
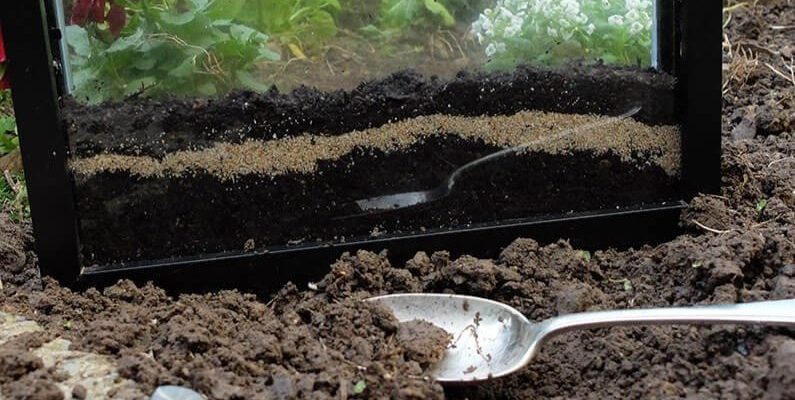
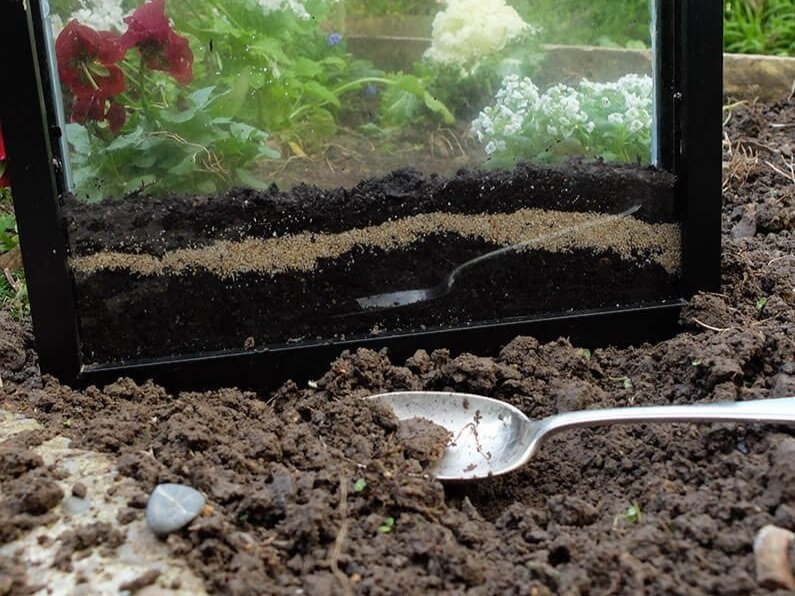
- Container: You’ll need a clear plastic or glass container to observe the worms. Something like a large jar or a small aquarium works perfectly.
- Soil: Grab some garden soil or compost. This gives the worms a place to live and helps mimic their natural habitat.
- Earthworms: You can often find them in your garden or buy them from a local bait shop.
- Moisture: Earthworms love a bit of moisture. You might want to have a spray bottle handy to keep the soil damp.
- Tools: A small shovel or trowel for digging might come in handy.
Now that you know what you need, it’s easier to visualize how to set this all up. It’s like preparing for a little camping trip but for your worms!
Setting Up Your Observation Station
Once you have all your supplies, it’s time to set up your observation station. This part is straightforward and fun. Start by thoroughly cleaning your container to ensure it’s free of chemicals or residues—after all, we want our worms to be happy and healthy.
Next, fill the bottom of the container with about three inches of soil or compost. This depth allows the worms plenty of room to burrow and move around. Remember that earthworms breathe through their skin, so keep the soil moist by lightly spraying it with water. Once the soil is ready, it’s time to introduce your new friends!
Gently place the earthworms into the container. You might be surprised to see how quickly they start exploring their new home. It’s like watching little explorers on an adventure. Make sure to cover the container but keep it well-ventilated—worms thrive best with some air circulation.
Creating the Perfect Environment
Now that your worms have a cozy home, let’s talk about keeping it a suitable environment for them. Here’s the thing: earthworms like it dark, damp, and a bit cool. If your container is in a sunny spot, your worms might not be too happy. Ideally, place it in a shaded area or indoors where they won’t be disturbed.
Monitoring the moisture level is crucial. You can check by feeling the soil—if it’s too dry, give it a little spray. But don’t drown them! Earthworms need air, so don’t let the soil turn into mud. It’s all about balance and learning what works best for your observation station.
You might also want to add some food for your worms. They enjoy scraps of fruit peels, vegetable leftovers, or even paper towels. Just remember to remove any uneaten food after a few days to prevent mold.
Observing Earthworm Behavior
Now comes the exciting part: observation! Grab a notebook or a camera, and start documenting what you see. Here are some interesting behaviors to look for:
– Burrowing: Watch how the worms move through the soil. They’ll push through it as they search for food and create tunnels.
– Feeding: If you provide food scraps, observe how they consume it. Earthworms break down organic matter, which is important for soil health.
– Reproduction: If you’re lucky, you might notice signs of worm reproduction, a fascinating process where they can produce cocoons.
Honestly, it’s mesmerizing to see how active and busy these little creatures are. Keeping track of your observations can help deepen your understanding of how earthworms contribute to the ecosystem.
Common Issues and Solutions
While setting up your earthworm observation station is mostly straightforward, you might run into a few hiccups. Here are some common issues you might face and how to handle them:
– Too Dry Soil: If the soil starts to feel crumbly and dry, simply give it a light spray of water. This will help keep your worms happy and healthy.
– Too Much Food: If you notice mold growing or a strong smell, you may have overfed them. Remove any uneaten scraps promptly to maintain a fresh environment.
– Worm Escape Artists: Sometimes, worms might try to escape if conditions are not right. If that happens, check the moisture and temperature and ensure they’re happy in their home.
By being observant and proactive, you can keep your observation station thriving, allowing you to enjoy this unique experience.
Educational Benefits of Your Observation Station
Building an earthworm observation station isn’t just fun; it also has excellent educational benefits. Here’s why this project is worth your time:
– Understanding Ecosystems: Watching earthworms can teach you about their role in soil health and plant growth. They help decompose organic material, making nutrients available for plants.
– Encouraging Curiosity: This project helps spark interest in biology and environmental science. You might find yourself diving deeper into the world of worms and soil health.
– Hands-On Learning: Nothing beats the hands-on experience of observing living creatures. It reinforces lessons that books just can’t teach.
You might even consider sharing your findings with family or friends. It’s a fun way to engage others in nature and inspire them to care for the environment too.
So there you have it! Building an earthworm observation station is a simple, engaging way to explore the wonders of nature. With just a few supplies and a little creativity, you can create a thriving ecosystem right at home. Remember, it’s all about patience and observation.
As you watch these little creatures do their work, you might find a newfound appreciation for their role in our world. Plus, who knows what other exciting discoveries you’ll make along the way? Happy observing!