
Think of inchworms as nature’s little models. They’re small, often camouflaged, and perfect for practicing your photography skills. With the right approach, you can capture the essence of these charming creatures in their natural habitat. Using a versatile camera like a DSLR or even a smartphone, you can create stunning images that showcase their delicate features and surroundings. So, grab your gear, and let’s dive into the art of photographing inchworms!
Understanding Inchworm Behavior
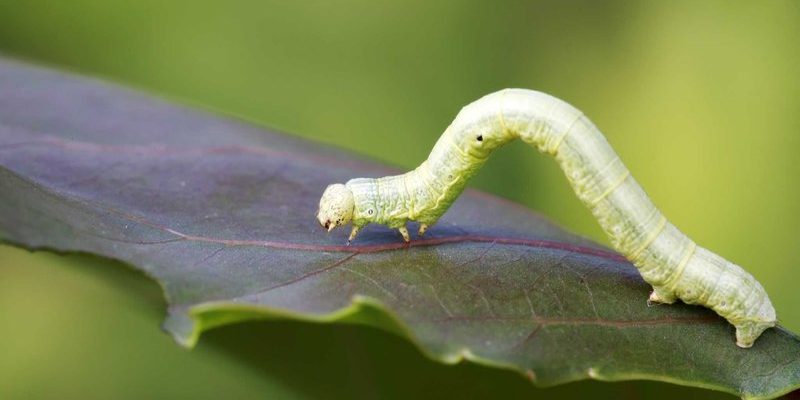
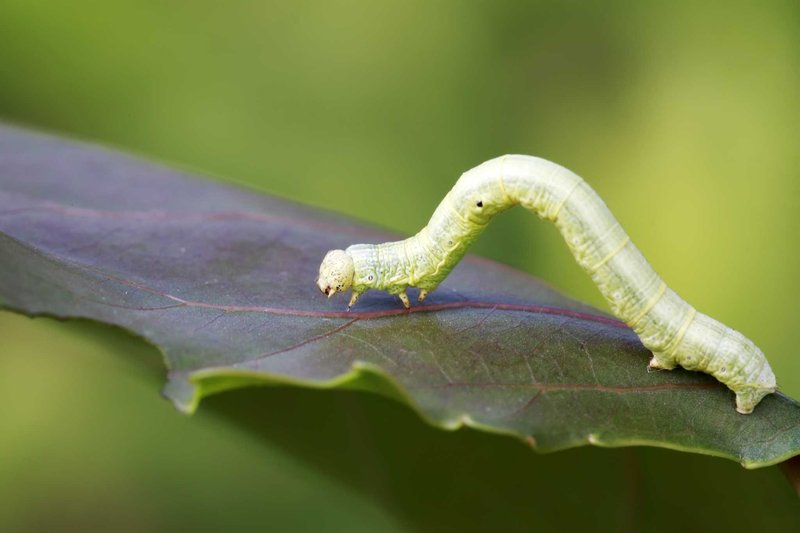
Before you start snapping pictures, it’s helpful to know a bit about inchworm behavior. These little guys are often found hanging out on trees or shrubs, where they blend in seamlessly with the leaves. They have a specific way of moving that involves arching their bodies, which gives them their characteristic “inching” look. This movement is not only fascinating to watch; it also affects how you’ll want to photograph them.
Inchworms typically spend their days munching on leaves, so finding them is often as simple as looking at the leaves of certain trees. They prefer trees like oaks or pines, so keep an eye out when you’re out and about. Camouflaged against the foliage, they can be tricky to spot at first, but once you start looking, you’ll find them inching about.
Understanding their behavior can also help you figure out the best times to photograph them. Early morning or late afternoon is generally the best time, as the light is softer and less harsh. Plus, you’re more likely to see them actively moving around during these times, making it easier to catch those intimate moments.
Choosing the Right Equipment
You don’t need a fancy camera to capture great pictures of inchworms. While a DSLR can give you excellent details, a high-quality smartphone camera can do just as well. Here’s a rundown of what you might consider:
- Camera: A DSLR or mirrorless camera is ideal for precise control over settings, but a smartphone can also be perfect for capturing close-ups.
- Macro Lens: If you’re using a DSLR or mirrorless camera, a macro lens will allow you to get close to your subject and capture all those tiny details.
- Tripod: A tripod can stabilize your shots, especially when you’re working with lower light levels or if you want to take long exposure photos.
- Lighting Tools: A small reflector or a portable LED light can help brighten up your shots without harsh shadows.
Here’s the thing: equipment can enhance your photos, but the most important part is your approach. Focus on composition and lighting, and you’ll get fantastic results even with basic gear.
Finding Inchworms in Their Natural Habitat
Now that you’ve got your equipment sorted, let’s talk about where to find these elusive little creatures. Inchworms are typically found in wooded areas, gardens, or even parks. Look closely at tree branches or under leaves, as they love to hang out in these spots.
You might want to explore trees during early spring or late summer. These times are prime for finding inchworms, as they are most active during the warmer months when leaves are plentiful. If you’re wandering through your neighborhood park or a natural area, look for trees that have fresh, green leaves—these are their favorite dining spots.
When you do find one, take a moment to observe its environment. The background you choose can make a big difference in your photographs. A blurred background helps the inchworm stand out, while a detailed setting can add context and tell a story about its habitat.
Composition and Framing Techniques
Once you locate an inchworm, it’s time to think about composition. You want your photos to tell a story, so consider how to frame your shots. One popular technique is the rule of thirds, which suggests dividing your frame into three equal horizontal and vertical sections. Placing your subject off-center can create a more engaging image.
Another tip is to pay attention to your background. If you’re photographing an inchworm on a branch, make sure the branch isn’t too cluttered or distracting. A clean background helps keep the focus on the inchworm itself. You can experiment with different angles too, getting low to the ground or shooting from above to find the most appealing perspective.
Lighting is another critical element. Natural light works best, so try to shoot during golden hour, just after sunrise or before sunset when the light is softer. If you’re shooting in bright sunlight, consider using a diffuser to soften the light and reduce harsh shadows.
Capturing the Perfect Shot
When it comes to actually taking the photo, patience is key. Inchworms can be quite still, making it easier to capture crisp shots. Here are a few tips to keep in mind as you click away:
1. Focus on the Eyes: If you can, try to get a close-up shot where the eyes are in sharp focus. This draws attention and can give the viewer a sense of connection with the creature.
2. Use Continuous Shooting Mode: If you’re not sure when the inchworm will move, using burst mode can help you capture multiple frames in quick succession. This is especially useful if the inchworm decides to take a little leap!
3. Be Respectful: Remember, you’re in their home! Keep your distance and avoid disturbing them too much. You want to capture them in their natural behavior, not stress them out.
Let me explain; while it’s tempting to get as close as possible for detailed shots, sometimes stepping back will result in more beautiful compositions that show how the inchworm fits into its environment.
Editing Your Photos for Impact
After you’ve captured some great shots, the last step is editing. You don’t need fancy software; free tools like GIMP or smartphone apps can do wonders. Here’s what you might want to focus on during editing:
– Adjust Exposure: Sometimes your photos may end up looking a bit dark. Tweaking the exposure can brighten things up and bring out those vibrant colors.
– Crop for Composition: If you didn’t get the framing just right in-camera, cropping can help you better align your shot with the rule of thirds or eliminate distractions.
– Enhance Colors: Boosting saturation slightly can make the greens of the leaves and the inchworm pop, adding visual interest.
Editing is your chance to add your personal touch and take your photos from good to amazing. Less is often more, so be careful not to overdo it.
Sharing Your Inchworm Photography
Once you’ve edited your photos, it’s time to share them! Social media platforms like Instagram, Facebook, or dedicated photography forums are great places to showcase your work. People love nature photography, and sharing your inchworm captures can inspire others to appreciate these little critters too.
Consider tagging relevant hashtags like
Remember, sharing isn’t just about showcasing; it’s also about engaging. Encourage your friends and followers to look for inchworms in their own backyards. You could even start a conversation about their experiences or tips for photographing wildlife.
Capturing inchworms in their natural habitat can be a delightful and fulfilling experience. Trust me, once you see these tiny creatures through your lens, you’ll gain a deeper appreciation for nature’s wonders.
As you embark on your inchworm photography journey, keep your eyes peeled, be patient, and enjoy the process. You’re not just taking pictures; you’re telling a story about a moment in nature that might otherwise go unnoticed. Happy shooting!