
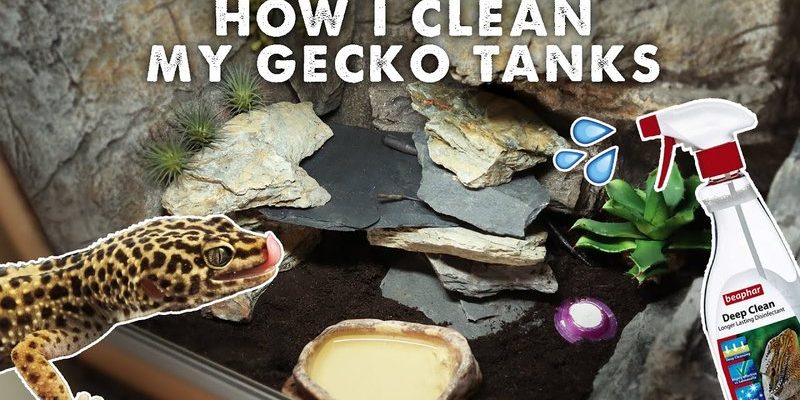
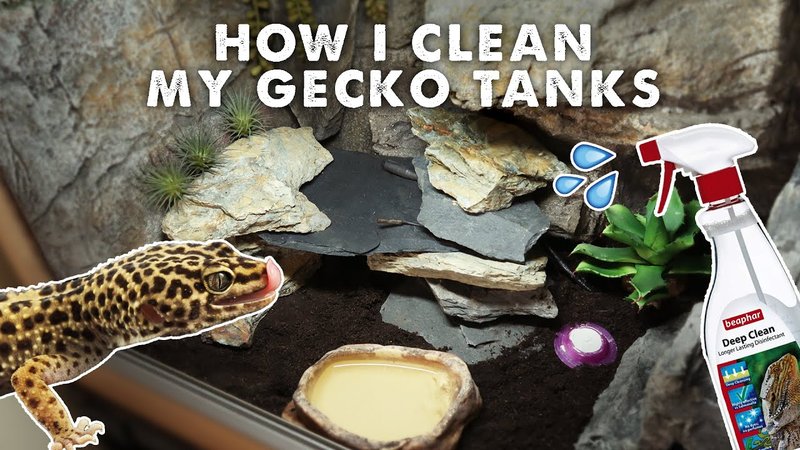
Imagine your gecko lounging on a rock, basking under a heat lamp. Now, picture that same rock covered in uneaten food and grungy substrate. Not so pleasant, right? Regular cleaning ensures a safe space for your gecko to eat, sleep, and explore. In this step-by-step guide, we’ll dive into everything you need to know about cleaning your leopard gecko tank efficiently, from the basics to the nitty-gritty details.
Gather Your Cleaning Supplies
Before you jump into cleaning your gecko’s tank, it’s essential to gather the right supplies. Having everything on hand makes the process smoother and less time-consuming. Here’s a list of what you’ll need:
- Non-toxic cleaner: Look for an all-natural, reptile-safe cleaner. You can also use diluted vinegar as a natural alternative.
- Paper towels: Great for wiping surfaces and absorbing any spills.
- Soft scrub brush: Ideal for tough spots without scratching surfaces.
- Small container: For temporarily housing your gecko while you clean.
- Fresh substrate: You’ll want to replace the old substrate with new, clean material.
- Gloves: Optional but useful for protecting your hands from any mess.
Gathering your supplies might feel a bit like packing for a trip—make sure you’ve got everything you need, so you’re not running around looking for items when you should be focusing on cleaning.
Remove Your Leopard Gecko
Before you start scrubbing, it’s time to safely remove your leopard gecko from the tank. You want to create a calm environment and prevent any stress for your little buddy. Gently pick up your gecko by supporting its body with both hands. If your gecko seems anxious or wriggly, a small container can help. Place it in a secure, comfortable space away from the cleaning area.
While you’re at it, take a moment to observe your gecko. Does it look healthy? Check its skin for any unusual changes, like discoloration or lesions. This could be a good time to observe any behavioral patterns or preferences before you dive into cleaning.
Empty the Tank
Now that your gecko is safely set aside, it’s time to empty the tank. Start by removing all decorative items like rocks, hides, and water dishes. You want to clear the tank of everything that could trap dirt or bacteria.
Once the decorations are out, it’s a good opportunity to check for any broken pieces or items that might need a good wash. Wash them with the non-toxic cleaner or safe diluted vinegar solution. Rinse them thoroughly with water to ensure no cleaning residue remains.
Also, don’t forget to replace the water in the dish, and make sure it’s clean and fresh. Once you’re done, the tank should be cleared and ready for a deep clean.
Clean the Tank Surfaces
With the tank empty, it’s time to tackle the surfaces. Spray a small amount of your non-toxic cleaner onto the tank walls and bottom. If you’re using vinegar, mix equal parts vinegar and water for a quick solution.
Let it sit for a few minutes—this helps break down any grime or bacteria. Then, using your soft scrub brush or paper towels, gently scrub the surfaces. Pay extra attention to corners and edges where dirt may accumulate.
After scrubbing, rinse thoroughly with water to ensure no cleaner or vinegar residue remains. A clean tank means a safe habitat for your gecko and helps control odors, creating a pleasant atmosphere both for you and your pet.
Replace the Substrate
Next up is replacing the substrate. This is important because it helps absorb waste and can often become dirty over time. Depending on what you’re using—sand, paper towels, or coconut fiber—removal might vary.
Carefully scoop out the old substrate and dispose of it. If you’re using a reusable substrate, clean it according to manufacturer instructions. When you’re ready, add new substrate to the tank, spreading it evenly across the bottom.
Make sure the depth is suitable for your gecko, allowing it to dig and explore as it prefers. A clean and fresh substrate gives your gecko a comfy space that mimics its natural habitat and keeps it healthy.
Reassemble the Tank
Once everything is clean, it’s time to put your tank back together. Start by placing the decorations and hides back in their original spots or rearranging them for a fresh look. Your gecko might enjoy the new layout!
Make sure the water dish is securely placed and filled with fresh water. Double-check that everything is adequately cleaned and that there are no edges or sharp points that could harm your gecko.
Once everything is set, gently place your leopard gecko back into the tank. Give them a moment to acclimate to their newly cleaned environment. Watching them explore is one of the most rewarding parts of tank maintenance!
Regular Cleaning Schedule
Keeping your leopard gecko’s tank clean isn’t a one-time job; it requires regular maintenance to ensure a healthy environment. Here’s a simple schedule to follow:
- Daily: Spot clean any waste or uneaten food.
- Weekly: Perform a thorough clean of the tank surfaces and replace water.
- Monthly: Replace the substrate and deep clean all decorations.
By following a regular cleaning schedule, you’ll not only maintain a healthy habitat for your gecko but also make the cleaning process much easier. Plus, it will give you peace of mind knowing your pet is thriving in a clean environment.
Final Thoughts: A Happy Gecko is a Clean Gecko
Cleaning your leopard gecko tank might seem like a chore, but it’s an essential part of being a responsible pet owner. By integrating cleaning into a regular routine, you ensure your gecko has a safe, comfortable habitat to call home.
Remember, maintaining cleanliness is not just about aesthetics; it’s about your gecko’s health and happiness. With a few steps and the right supplies, you can create an environment that allows your little friend to thrive. Plus, isn’t it rewarding to see them exploring a freshly cleaned space? Happy cleaning!