
Imagine you’re sipping coffee at your favorite café, and your friend starts sharing how they’re raising silkworms in their living room. You can’t help but lean in, intrigued by the idea of tiny caterpillars munching on mulberry leaves, shedding their skin, and eventually spinning cocoons. If you’re thinking about doing this yourself, knowing how to monitor the molting stages can make all the difference between success and frustration.
Let’s break it down into bite-sized pieces, so you can grasp the essentials without feeling overwhelmed. We’ll look at the stages of molting, signs to watch for, and tips for ensuring your silkworms thrive during this important period in their life cycle.
Understanding Silkworm Life Stages
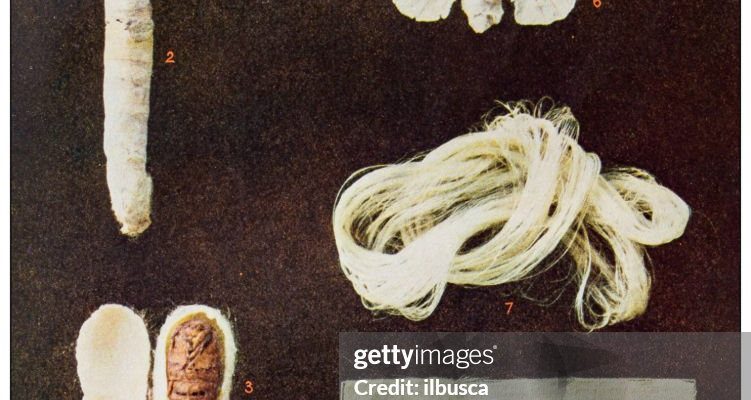
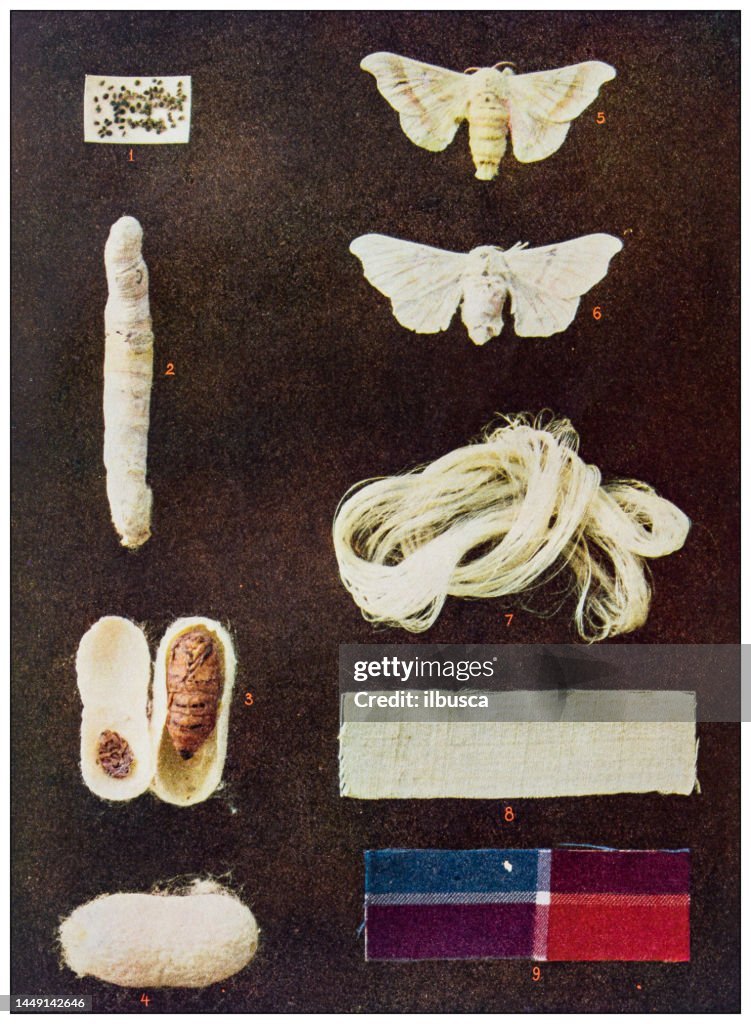
Silkworms go through several distinct life stages: egg, larva, pupa, and adult. The larval stage, which is where molting happens, is the most dynamic. After hatching from eggs, the tiny larvae (or caterpillars) are about the size of a grain of rice. They quickly grow in size as they munch on mulberry leaves.
During their growth, silkworms will molt several times—usually around four to five times—before they become pupae. Each time they shed their skin, they enter a new stage called an instar. Think of it as kids going through different grades in school. After each grade, they grow a bit and are ready for the next big leap.
Understanding these stages can help you monitor your silkworms more effectively. If you know what to expect, you can ensure they have the right environment and care at each phase of their life.
What Are the Molting Stages?
The molting process consists of a series of phases that silkworms undergo. Here’s a closer look at each stage, which can be broken down into five distinct instars:
1. First Instar: After hatching, the silkworms are in their first instar. They are very small and fragile, needing a constant supply of fresh mulberry leaves.
2. Second Instar: Once they have outgrown their first skin, usually after about 3 days, they will molt. This second stage is critical as they grow larger and need more food.
3. Third Instar: This rapid growth continues. You might notice that they become more active. This stage lasts about 4-5 days, and they’ll typically eat more during this time.
4. Fourth Instar: The fourth instar is where they really bulk up. This stage can last around 5-7 days. You’ll know they’re ready to molt when they start to slow down, looking for a calm place.
5. Fifth Instar: Finally, they reach the last larval stage. This is usually the longest, lasting about 7-10 days. Once they have molted for the last time, they’re ready to spin cocoons and become pupae.
Each of these instars requires careful observation since proper nutrition and environment can influence their health and growth.
Signs Your Silkworms Are About to Molt
Watching for signs that your silkworms are ready to molt can save you a lot of trouble. Here are some common indicators:
– Lethargic Behavior: If your silkworms seem sluggish or are spending more time in one place, it might be a sign they’re preparing to shed. This is normal as they tend to slow down before the molt.
– Skin Color Changes: You might notice changes in skin color, usually becoming slightly transparent. This is a clear indicator that they’re preparing to shed.
– Hiding: Silkworms might seek out darker or more secluded spots before they molt. Make sure they have a safe space to do this.
– Refusal to Eat: If they suddenly stop munching on the mulberry leaves, they might be getting ready for the big change. They often won’t eat right before they shed.
Being attentive to these signs allows you to provide the best care during this critical period.
Creating the Ideal Environment for Molting
The right environment can significantly impact how well your silkworms manage each molting phase. Here are some tips to create the best space for them:
– Humidity Levels: Silkworms prefer a humid environment. Keep humidity levels between 60% to 80% to prevent dehydration while they’re molting. A simple way to do this is by misting the area lightly.
– Temperature Control: Ideal temperatures range from 65°F to 80°F (18°C to 27°C). Keeping them too hot or too cold can stress them out and affect molting.
– Cleanliness: Regularly clean their habitat to prevent any fungal infections or disease. This includes removing uneaten food and old skin after they molt.
– Space to Roam: Ensure they have enough room to move around. Crowded conditions can lead to stress and hinder their molting process.
By keeping these factors in check, you’ll help your silkworms thrive, which translates to a higher survival rate and better silk production later on.
Common Issues During Molting and Troubleshooting
Even with the best care, you might encounter some issues during the molting stages. Here are a few common problems and how to handle them:
– Stuck in the Old Skin: Sometimes, silkworms can get stuck in their old skin, especially if humidity levels are too low. If you notice this, you might need to help them gently. Moisten the area they’re stuck in with water to aid in the shedding process.
– Dehydration: If your silkworms are becoming dry or leathery, increase the humidity in their environment. Add a small water dish or mist them lightly, making sure you don’t oversaturate their habitat.
– Disease Symptoms: Look for signs of disease like discolored skin or lethargy. If you suspect illness, quarantine affected worms and consult reputable resources for treatment options.
Addressing these issues quickly can prevent them from escalating and save your silkworms from unnecessary stress.
The Importance of Monitoring Molting Stages
So, why does all this monitoring matter? Well, keeping a close watch on the molting stages of your silkworms ensures they stay healthy and grow optimally. A happy silkworm is one that thrives, spins strong cocoons, and ultimately produces quality silk.
Plus, understanding their growth patterns helps you better anticipate their needs. You become more attuned to their habits, and this can improve their overall care. Think of it as building a relationship; the more you know about them, the better you can provide.
With every stage of molting, you’ll grow alongside your silkworms, honing your skills as a caretaker. It becomes a rewarding experience that teaches patience and care.
Monitoring silkworm molting stages is an essential skill for anyone looking to raise these fascinating creatures. By understanding their life cycle, recognizing the signs of molting, and creating an ideal environment, you can give your silkworms the best chance at thriving.
Remember, every small detail matters—from humidity levels to their feeding habits. Keeping an eye on these factors ensures that your silkworms grow strong and healthy. Honestly, watching them transform can be incredibly rewarding and a bit magical, too. So, grab your mulberry leaves, settle in, and enjoy this journey with your silkworms!