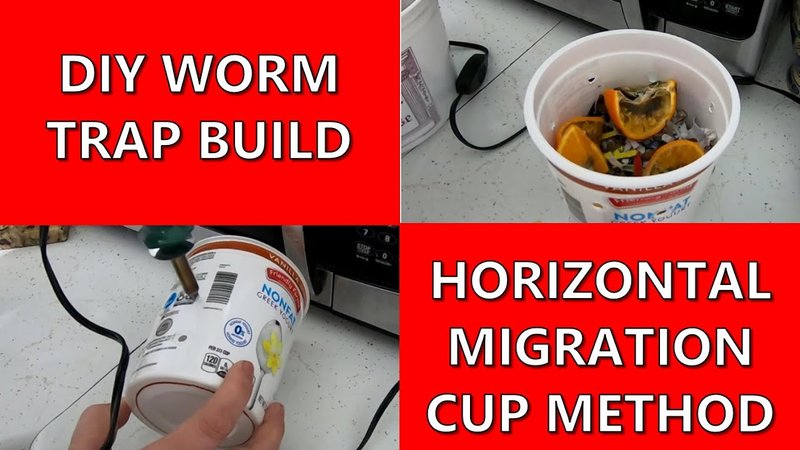
Creating your own tools to combat hammerhead worms is both rewarding and effective. The best part? You don’t need a PhD in entomology to get started! With a few simple materials and a pinch of creativity, you can whip up some traps and baits in no time. In this article, we’re going to chat about the best DIY methods for trapping these pesky worms and the types of baits that can lure them in. Let’s dive into this worm-wrangling adventure together!
What Are Hammerhead Worms?
Before we get into building traps and baits, let’s take a closer look at what hammerhead worms are. These creatures belong to the Planariidae family and are often recognized by their distinctive hammer-shaped heads. They come in different colors, ranging from brown to black, and can grow quite long—some reaching up to 12 inches or more!
You might be wondering, “What’s the big deal about these worms?” Well, aside from their odd appearance, hammerhead worms are known for being voracious predators. They feast on earthworms and other beneficial soil organisms, disrupting your garden ecosystem. This makes it crucial to keep their population in check, especially if you’re passionate about having a thriving garden.
An interesting fact about hammerhead worms is that they can regenerate. If you cut one in half, it doesn’t just die; it can actually grow back into two separate worms! This makes getting rid of them a little trickier than standard pests. So, understanding how they work is key to trapping them effectively.
Why Use DIY Traps and Baits?
You might be wondering why you’d want to go the DIY route instead of just buying commercial traps. For starters, DIY traps are often way more affordable. You can use items you probably already have at home, which saves you a trip to the store. Plus, it can be a fun project! There’s something satisfying about crafting a solution yourself, right?
Another perk of using DIY methods is that you can customize your traps. If one method doesn’t seem to work, you can tweak it until you find something that does. This flexibility allows you to be more in tune with the specific hammerhead worm problem in your garden.
Lastly, DIY traps are often more environmentally friendly. Many commercial products contain chemicals that can harm beneficial insects and pollinators. By creating your own traps and baits, you can avoid those harmful substances while still effectively tackling the worm issue.
Materials You’ll Need for Traps
Creating your own traps doesn’t require a science degree or fancy gadgets. Here’s a simple list of materials you might need:
- Plastic containers: Old food containers or yogurt cups work great!
- Water: This will be the base for drowning the worms.
- Bait: Common options include meat scraps, fish, or even fruit peels.
- Cardboard: You can use this to make traps that will lure in the worms.
- Soil: A bit of dirt can be useful in some trap designs.
Gather these materials, and you’re well on your way to building your hammerhead worm traps. The great thing is, you can usually find these items around your house, so there’s no need to spend extra cash.
DIY Trap Ideas for Hammerhead Worms
Let’s get into some of the DIY trap methods that can help you catch these unwanted guests. Each trap has its strengths, so you might want to experiment to see which one works best for your garden. Here are a couple of effective options:
Water Trap
A simple water trap can be made using your plastic containers. Here’s how:
1. Find a plastic container: Choose something deep enough to prevent the worms from climbing out.
2. Add water: Fill the container with about 2-3 inches of water.
3. Add bait: Throw in some meat scraps or fish byproducts to attract the worms.
4. Place outdoors: Set the trap in a shady area of your garden, preferably where you’ve noticed hammerhead worms before.
The worms will be lured in by the scent of the bait and will struggle to escape once they fall in. Just check your trap regularly and dispose of any captured worms responsibly.
Cardboard Trap
If you prefer a trap that doesn’t involve water, this cardboard method can work wonders:
1. Grab some cardboard: Cut a piece of cardboard to fit the area of your garden where you see these worms.
2. Soak it: Dampen the cardboard with water to make it more appealing.
3. Use bait: Add a layer of fish scraps or other protein-rich bait on top of the soaked cardboard.
4. Leave it overnight: Place the cardboard flat on the soil, and check it in the morning.
The hammerhead worms will be attracted to the moisture and the bait, making it easy for you to spot them the next day.
Best Baits for Hammerhead Worms
Using the right bait can significantly increase your success when trapping hammerhead worms. You want something they can’t resist. Here are a few bait options that tend to work well:
- Fish scraps: Hammerhead worms are predators, and they love the scent of rotting fish.
- Meat scraps: Old bits of chicken or beef can attract them just as effectively.
- Fruit peels: While not their first choice, ripe or rotting fruit can still tempt them.
- Earthworms: If you’ve noticed them in your compost, they could serve as bait to lure in the hammerheads.
Make sure to replace the bait regularly. Nothing’s more frustrating than checking a trap that’s been empty for days, right? Fresh bait will keep the lure strong and maintain your chances of capturing more worms.
How to Dispose of Captured Worms
Once you’ve trapped some hammerhead worms, it’s crucial to dispose of them properly. While it might be tempting to just toss them anywhere, responsible disposal helps prevent them from returning. Here’s what you can do:
1. Release them far from your garden: If you have a suitable spot away from your plants, consider relocating the worms there.
2. Composting: If you’re into composting, ensure the worms won’t bother your beneficial soil organisms. Some folks add them to hot compost piles, where they’ll break down and contribute to nutrient-rich soil.
3. Freezing: An effective and humane method is to freeze the worms in a bag. This will quickly and humanely kill them, and you won’t have to deal with their wriggling anymore.
Whichever method you choose, make sure to follow through so they don’t come creeping back into your garden.
Final Thoughts on DIY Traps and Baits for Hammerhead Worms
Tackling hammerhead worms in your yard doesn’t have to be a daunting task. With a little creativity and some everyday materials, you can whip up effective DIY traps and baits that get the job done. Remember, the key is to be patient and persistent. Experimenting with different traps and baits will lead you to the best solution for your garden.
By taking the time to understand these peculiar worms and how they function, you’re already a step ahead in your gardening game. So, roll up those sleeves, gather your materials, and get ready to reclaim your garden from these uninvited guests! Happy trapping!

