
You might be wondering, “Is shearing really that important?” Yes! Not only does it keep the alpaca comfortable, but it also helps prevent health issues related to overheating or skin irritation. And with the right tools and techniques, the process can be quite smooth—not to mention beneficial for both the alpaca and the shearer. So, let’s break it down.
Why Shear an Alpaca?
Shearing an alpaca isn’t just a fluffy haircut; it has several important benefits. First and foremost, it helps keep the alpaca cool during warmer months. Alpacas have dense fleece that can trap heat, and if they aren’t sheared, they might struggle in the heat, much like you would in a thick winter coat on a summer day.
Additionally, regular shearing helps to prevent issues like fleece matting and skin infections. When an alpaca’s fleece gets too long, it can become dirty and tangled, making it harder for them to stay clean and can even harbor parasites. Think of it as a spring cleaning for their coat. Keeping their fleece in check is crucial for their health and well-being.
Shearing also provides an opportunity for you to inspect the alpaca’s skin and overall condition. It’s like a wellness check, where you can spot any potential issues. Plus, the sheared fleece can be harvested and sold or used for crafting, providing another layer of value.
When is the Best Time to Shear an Alpaca?
Timing is essential when it comes to shearing an alpaca. The best time is typically in the spring, just before the hottest summer months. This helps in two ways: it ensures the alpaca isn’t overheated and gives you a chance to harvest the fleece before it gets too dirty.
You might want to avoid shearing too late in the spring, as this can leave the alpacas vulnerable to heat stress when temperatures rise. On the flip side, shearing too early can expose them to cold weather, which can also lead to health issues. So, keeping an eye on the weather and temperatures can make a world of difference.
Another factor to consider is the age and health of the alpaca. If you have a young or older alpaca, it might need a slightly different shearing schedule or technique to ensure it’s comfortable and safe.
Essential Tools for Shearing Alpacas
Having the right tools can make a huge difference in how smoothly the shearing process goes. Here’s a handy list of must-have tools:
- Shearing Clippers: Invest in quality clippers that are designed for animals. A popular choice is the Heiniger Saphir, which is lightweight and easy to handle.
- Shearing Handpieces: A good handpiece ensures that you can maneuver easily around the alpaca.
- Brushes: Before you shear, give the fleece a good brush to remove dirt and debris.
- Protective Gear: Wearing gloves and a face mask can help protect you from dust and allergens.
- First Aid Kit: Always be prepared for minor accidents, like a scraped hoof or a small cut.
Having these tools ready can make the shearing session not just more efficient, but safer and more comfortable for your alpaca.
Steps to Properly Shear an Alpaca
Now that you know the why and when, let’s go through how to shear an alpaca step by step. Don’t worry, it’s not as complicated as it sounds!
1. Get the Alpaca Comfortable: Start by calming the alpaca down. You can do this by speaking softly and gently stroking it. If the alpaca is nervous, it may not stand still for you.
2. Positioning: Once calm, position the alpaca properly. You can either have it standing or lying down, but make sure it’s stable. Many people find that having it sit on its rear end is the most manageable position.
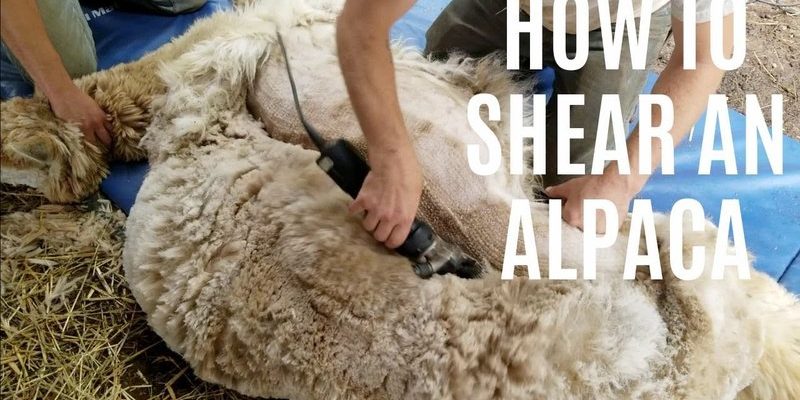
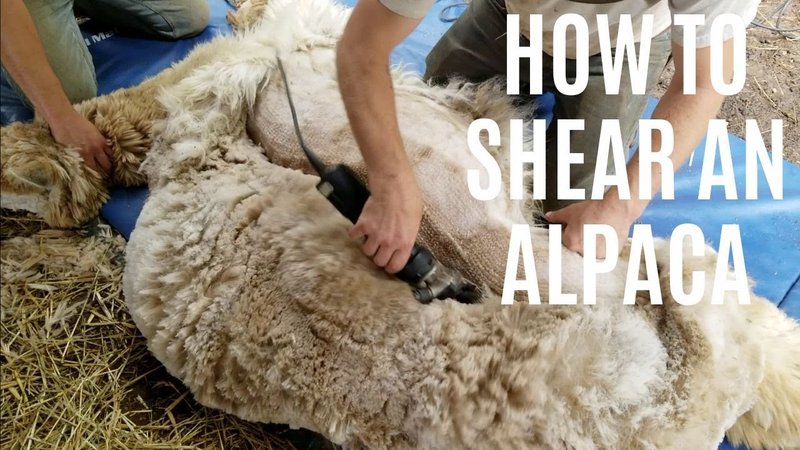
3. Start Shearing: Begin at the neck and work your way down the body. Move the clippers in the direction of the fleece growth—this means from the neck to the tail, and from the legs upwards. Be gentle and take your time to avoid hurting the alpaca.
4. Check for Cuts: As you shear, regularly check the skin for any cuts or irritations. If you spot any, treat them with a bit of antiseptic to prevent infection.
5. Collect the Fleece: As you shear, collect the fleece in a bin or on a clean tarp. Keep it free of dirt and contaminants—this makes it easier to process later.
6. Aftercare: After shearing, check the alpaca for any signs of stress or discomfort. If it seems uneasy, give it some time to relax before putting it back with the others.
Common Problems and Solutions
Shearing sounds straightforward, but there can be a few hiccups along the way. Here are some common problems you might face, along with solutions:
– Nervous Alpaca: If your alpaca is overly anxious, consider introducing it to the shearing area a few days in advance. Familiarity can help ease its stress.
– Dull Blades: If you notice you’re pulling the fleece rather than cutting it, it’s time to sharpen or replace your blades. Dull blades can lead to injuries—not just for the alpaca but for you too!
– Fleece Matting: If the fleece has become matted over time, you might have to spend extra time brushing it out before shearing. Take it slow—this is all about making the process less stressful for both of you.
After Shearing: Post-Care Considerations
Once the shearing is done, you might think your job is over, but not quite yet! There are a few important steps to take to ensure the alpaca remains healthy and happy.
– Provide Shade: After shearing, the alpaca needs some relief from the sun. Make sure it has a shaded area to cool off, especially if the weather is warm.
– Hydration: Ensure that fresh water is available. Just like us, alpacas can get a bit thirsty after a good grooming session.
– Monitor: Keep an eye on your alpaca for the next few days. Watch for any signs of distress or infection in the skin where the fleece was removed. If you see anything unusual, be prepared to consult a vet.
Shearing an alpaca can seem daunting at first, but with the right knowledge and tools, it becomes a rewarding experience. You’re not just helping your furry friend stay comfortable; you’re also contributing to its health and well-being. Plus, you get that lovely fleece—talk about a win-win!