
Think of this station as a window to the underground. Just as a telescope lets you explore the stars, an observation station allows you to peek into the life of these important soil dwellers. And the best part? You don’t need fancy equipment or complicated setups. With a few simple materials, you can create a home for worms that also serves as your personal observation deck.
Let’s dive into how to build this worm haven!
Gathering Materials for Your Earthworm Observation Station
Before you get your hands dirty, you’ll need to gather some materials. Here’s what you’ll need:
- Container: A clear plastic or glass container works great. Think of a large jar or an aquarium if you want to go big.
- Soil: Healthy, organic soil is key. This will provide a habitat similar to what worms enjoy underground.
- Earthworms: You can find these in your yard or purchase them from a local bait shop or garden center.
- Gravel or Sand: For drainage at the bottom of your container, helping prevent water from accumulating.
- Vegetable Scraps: Worms love to munch on old fruits and vegetables, so gather some non-citrus scraps for food.
Honestly, gathering your materials can be an adventure in itself. On a sunny day, head outside with a shovel and see what worms you can find. It’s a little like treasure hunting and can be quite the experience, especially if you have kids joining you!
Setting Up Your Observation Station
Once you’ve got your materials, it’s time to set up. Here’s how to create a cozy home for your earthworms:
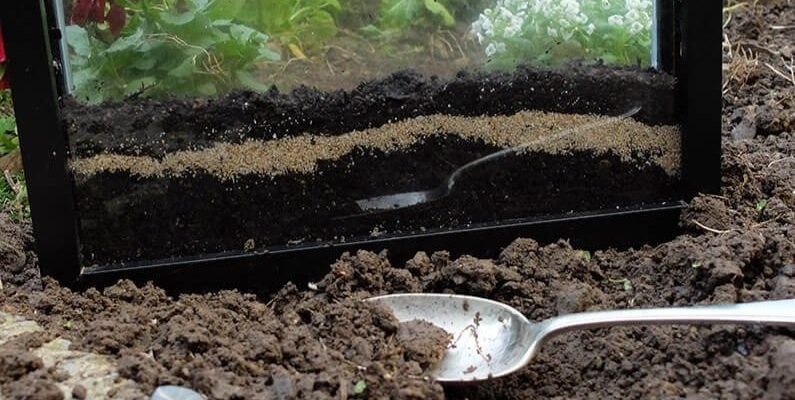
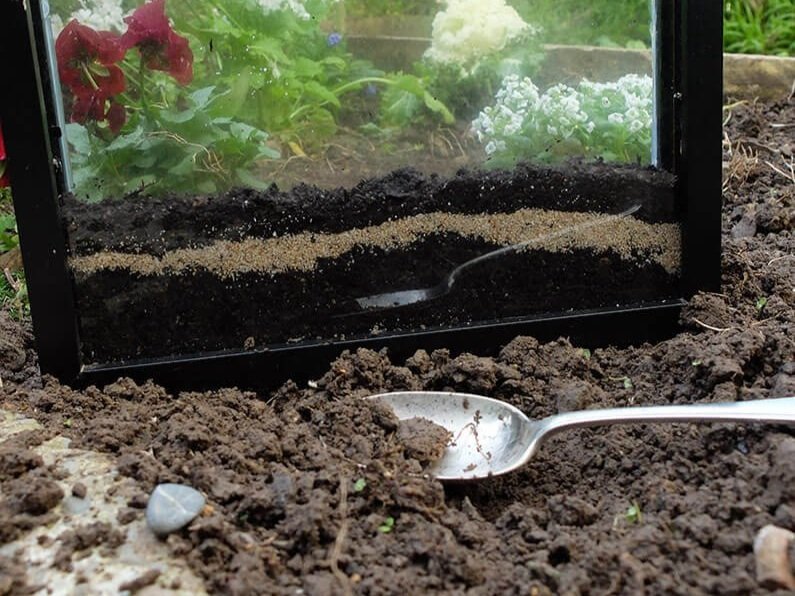
1. Start with drainage: Add a layer of gravel or sand at the bottom of your container. This will keep excess moisture from building up and creating a soggy environment, which worms don’t like.
2. Layer the soil: Pour in the organic soil on top of the gravel. Aim for about 4–6 inches deep, giving the worms plenty of space to wiggle around.
3. Introduce the worms: Gently release your earthworms into the soil. They’ll start burrowing and exploring their new digs immediately.
4. Feed them: Toss in some vegetable scraps, and make sure not to overfeed them. A little goes a long way, and this will keep the environment balanced.
By now, your earthworm observation station should be taking shape nicely! You might be wondering how to keep the worms happy. Here’s the thing: they need moisture, so be sure to occasionally mist the soil with water.
Observation Techniques to Use
Now that your station is set up, it’s time for the fun part: observing! Here are some ways to watch your worms in action:
- Daily Check-Ins: Spend a few minutes each day observing their behavior. Watch how they move through the soil – it’s pretty fascinating!
- On a Sheet of Paper: If you want a closer look, gently lift a worm out and place it on a damp paper towel. You can examine its skin and movement without harm.
- Time-Lapse Videos: Set up a camera to capture their activity over hours or days. Watching them burrow will give you a whole new perspective on these creatures.
You might find it surprising how wriggly and busy they can be! Earthworms are often more active than we realize, and they play such a vital role in breaking down organic matter.
Learning About Worm Behavior
Understanding earthworm behavior can bring a new layer of enjoyment to your observations. Here are some interesting facts you can look for while observing:
– Nocturnal Nature: Earthworms are primarily active during the night. You may notice more movement when checking on them after sunset.
– Social Creatures: Earthworms often prefer to hang out with their buddies. If you see them bunched up together, they’re just being social!
– Regeneration: Worms can regenerate lost segments of their bodies. Observing how they adapt and heal can teach you about resilience in nature.
As you study them, feel free to take notes or draw sketches of your findings. You might even discover new things about their habits, creating your own little science project.
Common Challenges and Troubleshooting
Every project has its hiccups, and your earthworm observation station is no exception. Here are a couple of challenges you might face and how to solve them:
– Worms Escaping: If your worms are trying to escape, it could mean the environment is too dry or uncomfortable. Check the soil moisture levels and ensure they’re kept damp—not soaking wet.
– Smelly Soil: If you notice an unpleasant odor coming from the soil, that might be a sign of overfeeding. Cut back on the scraps and make sure the soil is well-aerated.
– Too Few Worms: If your worms seem to be disappearing, it’s crucial to check if they have enough food and moisture. A healthy environment is key to keeping them happy.
These troubleshooting tips can save you a headache and help your observation station thrive. Remember, patience is key when observing nature!
Expanding Your Earthworm Project
Once you’re comfortable with your earthworm observation station, you might want to expand the project further. Here are a few ideas:
– Worm Bin: If you enjoy this setup, consider creating a larger worm bin for composting. You’ll not only observe worms but also create nutrient-rich compost for your garden.
– Learning About Other Soil Dwellers: Incorporate other creatures, such as pill bugs or ants, into your observation station to broaden your understanding of soil ecosystems.
– Science Experiments: Conduct simple experiments, like testing how different types of soil affect worm movement or their preference for food. Document your findings, and you might even discover something new!
By growing your project, you’re not only enhancing your knowledge but also contributing to a broader understanding of our ecosystem.
In summary, building an earthworm observation station can be an exciting endeavor that connects you with nature. With just a few materials and a bit of care, you can create a tiny world full of life and learning. Enjoy the journey as you delve into the underground with these fascinating creatures. Happy observing!