
Worm composting, or vermicomposting, involves using worms to break down organic waste. It’s a simple process that’s surprisingly effective, and the best part? You don’t need a huge yard or even a big space at all. You can do it right in your kitchen or balcony! So, grab your coffee, and let’s dig into how to get your worm bin started.
What You Need to Start Your Worm Bin
Getting started with a worm bin isn’t complicated, but there are a few essential materials you’ll want to gather first. Think of them as your tools for success in this eco-friendly adventure. You’ll need:
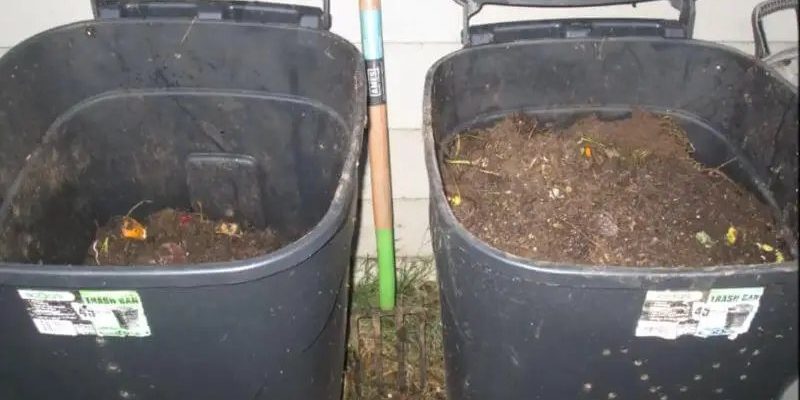
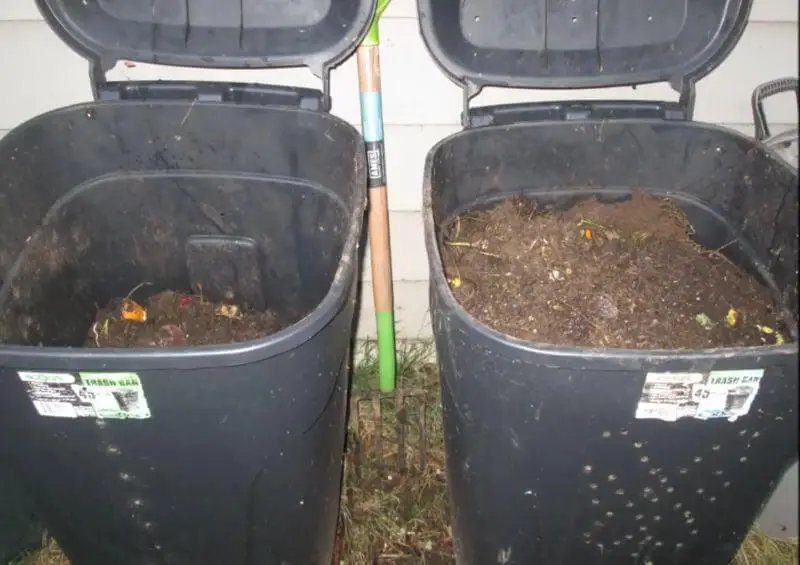
- A container: A plastic bin or wooden box will do just fine. Make sure it has drainage holes at the bottom and ventilation holes on the sides.
- Worms: Red wigglers are the stars of the show here. They’re great at composting, so you’ll want to seek them out specifically.
- Bedding material: Shredded newspaper, cardboard, or coconut coir are all excellent choices. They create a cozy home for your worms.
- Kitchen scraps: These can be the very leftovers you normally toss away, including fruit and vegetable scraps.
This list might seem simple, but getting the right container can make a difference. If you go for a commercial worm bin, like a Worm Factory or VermiHut, they often come with all the necessary features built in, like trays for harvesting the compost.
Setting Up Your Worm Bin
Once you have everything, it’s time to set up your worm bin. Start by taking your container and adding the bedding material. You’ll want to fill it up to about one-third of the way. Then, moisten it with some water until it feels damp—but not soggy. Think of it like a wrung-out sponge.
Next, add your worms. If you’ve purchased them, they usually come in a bag with some bedding already. Just tip them in and give them a little time to settle. It’s like moving into a new home; they might take a while to explore.
After the worms are comfy, toss in some kitchen scraps. You want to introduce food gradually—about a cup or two every few days. Too much food can create odors and attract pests. It’s all about balance!
Feeding Your Worms
Now that your worm bin is set up, you might be wondering what’s on the menu for your wriggly friends. Worms have simple tastes, and they love a variety of kitchen scraps. Here’s a quick list of what they enjoy:
- Fruit scraps: Banana peels, apple cores, and citrus peels are all favorites.
- Vegetable scraps: Carrot tops, lettuce, and potatoes work well too.
- Coffee grounds: These are a great addition, just make sure to mix them in with other scraps.
- Crushed eggshells: They provide calcium and help balance the pH.
Avoid feeding your worms meat, dairy, or oily foods. They can mess with the bin’s ecosystem and attract unwanted pests. Honestly, keeping it simple works best, and your worms will thank you for it!
Maintaining Your Worm Bin
Just like a car needs regular oil changes, your worm bin needs a little TLC to thrive. Keep an eye on moisture levels; if it feels too wet, add some dry bedding. Conversely, if it’s too dry, a light misting of water can help.
Check the food level regularly and add scraps as needed, but try to remove uneaten scraps after a week or so to prevent any issues. If you notice a smell, it might be a sign you’ve overfed the worms. Here’s the thing: maintaining a balanced environment leads to happy worms, and happy worms create amazing compost!
Make sure to aerate the bin every couple of weeks by gently turning the bedding. This not only helps add oxygen, which worms love, but it also keeps the bin from getting too compacted.
Harvesting Worm Castings
After a few months, your worm bin will be ready for harvesting. You’ll know it’s time when the bedding has turned into dark, crumbly compost—often called *worm castings*. That’s your cue that your worms have been hard at work.
To harvest, simply move the contents to one side of the bin and place fresh bedding and food on the empty side. The worms will gradually migrate to the new food source. After a week or two, you can scoop out the rich compost from the original side.
Worm castings are a fantastic fertilizer for your plants. They’re packed with nutrients and beneficial microorganisms. You can sprinkle them on your garden or mix them in with potting soil. Your plants will love you for it!
Common Issues and Troubleshooting
Even with the best intentions, some challenges can pop up with your worm bin. Here’s a quick breakdown of common issues and their solutions:
- Odor: If your bin starts to smell, it often means you’re overfeeding. Cut back on the scraps and ensure proper aeration.
- Fruit flies: These little pests can be annoying. Make sure to bury food scraps deep in the bedding to avoid attracting them.
- Worms escaping: Worms try to escape if they’re uncomfortable. Check the moisture levels and ensure it’s not too dry or too wet.
If issues persist, sometimes just giving your worms a little break helps. They’re sensitive creatures, but with a bit of patience and care, you’ll find your rhythm.
Why Start a Worm Bin?
You might be asking yourself, “Why should I even bother with a worm bin?” The reasons are pretty compelling. First off, you’re reducing waste. Food scraps make up a significant portion of what ends up in landfills, and that’s just wasteful. By composting, you can directly contribute to sustainability.
Secondly, you’re creating an amazing resource for your plants. Healthy soil leads to healthy plants. Plus, it’s a fantastic learning experience for kids or anyone interested in gardening. Watching the worms at work can be mesmerizing—and let’s not forget, it gives you a great sense of accomplishment.
Starting a worm bin is more than just composting; it’s about taking small steps toward a greener lifestyle.
In conclusion, starting a worm bin for kitchen waste is not only beneficial for the environment, but it’s also a rewarding hobby that can enrich your gardening experience. With just a few materials and a little patience, you can turn kitchen scraps into a valuable resource. So, grab some worms, set up your bin, and let nature do its magic!