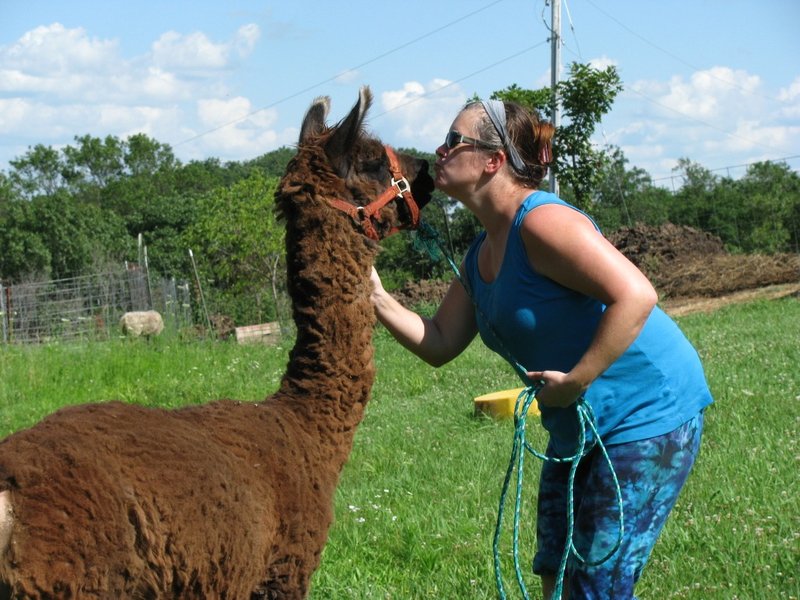
If you’ve ever seen a llama strutting its stuff with a fluffy coat, you might wonder when and how to shear these gentle creatures. Understanding the timing and technique for shearing can make a world of difference—not just for the llama’s comfort but also for you as the caretaker. So, grab your favorite drink, and let’s dive into the wonderful world of llama shearing!
Why Shearing is Important for Llamas
Shearing isn’t just a fashion statement for llamas; it’s a crucial part of their care. Just like we wear lighter clothes in the summer to stay cool, llamas need to shed their fleece to manage their body temperature. If left unshorn, they can become too hot, which may lead to health issues like overheating or skin infections.
Furthermore, regular shearing can prevent the fleece from becoming matted and tangled. Think of it as a way of ensuring their coat remains healthy—a healthy llama is a happy llama! Removing excess fleece also makes it easier to spot any skin problems or parasites that may need attention.
Here’s the thing: shearing is a part of responsible llama ownership, and doing it right will save you and your llama stress in the long run.
When Is the Best Time to Shear a Llama?
Timing is everything! The best time to shear a llama is usually in late spring, just before the hottest part of the year. This timing allows your llama to comfortably transition from the chilly months into warmer weather. If you wait too long, a llama can suffer from overheating, which isn’t just uncomfortable; it can be dangerous.
You might be wondering about their fleece growth. Llamas typically grow a thick fleece during the winter to keep warm, so shearing them in late spring prevents them from sweating buckets come summertime. Depending on your climate, look for signs that the weather is warming up but before it gets extreme.
Another helpful tip? Check the weather forecast before you shear. A wet day might make for a slippery challenge, plus moisture can make it hard for the fleece to dry properly after shearing.
Gathering Your Tools for Shearing
You can’t cut hair with just anything! Before you start shearing your llama, gather the right tools. Here’s a quick list of what you’ll need:
- Shearing clippers: These are specially designed for animal shearing and can handle the coarse llama fleece.
- First-aid kit: Just in case of any unexpected nicks or cuts.
- Brush: A good brush helps remove dirt and mats from the fleece before you start.
- Halter and rope: To keep your llama steady and calm during the process.
Having the right equipment not only ensures a smoother shearing experience but also keeps your llama safe and happy. You might even want to practice on a stuffed animal (okay, not really, but you get the idea!) to get the hang of handling the clippers before the big day.
Preparing Your Llama for Shearing
Preparation is key! Before you dive into shearing, it’s important to ensure your llama is calm and comfortable. Start by gently brushing them to remove any dirt and tangles in their fleece. This step makes the actual shearing easier and helps prevent any pulling on their skin that could occur if you shear over matted spots.
Next, secure your llama using a halter. You’ll want to have someone help hold the llama if you’re inexperienced. Keeping them steady helps maintain their calmness and ensures they don’t slip or jump during the shearing process. Remember, safety first—for both you and your fluffy friend!
Once your llama is ready, find a well-lit, quiet area where they feel relaxed. Less stress means a smoother experience for everyone involved!
How to Actually Shear a Llama
Alright, let’s get to the fun part! When it’s time to shear, make sure you’re comfortable and positioned correctly. Start by turning on your clippers. Here’s a simple step-by-step process to follow:
1. Begin with the Neck: Start shearing from the neck down. This area usually has less fleece, which helps you get used to how the clippers work.
2. Move Down the Body: Gradually move down the llama’s body, following the natural contours. Be mindful of sensitive areas like the legs and belly. Use slow, even strokes to avoid nicking the skin.
3. Trim the Legs and Face: Finally, carefully trim the legs and any remaining fleece around the face. This can be a tricky part, so take your time and don’t rush.
4. Finishing Touches: Once you’ve finished shearing, clean any loose fleece from your tools and the area. A gentle brush can help tidy up the llama’s appearance and ensure everything looks neat.
If you’re feeling nervous, that’s totally normal! You might want to watch some instructional videos or even find a local farmer willing to show you the ropes.
Aftercare: Keeping Your Llama Happy Post-Shearing
Once the shearing is done, it’s time to pamper your llama! Right after shearing, they might feel a bit exposed and shy, so provide some extra love and treats. A special snack can go a long way in making them feel better after the process.
Also, remember to keep an eye on the weather. With less fleece, your llama may be more susceptible to cold. If temperatures dip unexpectedly, consider providing a light blanket for them until they’re adjusted.
Finally, take a moment to give your llama a good brush—this helps remove any leftover fleece and dirt, ensuring they look fantastic and feel comfortable. Plus, it’s a great way to bond with your llama!
Final Thoughts on Shearing Your Llama
Shearing a llama may seem daunting at first, but with the right tools and a bit of practice, it can be a rewarding experience for both you and your furry friend. Think of it as a shared summertime ritual, one that keeps your llama healthy and cool while providing you the chance to connect with your pet.
By keeping in mind the proper timing, preparation, and aftercare, you’ll create an environment that’s stress-free and enjoyable. Plus, your llama will certainly appreciate the care you provide! Now, get out there and shear with confidence—you’ve got this!

