
Keeping a finch cage clean and maintained isn’t just about aesthetics; it’s vital for their health. A dirty cage can lead to illness and stress for your feathered friends. So, let’s dive into some best practices for cleaning and caring for a finch habitat that will ensure your birds stay healthy and happy.
Why Cleanliness is Important for Your Finches
Cleaning your finch cage regularly is crucial for several reasons. First and foremost, it helps prevent the buildup of harmful bacteria and mold that can thrive in dirty environments. Just like you wouldn’t want to eat off a dirty plate, finches need a clean space to forage and play.
Additionally, finches are sensitive to strong odors and dust. A filthy cage can cause stress, leading to unwanted behaviors, like excessive chirping or feather-plucking. It’s important to remember that your finches rely on you for their well-being, so keeping their environment clean is a big part of that responsibility.
Finally, maintaining cleanliness can help you keep an eye on your birds’ health. Regularly cleaning the cage allows you to observe any changes in droppings, feathers, or behaviors that might indicate a health issue. Early detection can be crucial for treating potential illnesses.
What You’ll Need for Cage Cleaning
Before you dive into cleaning, gathering the right supplies can make the process smoother. Here’s a handy list of what you’ll need:
- Warm Water: A bucket or bowl filled with warm water is essential.
- Bird-safe Detergent: Use a mild soap that’s non-toxic to birds.
- Scrub Brush: Get a brush with soft bristles for cleaning the bars and surfaces.
- Paper Towels or Clean Rags: These are great for drying and wiping down surfaces.
- Disinfectant (optional): Make sure it’s bird-safe if you choose to use one.
Once you have your supplies ready, cleaning can be a straightforward process. Think of it like washing your dishes; with the right tools and a bit of elbow grease, you can accomplish it quickly.
Step-by-Step Cage Cleaning Process
Now that you’re ready, let’s break down the cleaning process into easy steps. Don’t worry—it’s not as daunting as it sounds!
1. Remove Your Finches: The first step is to gently remove your finches from the cage. You can place them in a temporary holding area, like a travel cage or a separate room where they feel safe.
2. Take Out Accessories: Remove all toys, perches, and food/water dishes. This will give you full access to every part of the cage that needs cleaning.
3. Clean the Cage: Using your warm water and bird-safe detergent, scrub the cage thoroughly. Focus on corners and crevices where droppings might hide. A toothbrush can be useful for those tricky areas!
4. Rinse and Dry: After scrubbing, rinse the cage well to ensure no soap residue remains. Dry it with paper towels or clean rags to avoid creating a damp environment, which could foster bacteria.
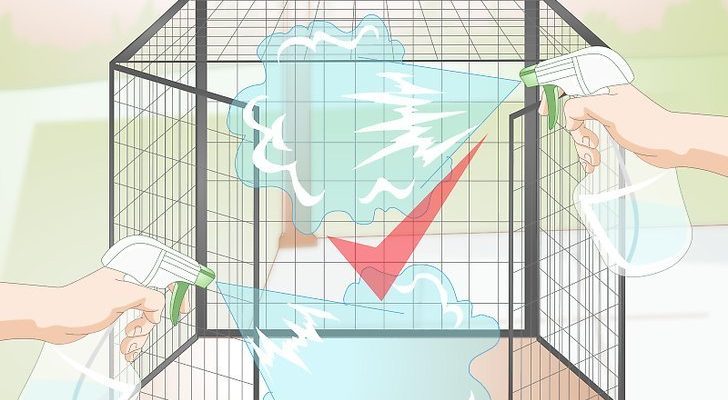
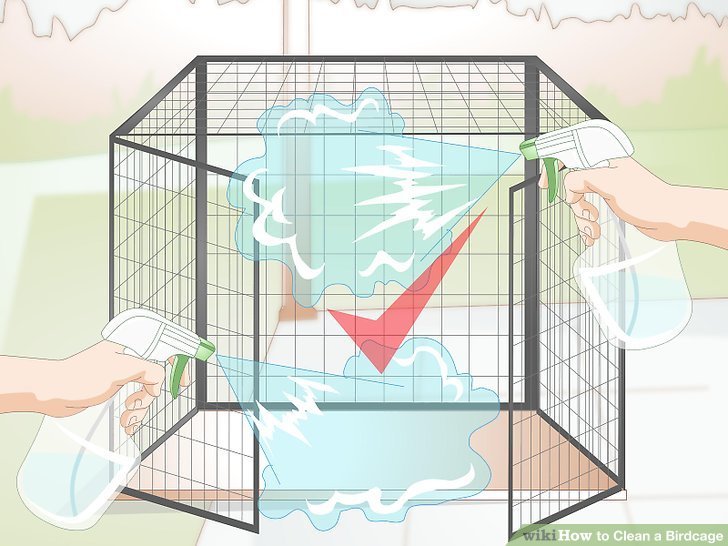
5. Sanitize (optional): If you choose to use a disinfectant, ensure it’s safe for birds, and allow the cage to air dry completely before putting anything back.
Frequency of Cleaning
You might be wondering how often you should tackle cleaning your finch cage. The frequency of cleaning can depend on several factors, including how many finches you have and how messy they are. Here’s a general guideline:
- Daily: Spot-clean daily by removing any droppings, uneaten food, and debris.
- Weekly: Perform a thorough clean of the cage once a week to keep it in top shape.
- Monthly: Evaluate the need for a deep clean, which may involve disassembling parts of the cage for a thorough scrub.
Establishing a cleaning routine will not only keep the cage hygienic but also help you bond with your finches. They’ll get used to the process and might even enjoy the fresh changes!
Maintain Proper Cage Setup
Keeping your finch cage clean is one thing, but maintaining the right setup is equally important. Here’s how to ensure your finches thrive in their space:
1. Choose the Right Cage: A spacious, well-ventilated cage is crucial. Ensure your finch cage has horizontal bars for climbing and enough space for them to fly and exercise.
2. Use Appropriate Bedding: Opt for a safe and absorbent bedding material, like paper-based liners or aspen shavings. Change these regularly to keep odors in check.
3. Rotate Toys: Keep your finches entertained by rotating their toys every so often. This helps prevent boredom and encourages mental stimulation.
4. Provide Fresh Food and Water: Make sure to change food and water daily. Clean the dishes regularly to avoid contamination.
Maintaining an inviting cage setup can make a world of difference for your finches, keeping them happy and engaged.
Common Mistakes to Avoid
Even the most seasoned pet owners can make mistakes when it comes to cleaning and maintaining a finch cage. Here are a few pitfalls to watch out for:
- Using Harsh Chemicals: Avoid using bleach or strong cleaners that could harm your finches. Always opt for bird-safe products.
- Neglecting Accessories: Remember to clean perches, toys, and dishes—they can harbor bacteria just like the cage itself.
- Skipping Spot-Cleaning: Don’t wait until you have time for a big clean. Daily spot-cleaning can save you a lot of trouble down the line.
Recognizing these common blunders can help ensure your birds’ habitat is as safe and healthy as possible.
Caring for your finches involves more than just keeping them fed and watered. Cleaning and maintaining a finch cage is a vital part of ensuring their overall well-being and happiness. By following the best practices outlined in this article, you’ll create a clean, inviting environment that encourages your finches to flourish.
So, roll up those sleeves and remember: a little care goes a long way. With your attention and commitment, your finches will reward you with beautiful songs and vibrant displays of personality. Happy cleaning!