
Think of silkworm eggs as tiny treasures that need specific attention to thrive. Proper storage ensures they remain viable, while the right incubation conditions will set the stage for their eventual metamorphosis into adult moths. In this guide, we’ll walk through everything you need to know, including tips to create the perfect environment for these little larvae to grow.
Understanding Silkworm Eggs and Their Needs
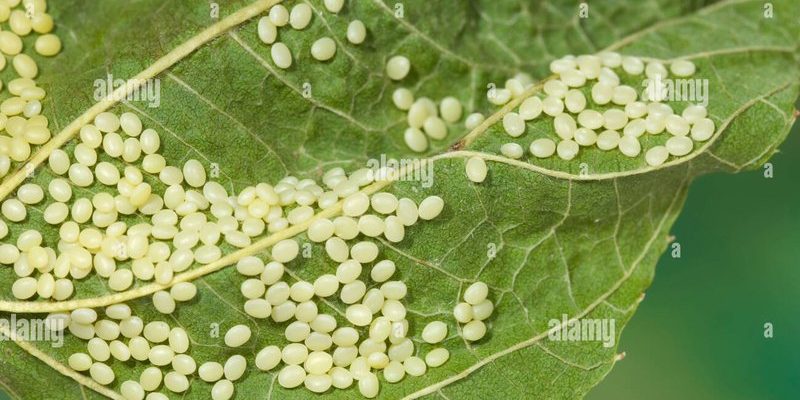
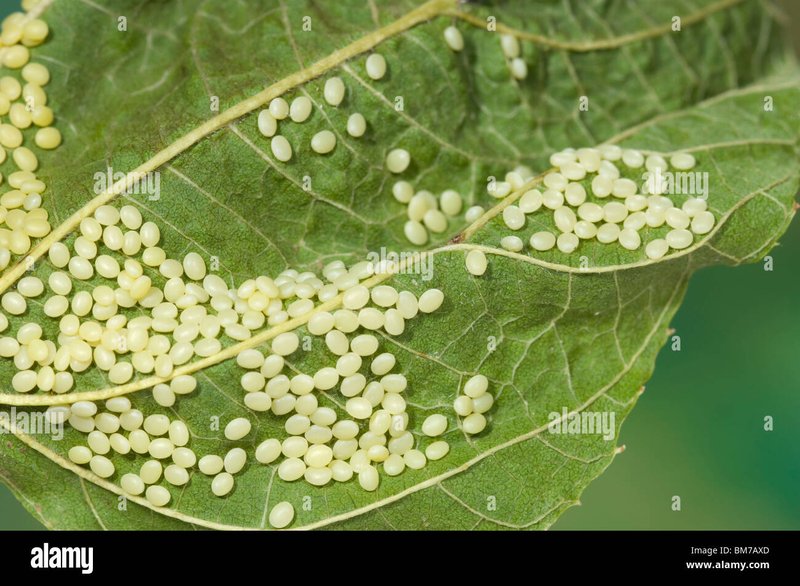
Silkworm eggs are pretty remarkable when you think about it. They’re not just your average insect eggs; they have a hard outer shell that protects the small embryo inside. But this shell also means that they need specific conditions to hatch successfully. You might be wondering, “What do I need to create the right environment?” Let’s dig deeper.
First off, silkworm eggs typically require a cool, dry place for storage. Think of it like putting a delicate piece of art in a safe spot. If they get too hot or humid, it could ruin them. It’s best to keep them at a temperature between 5°C and 15°C (41°F and 59°F) if you’re storing them for a longer period. A refrigerator is a common choice for storage, but make sure they’re in a breathable container to avoid moisture buildup.
Another key factor is light. These eggs are sensitive to light, so keeping them in a dark place is crucial. You wouldn’t want to leave your favorite book out in bright sunlight, right? The same goes for silkworm eggs; they need to be kept in a dark environment to stay healthy.
How To Store Silkworm Eggs
Storing silkworm eggs correctly can be a bit of a science, but it’s not rocket science. It’s all about creating the right conditions for them to remain viable until you’re ready to incubate. Here’s how to do it step-by-step.
- Choose the right container: Use a breathable container, like a small cardboard box or a mesh bag. Avoid plastic containers as they can trap moisture.
- Check humidity levels: If you’re in a humid climate, consider adding a desiccant packet to absorb excess moisture. This can help prevent mold, which is a killer for eggs.
- Store in the refrigerator: As mentioned before, aim for a cool spot. Just be careful not to freeze the eggs; you want a stable environment that’s not too cold or too hot.
Once you’ve set up the proper storage conditions, check on your eggs periodically. You’re basically playing the role of a protective parent—keeping an eye on them to ensure they’re safe and sound.
Preparing for Incubation
After storing your silkworm eggs for a while, it’s time to think about incubation. This is when the magic happens! You’ll want to create a cozy environment for them to hatch into lively little larvae. So, what do you need to do?
Start by selecting an incubation area. Ideally, this space should be warm and free from drafts. The perfect temperature for incubating silkworm eggs ranges from 25°C to 30°C (77°F to 86°F). Think of it as setting up a warm nest. You can use an incubator, or if you’re on a budget, a warm room can do the trick.
Next, ensure proper humidity. Maintaining a humidity level between 70% and 80% is crucial for the eggs to hatch successfully. You can use a hygrometer to keep track of moisture levels, and if it’s too dry, consider adding a small dish of water nearby to boost humidity.
Don’t forget about light again! Just like when you stored them, silkworm eggs need a dark environment during incubation. Covering the incubation area with a dark cloth can help keep the light out.
The Incubation Process: What to Expect
Once your silkworm eggs are set up for incubation, you’ll enter a waiting game. This is when patience really comes into play. Typically, silkworm eggs take about 10 to 14 days to hatch, depending on temperature and humidity. So, what happens during this time?
As the days pass, you might notice the eggs changing color. They often turn from a pale yellow to a darker shade as they get closer to hatching. Kind of like waiting for popcorn to pop! During this period, it’s essential to make sure the temperature and humidity remain stable. Fluctuations could lead to poor hatching rates.
Once the eggs start hatching, you’ll see tiny silkworm larvae emerging. Honestly, it’s quite an exciting moment, almost like witnessing a miracle. The first thing you’ll want to do is provide them with a fresh supply of mulberry leaves or silkworm chow. They’ll be hungry little critters, ready to munch their way into the next stage of life.
Common Mistakes to Avoid
Even with the best intentions, mistakes can happen when it comes to storing and incubating silkworm eggs. Let’s look at a few common pitfalls and how to avoid them.
- Temperature fluctuations: Rapid changes in temperature can stress the eggs, leading to lower hatching rates. Always keep an eye on your incubator or storage area’s temperature.
- Excess moisture: This can lead to mold, which is a big no-no. Make sure your storage container is breathable and check humidity levels regularly.
- Neglecting light exposure: Remember, these eggs need darkness. If they’re exposed to too much light, they may not hatch at all.
By avoiding these mistakes, you’ll give your silkworm eggs the best chance of thriving, leading to a successful hatch and healthy larvae.
Post-Hatching Care for Silkworms
Once your silkworm eggs have hatched, the adventure doesn’t end there. Caring for the larvae is just as important. Here’s what you need to keep in mind.
First up, their diet. Newly hatched silkworms are pretty picky eaters. Mulberry leaves are the gold standard, so make sure you have access to fresh leaves or high-quality silkworm chow. They’ll grow quickly if they’re well-fed.
Next, keep their environment clean. Regularly remove any uneaten leaves and waste to prevent mold and keep the air fresh. Think of it as cleaning up after a party; you want to keep the place tidy for good vibes!
Lastly, monitor their growth. Silkworms can grow rapidly and may need more space as they get larger. You might need to transfer them to larger containers or trays as they outgrow their initial setup.
Storing and incubating silkworm eggs may seem like a delicate task, but with the right knowledge, it’s something anyone can do. By following the steps outlined here, you’ll create a thriving environment for your silkworms, leading to a successful hatch and healthy larvae.
Remember that patience is key. Like any hobby, raising silkworms takes time and care, but the rewards can be incredibly satisfying. You’re not just raising insects; you’re engaging in a fascinating process that connects you with nature. So go ahead, get started, and enjoy the journey from tiny egg to beautiful moth!