
Here’s the thing: Bobbit worms are not your typical underwater pests. They can be beneficial to your marine ecosystem, but when they start munching on your prized corals, they can quickly become a nuisance. Think of them a little like a bad houseguest—they might have good intentions, but they can overstay their welcome and cause more harm than good. In this guide, we’ll walk through how to safely remove a Bobbit worm while keeping your beautiful coral intact.
Understanding the Bobbit Worm
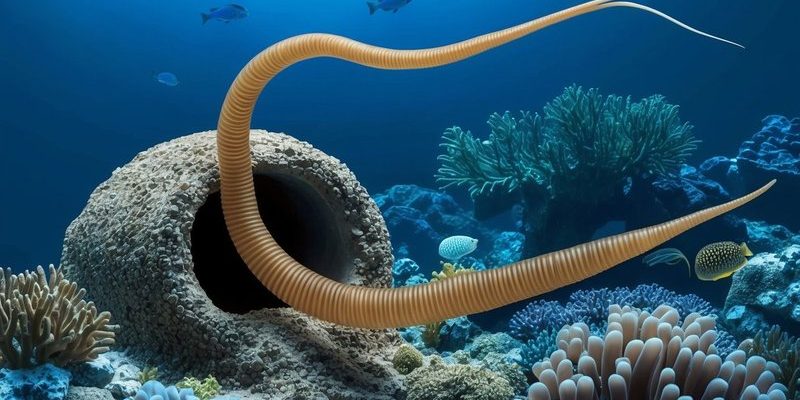
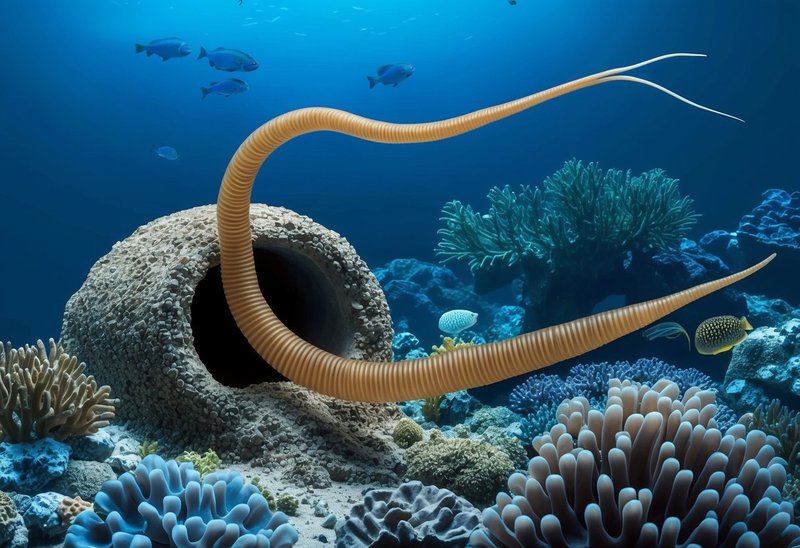
Before you dive into the removal process, it’s essential to understand what you’re dealing with. Bobbit worms, scientifically known as *Eunice aphroditois*, live in burrows on the ocean floor. They are known for their impressive hunting skills; they often ambush unsuspecting fish and invertebrates that swim too close to their lair. Their long, segmented bodies are usually hidden within the sand or rock, leaving only a few antennae visible.
You might wonder why they matter. Essentially, Bobbit worms play a role in the ecosystem as scavengers and predators. They help keep the population of certain marine animals in check. However, in your home aquarium, they can disrupt the balance you’ve carefully crafted. When they target your corals, they can cause significant damage, leading to dead patches that can spread.
Identifying a Bobbit Worm in Your Aquarium
So, how do you know if a Bobbit worm has taken up residence in your aquarium? Here are some signs to look for:
- Visible Antennae: If you see long, feather-like appendages peeking out from the sand or rock, that’s a good indicator.
- Missing Fish: If your fish population seems to be dwindling, it could be due to the Bobbit worm’s predatory nature.
- Coral Damage: Check for tissue loss or dead spots on your corals, as this might signal a Bobbit worm’s presence.
Identifying the worm early can save you a lot of trouble down the line. Once you confirm a Bobbit worm is present, it’s time to consider your options for removal.
Preparing for Removal
Before you take any action, gear up! You want to ensure you have all the right tools at your disposal. Here’s a checklist of what you might need:
- A long, flexible tool like a *tongs* or a *fishing net*
- A *small container* to temporarily house the worm
- *Protective gloves* to keep your hands safe
- A friend to help if needed—two pairs of eyes are better than one!
Preparation is key. You’ll want to work carefully and calmly. Ensure your tank water is well-oxygenated, and keep the lights dim, as this will make the worm less active and easier to catch.
Methods for Removal
Now that you’re prepared, let’s get into how to actually remove the Bobbit worm. Here are a couple of methods you can use:
Method 1: Straightforward Catching
1. **Locate the Worm**: Try to spot where the worm is hiding. You might see it leaning out of its burrow.
2. **Use Tongs or a Net**: Gently insert the tool near the entrance of the burrow. Be patient—this isn’t a race.
3. **Gently Pull the Worm**: Once you have a grip, slowly pull the worm out of its burrow. Avoid yanking, as this can damage the coral and potentially harm the worm.
Method 2: Lure Them Out
If the straightforward method isn’t working, you might need to lure the worm out:
1. **Find Some Food**: Consider using a piece of shrimp or fish food.
2. **Place the Food Near the Entrance**: Carefully place the bait near the burrow. This can entice the worm out.
3. **Be Ready to Catch**: As the worm emerges, use your tongs or net to catch it.
Whichever method you choose, you’ll want to work slowly and carefully. Rushing can lead to damaging your corals or complicating the removal process.
After Removal: What to Do Next
Once you’ve successfully removed the Bobbit worm, you’re not done quite yet. Here are a few essential steps to take afterward:
1. **Inspect Your Coral**: Check for any damage that may have occurred during the removal. If you notice any issues, consider adjusting the water conditions or consulting an expert.
2. **Monitor Your Tank**: Keep an eye on your aquarium for a few weeks. Look out for any signs that another worm might have moved in.
3. **Consider Future Prevention**: Research ways to prevent Bobbit worms from entering your aquarium in the future, such as ensuring that any new rock or coral you introduce has been properly cleaned.
Final Thoughts on Removing Bobbit Worms
Removing a Bobbit worm without damaging coral might seem like a daunting task, but with the right preparation and a little patience, it can be done effectively. Remember, the key is to act calmly and carefully. Think of it as solving a puzzle—just like that stubborn knot in your favorite sweater, it takes time and a gentle touch to untangle the situation.
In the end, your beautiful coral will thrive, and you’ll feel great knowing you’ve tackled a little piece of ocean life in your aquarium. Happy reef keeping!