

So, why would you want to remove a bobbit worm, especially if you’re worried about damaging your precious coral? Think of your reef as a delicate balance of life. Just like you wouldn’t want a weed choking your favorite flower, bobbit worms can threaten the health of your tank. In this guide, I’m here to help you understand how to remove a bobbit worm safely, keeping your coral intact while doing so.
Understanding Bobbit Worms
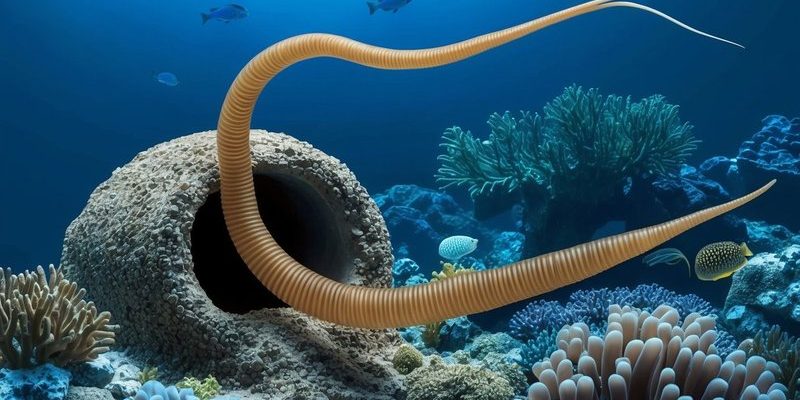
Bobbit worms, scientifically known as *Eunice aphroditois*, are fascinating yet formidable creatures. They can grow up to 10 feet long, but don’t worry; that’s rare in captivity. You might spot them peeking out of holes in the sand or rockwork in your aquarium. Their long bodies can be a vibrant green or brown, camouflaging them perfectly with their surroundings.
These worms are predatory, which means they feed on small fish and invertebrates. If you’ve noticed your fish disappearing or your coral looking stressed, a bobbit worm could be the culprit. Removing them can seem daunting, but with a little knowledge and the right approach, you can do it without damaging your coral.
Signs You Have a Bobbit Worm
You might be wondering how to tell if there’s a bobbit worm lurking in your tank. Here are a few signs to look out for:
- Disappearing Fish: If your fish seem to vanish, a bobbit worm could be picking them off.
- Strange Behavior: Fish acting skittishly or hiding frequently can indicate stress from a predator.
- Visible Worms: Sometimes, you’ll see the worm itself peeking out of its burrow, especially at night.
Taking note of these signs can help you act quickly before the problem escalates. The sooner you identify a bobbit worm, the easier it is to manage the situation.
Preparing for Removal
Before you dive into removing your bobbit worm, it’s crucial to gather the right tools. Think of this step as prepping for a little home renovation project. Here’s what you’ll need:
- Feeding Tongs: These will help you reach in without getting your hands too close.
- Fish Net: A good net can be invaluable for capturing if the worm tries to flee.
- Container: Have a container ready to safely store the worm while you figure out what to do next.
Make sure your aquarium is as calm as possible. Turn off any pumps and filtration systems temporarily. This way, you can have a better view and reduce stress for other inhabitants. Think of it as setting the stage for a small operation!
Safe Techniques for Removal
Now that you’re prepped, let’s talk about how to remove the worm without causing harm to your coral. Here’s a straightforward approach:
1. Identify the Location: Locate where the bobbit worm is hiding. Gently inspect the tank, being mindful of the coral around it.
2. Use Feeding Tongs: Slowly and carefully extend the tongs toward the worm. Be gentle; you don’t want to scare it too much.
3. Gently Grasp the Worm: When you’re close enough, try to grasp the worm near its midsection. The key here is to avoid grabbing it too hard, as this can lead to breaking the worm or stressing out the coral.
4. Lift and Transfer: Once you’ve got a hold of the worm, lift it out smoothly and place it in your container. If it wriggles, don’t panic—just maintain a gentle grip.
It’s important to move deliberately during this process. Rushing can lead to mistakes that might stress your coral or hurt the worm, which is the opposite of what you want.
What to Do After Removal
So you’ve successfully removed the bobbit worm—great job! But what comes next? Here are a couple of options:
- Relocation: If possible, consider releasing the worm in a natural environment if it’s safe and legal. Many hobbyists prefer relocating them to avoid killing them.
- Dispose Carefully: If relocation isn’t an option, ensure to dispose of the worm humanely—make sure it’s in line with local regulations regarding marine life.
After you’ve handled the worm, it’s time to check on your coral. Make sure to examine it for any signs of stress or damage. You might want to do a slight water change to help keep the environment stable.
Monitoring for Recurrence
After you’ve removed the bobbit worm, it’s crucial to keep an eye on your aquarium for any signs of recurrence. Sometimes, if the conditions are right, more bobbit worms might find their way into your tank.
Here’s what you can do to minimize that risk:
- Regular Inspections: Periodically check your tank for new signs of bobbit worms.
- Maintain Water Quality: Healthy water conditions will help keep your fish and coral strong, making them less susceptible to predators.
- Consider Tank Restrictions: If you’re adding new livestock, quarantine them to prevent introducing unwelcome pests.
By staying vigilant, you can enjoy your beautiful reef without the threat of bobbit worms returning.
Final Thoughts
Navigating the world of aquarium maintenance can feel overwhelming, but understanding how to remove a bobbit worm without damaging coral is a valuable skill. Remember, it’s all about preparation, patience, and a gentle touch. By keeping your coral healthy and monitoring for signs of trouble, you’ll create a thriving environment for your aquatic friends. If you ever find yourself in a situation with an unwelcome bobbit worm again, you’ll be well-equipped to handle it. Now that’s something to feel good about!