
Imagine kids eagerly peering into a box filled with wriggling silkworms, all while discussing their growth stages. It’s a fun, tactile experience that nurtures curiosity and responsibility. Plus, silkworms are incredibly forgiving creatures, making them perfect for beginners. You might be wondering just how to get started. Let me explain the steps to create an engaging silkworm project that your students will love!
Why Choose Silkworms for Classroom Projects?
Silkworms, or *Bombyx mori*, are not just any ordinary insect; they have a rich history dating back thousands of years. They were once considered a precious resource in ancient China, where silk was a highly sought-after fabric. Choosing silkworms for classroom projects offers a unique blend of **biology**, **environmental science**, and **cultural studies** all in one go. Students can learn about the life cycle, the impact of agriculture, and even the basics of genetics.
You might be surprised by how much you can explore with silkworms. They undergo several growth stages, which means you can create lessons around their development. This hands-on experience can spark conversations about **ecosystems**, **food webs**, and the role of insects in nature. Plus, who wouldn’t want to watch a silkworm transform into a beautiful moth? It’s like a mini science show right at your fingertips!
Setting Up a Silkworm Rearing Station
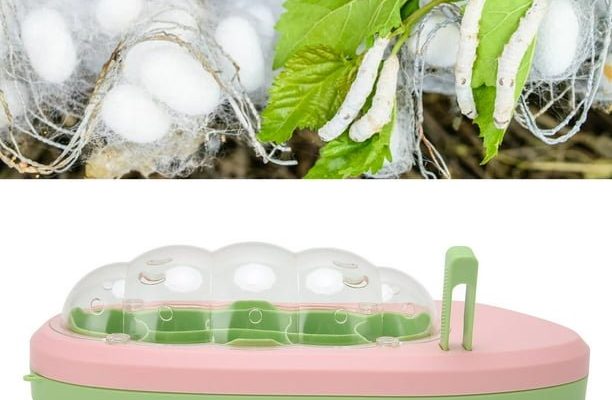
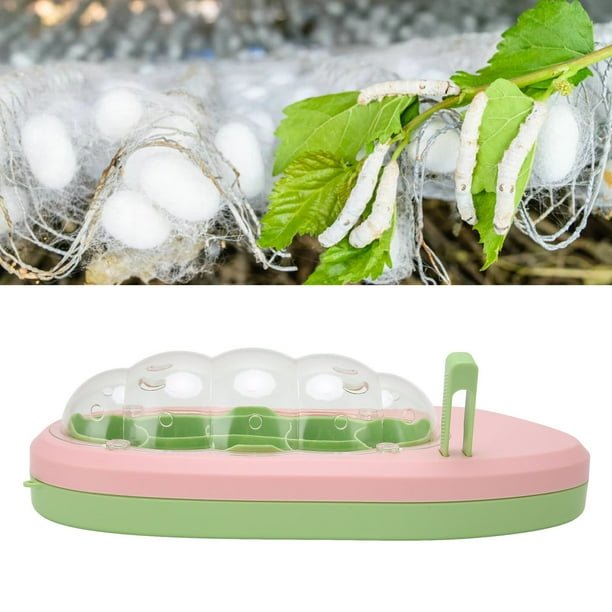
To get started with rearing silkworms, you’ll need a few basic supplies. Don’t worry; they’re pretty easy to come by! Here’s what you’ll need:
- Silkworm eggs: You can order these online or through educational suppliers.
- Mulberry leaves: Silkworms love to munch on these, so stock up!
- A container: A simple plastic box or tray with ventilation works perfectly.
- Temperature control: Silkworms thrive in warm environments, ideally between 70°F and 80°F (21°C to 27°C).
Once you have your supplies, set up a comfortable space for your silkworms. Make sure the container is clean and well-ventilated. You want to keep the environment stable and cozy. After placing the eggs in the container, cover them lightly with a cloth to protect them from too much light. It won’t be long before they hatch and your adventure begins!
Understanding the Life Cycle of Silkworms
The life cycle of a silkworm is fascinating, consisting of four main stages: egg, larva, pupa, and adult. Let’s break this down a bit:
– **Egg Stage:** This is where it all starts. Silkworms lay eggs that are so tiny you almost need a magnifying glass to see them. In about 10 days, they’ll begin to hatch.
– **Larval Stage:** Once the eggs hatch, you’ll have cute little larvae that are about the size of a grain of rice. These are your silkworms! During this stage, they will eat a LOT—primarily mulberry leaves—growing almost 10,000 times their original size!
– **Pupal Stage:** After about 4 to 6 weeks, the larvae will stop eating and start spinning silk, creating the cocoon that they will eventually turn into moths. This is a crucial time for observation. Students can discuss the significance of silk production.
– **Adult Stage:** Once the pupae emerge from their cocoons, they become adult moths. Males and females can be distinguished by their size and shape; males are typically smaller. After mating, females lay eggs, and the cycle begins again!
Watching this entire process unfold can be quite the science lesson. It opens doors to discussions about life cycles in general, as well as the importance of silkworms in textile production.
Daily Care and Maintenance
Caring for silkworms is relatively simple, but it does require daily attention. Here’s a quick rundown of what needs to be done:
1. **Feeding:** Your silkworms will need fresh mulberry leaves every day. Make sure to remove any uneaten leaves to keep the environment clean and avoid mold.
2. **Temperature and Humidity:** Keep an eye on the temperature and humidity levels. They prefer it warm and humid, so consider using a small heater or a humidifier if your classroom gets too cold.
3. **Cleanliness:** Regularly clean the container to prevent any buildup of waste. This helps maintain a healthy space for your silkworms.
4. **Observation:** Encourage students to take notes on the silkworms’ growth and behavior. They can create journals to document their findings and observations. This practice reinforces their learning and gets them involved in the process.
Keeping up with these tasks will not only ensure the well-being of your silkworms but also create a fantastic learning experience for the students. They’ll develop a sense of responsibility and learn the importance of care and diligence in scientific endeavors.
Common Challenges and Troubleshooting
Like any living creature, silkworms can face challenges. Here are a few common issues you might encounter, along with some troubleshooting tips:
– **Mold:** If you see mold growing in the container, it likely means there’s too much moisture or uneaten food. To fix this, remove any leftover leaves and ensure proper ventilation.
– **Temperature Drops:** If the temperature drops below 70°F (21°C), your silkworms may become sluggish. Use a thermometer to monitor the temperature and consider warming the area with a gentle heating pad that won’t overheat.
– **Overfeeding:** While silkworms eat a lot, overfeeding can lead to waste buildup and health issues. Stick to feeding them what they can consume in a day to prevent this.
– **Death of Larvae:** If you notice a significant number of larvae dying, check the conditions. It might be too dry, too humid, or they might be stressed. Healthy larvae should be active and hungry!
Staying aware of these potential challenges will help you guide your students through the process, allowing for a richer learning experience.
Integrating Silkworms into the Curriculum
Raising silkworms can fit into various subjects and topics, making it a versatile classroom project. Here are some ideas on how to incorporate them into different areas of learning:
– **Science:** Discuss the life cycle, anatomy, and the biology of insects. You can also dive into genetics and breeding, discussing factors like color variations and growth rates.
– **History:** Explore the history of silk production and its impact on trade routes, especially the famous Silk Road.
– **Art:** Have students create artwork inspired by the silkworms or even experiment with designing patterns inspired by silk fabric.
– **Math:** Use the growth stages of silkworms to teach measurement and ratios. For example, measuring the size of the larvae at different stages can help with understanding growth rates.
Integrating these lessons can solidify understanding while making learning fun and interactive! It fosters creativity, critical thinking, and collaboration among students.
Wrapping Up the Silkworm Experience
After a few weeks of observing and caring for silkworms, it’s time to wrap up the project. This is a great opportunity to engage students in discussions about what they learned. You can even hold a “silkworm day,” where students present their journals and findings to the class.
As the silkworms finish their life cycle, students can witness the transformation firsthand, reinforcing the importance of patience and nurturing. Plus, they may even have some cocooned silk to take home—a tangible reminder of their experience!
Rearing silkworms in classroom settings is more than just a project; it’s a journey through biology, history, and responsibility. With the right setup and a bit of love, you can create a memorable learning experience that sticks with students for years to come. Enjoy the process, and happy rearing!