
So, how do you tackle these unwanted guests? It might feel overwhelming at first, but with a little patience and the right approach, you can reclaim your garden. We’re diving deep into how to safely remove grub worms from your garden soil, using techniques that won’t harm the environment or your plants. Let’s dig in!
Understanding Grub Worms: What Are They?
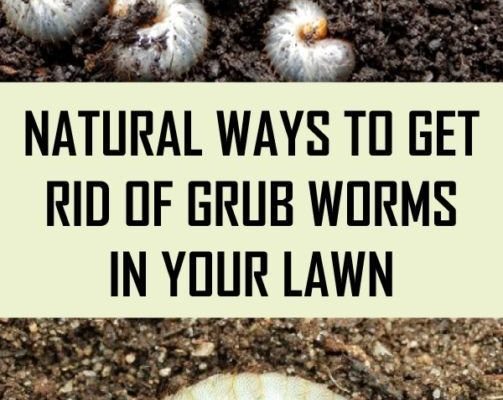
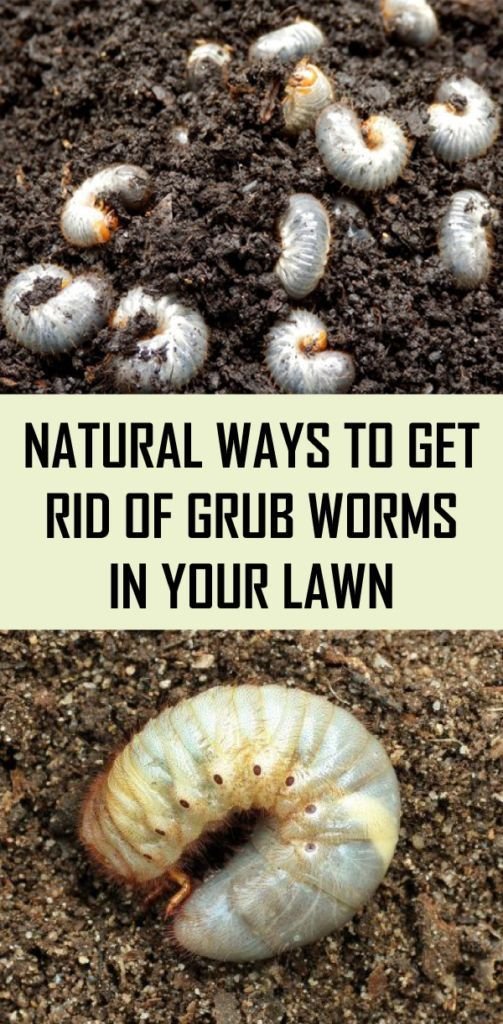
Grub worms are the larval stage of certain beetles, like Japanese beetles or June bugs. They’re usually white or cream-colored with a C-shaped body, wriggling around beneath the surface of your soil. Imagine little white caterpillars hanging out underground, feasting on the roots of your plants. But why should you care? Because when they multiply, they can cause some serious damage. Plants can wilt, turn yellow, or even die off if the roots are too damaged.
Here’s the thing: not every grub worm is bad. Some are part of a healthy ecosystem, breaking down organic matter and enriching the soil. But when their numbers explode, they become a problem. You might be wondering how you can tell if your garden is infested. Keep an eye out for signs like brown patches on the lawn, struggling plants, or even the sight of the grubs themselves when you dig a little.
Identifying Grub Worm Infestations
Before you start removing grub worms, you’ll want to confirm that they’re indeed responsible for the trouble in your garden. Begin with a visual inspection. Lift up a few patches of grass or soil and look for those pesky little critters. If you see them wriggling around, chances are you’ve got an infestation on your hands.
A good way to check the extent of the problem is to perform a “tug test” on the grass. Gently pull on the grass; if it comes up easily, that’s a sign the roots are compromised, likely due to grub activity. You might also notice increased activity from birds; they often feast on grubs as a tasty treat!
But don’t start panicking just yet! You can tackle this problem head-on with some effective strategies.
Natural Removal Methods for Grub Worms
When it comes to removing grub worms, going the natural route is often your best bet. Not only is it safer for your garden, but it’s also kinder to the environment. Here are some tried-and-true methods:
- Neem Oil: This organic option disrupts the life cycle of grubs. Mix it according to the instructions and apply it directly to the affected areas.
- Diatomaceous Earth: Sprinkle this fine powder on the soil; it’s like sprinkling tiny shards of glass that will cut the grubs’ outer layer, causing dehydration.
- Beneficial Nematodes: These microscopic worms are natural predators of grubs. When applied to the soil, they’ll seek out and kill grubs without harming your plants.
Using these methods can take a little time, as they work more gradually, but patience is key. Keep an eye on your garden and reapply as needed.
Cultural Practices to Prevent Grub Infestations
Prevention is always better than cure, right? By adopting good garden practices, you can help prevent grub worms from making a comeback. Here’s how:
1. Healthy Soil: A healthy garden starts from the ground up. Regularly amend your soil with compost to keep it nutrient-rich. Healthy plants are less susceptible to pests!
2. Water Wisely: Overwatering can make your garden more susceptible to grubs. Water deeply but less frequently. This encourages roots to grow deeper, making them less accessible to pests.
3. Grass Types: Consider planting resistant grass types that are less appealing to grubs. Some varieties are naturally tougher against these nasty larvae.
By implementing these cultural practices, you can reduce the chances of grub worms becoming a recurring problem in your garden.
Using Chemical Solutions: A Last Resort
Sometimes, despite all your best efforts, you might find that you need to resort to pesticides. If this is the case, it’s crucial to choose the right ones and use them responsibly. Look for products specifically designed for grub control, and follow the instructions carefully.
Consider timing; applying pesticides in late summer or early fall, when grubs are actively feeding, is often the most effective. Remember to avoid using chemicals during flowering seasons to protect pollinators and beneficial insects.
Additionally, always follow safety guidelines for application and storage—you want to protect your garden, not harm it.
Monitoring and Maintenance Post-Removal
Once you’ve successfully tackled the grub worm problem, it’s essential to keep a close eye on your garden. Check regularly for signs of a return, such as wilting plants or brown patches. If you notice them creeping back, you can apply your chosen organic methods again.
In addition to monitoring for grubs, consider implementing a routine garden care schedule. Regular watering, mulching, and fertilizing can go a long way in keeping your plants healthy and robust, making them less appealing to pests.
Remember, it’s all about creating a balanced ecosystem in your garden where beneficial insects and plants thrive.
Dealing with grub worms can feel like a daunting challenge, but with the right knowledge and tools, you’re well on your way to creating a healthy, thriving garden. Whether you opt for natural removal methods or need to use chemical solutions, the key is to stay informed and proactive. Regular monitoring and maintenance not only keep grubs at bay but also ensure your plants flourish.
So grab your gardening gloves and get to work. Your garden is waiting for you to bring it back to life! With time and care, you can enjoy the vibrant, healthy garden you’ve always wanted. Happy gardening!