
Building a habitat for inchworms isn’t just about putting some dirt in a container. It’s about creating a mini-world that mimics their natural environment, where they can thrive. This project can teach you about ecosystems, the importance of habitats, and even responsibility as you care for your little critters. So, let’s dive into how you can create this inchworm paradise step by step!
Gathering Your Materials
Before you start building your habitat, you need to gather some essential materials. Here’s a straightforward list to get you going:
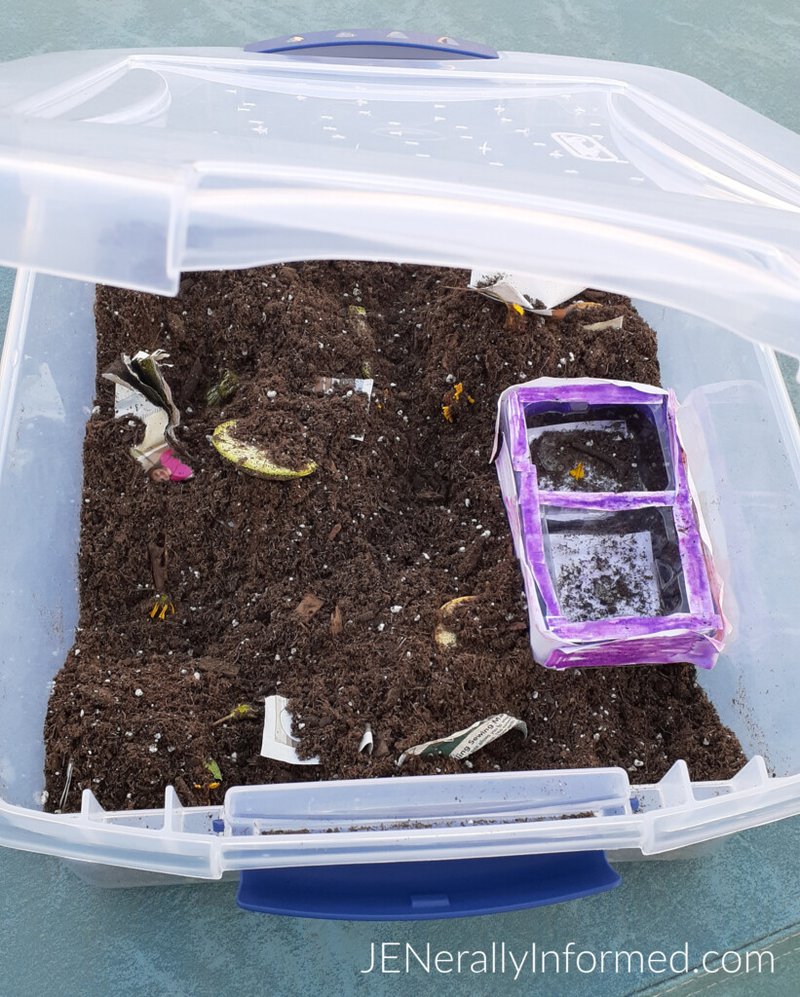
- A transparent container (like a small aquarium or a large jar)
- Soil (preferably organic potting soil)
- Leaves (fresh ones from a tree that inchworms love, like oak or maple)
- Spray bottle (for misting moisture)
- Small sticks or twigs (to mimic the structure of their natural habitat)
You might be asking, “Why does the container need to be transparent?” Great question! A clear container allows you to observe the inchworms closely without disturbing them. This way, you can watch their movements and growth over time—like having a live nature documentary at your fingertips!
Creating the Environment
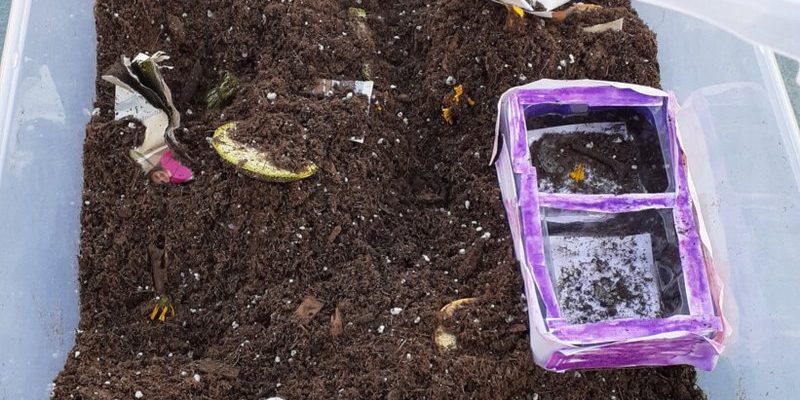
Now that you have your supplies, it’s time to set up the habitat itself. Start by pouring about 2-3 inches of soil into the bottom of your container. This soil isn’t just a base; it provides nutrients and a cozy environment for your inchworms. Remember, they thrive on organic material, so having healthy soil is crucial.
Next, sprinkle some leaves throughout the soil. These will serve as both food and a hiding spot for the inchworms. You might think, “Won’t they just eat them all?” While they will munch away, you can always replace the leaves every few days to keep their meal plan fresh—kind of like offering them a buffet!
Lastly, add some small sticks or twigs. These give the inchworms places to explore and climb on, which is essential for their physical activity. It’s like creating a little jungle gym for them!
Introducing Your Inchworms
At this point, you’ve built a lovely mini-habitat. But it’s time to welcome the main stars: your inchworms! You can either collect them from your backyard or buy them from a local supplier. If you’re collecting your own, just remember to look under leaves or near their favorite trees.
Once you’ve got your inchworms, gently place them in the habitat. If you’re wondering, “How do I take care of them?” don’t worry—it’s simpler than you think! These little guys require a moist environment, so let’s talk about that.
Keeping the Habitat Moist
Inchworms thrive in a humid environment, just like a rainforest. To keep the habitat moist, you can use a simple spray bottle filled with water. Lightly mist the soil and leaves every couple of days, but be careful not to soak them. Think of it like giving your inchworms a little shower!
You might notice that they spend a lot of time on the leaves. That’s perfectly normal! They’ll eat, rest, and even shed their skin in their cozy set-up. Pay attention to how they interact with their surroundings—this is where the fun really begins!
Observing and Recording Behavior
As you care for your inchworms, it’s a great idea to keep a journal of your observations. Note down what they eat, how often they move, and any changes you observe in their behavior or size. This is a fantastic way to combine science with creativity—kind of like making your own nature documentary.
For example, you might write about how you saw an inchworm inching along a twig and then curling up to take a nap. Or perhaps you catch a glimpse of one munching on a leaf, which can lead you to further research about their diet or habitat. Keeping records makes your project not only more engaging but educational too.
Understanding the Lifecycle of Inchworms
Part of your inchworm study is learning about their lifecycle. Inchworms are actually the larvae of moths and butterflies, transforming through various stages before becoming adults. Their journey is a captivating process that can start right under your nose!
After observing their feeding habits, you can research what happens next. Look into when they will pupate and how long that might take. This adds depth to your project—you’re not just watching inchworms; you’re witnessing a life cycle unfold, almost like being a tiny nature scientist!
Final Thoughts on Your Inchworm Habitat Project
Setting up a habitat for an inchworm study is a rewarding project that combines creativity and science. Not only do you get to watch these fascinating creatures up close, but you also learn about ecosystems and responsibility along the way. Plus, it’s a hands-on way to connect with nature, right from your home or classroom.
So, grab your materials, set up your habitat, and prepare to be amazed by the inchworms. Who knows? You might end up with a love for nature that inspires future projects! Remember, the journey of observation is just as important as the final result. Happy exploring!