
Honestly, housing silkworms at home isn’t just about having a quirky pet; it’s a rewarding experience that brings you closer to understanding the delicate balance of life. You may find yourself falling in love with these little guys as they transform from tiny eggs to plump larvae, and eventually to graceful moths. So, grab a cup of coffee, and let me walk you through some essential DIY rearing tips to get your silkworms comfortably settled in their new home.
Choosing the Right Housing for Your Silkworms
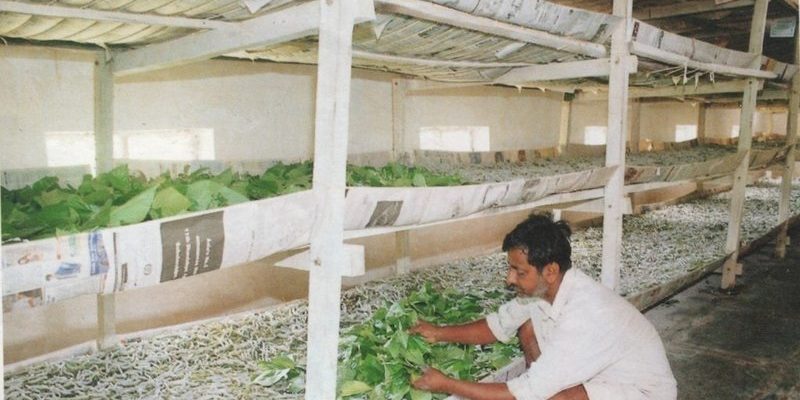
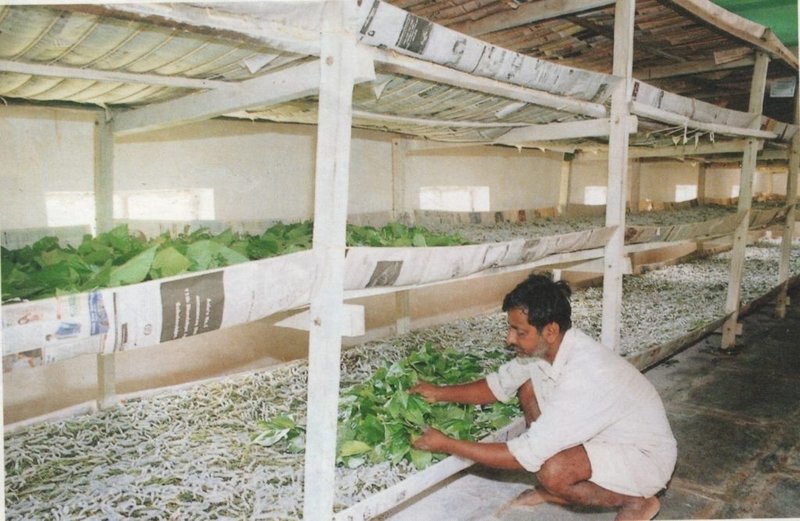
When it comes to housing silkworms, you want to create a comfortable environment that mimics their natural habitat. The ideal setup should be well-ventilated, clean, and easy to monitor. You have a few options here—some people opt for simple containers like plastic boxes or terrariums, while others might go for specialized rearing setups.
Here’s the thing: **size matters**. A standard rule is about 1 square foot of space for every 100 silkworms. If you have a small batch, a simple plastic bin (like those storage containers) can work just fine. Just make sure it has enough air flow. You can poke holes in the lid or use fine mesh to keep them secure while allowing fresh air to circulate. This setup helps prevent mold and keeps the silkworms healthy.
Also, remember about the **temperature and humidity**. Silkworms thrive in temperatures around 77°F to 86°F (25°C to 30°C). Keeping things humid is important too—ideally, you want around 70% humidity. You might need a small hygrometer to check levels. If it gets too dry, try lightly misting the area or placing a small dish of water nearby.
Setting Up the Ideal Environment
Once you have your housing sorted, the next step is to create the ideal environment inside. Start with a clean substrate for your silkworms. You can use **newspaper**, **paper towels**, or even **silkworm-specific bedding** found at pet stores. Just make sure it’s safe and non-toxic.
When you place the substrate, it should be around 1-2 inches deep, depending on the size of your container. Keep it clean and regularly change it out to avoid disease. Silkworms are sensitive, and a dirty environment can lead to health problems. Trust me, a little effort in cleaning goes a long way!
Also, provide them with fresh mulberry leaves or silkworm chow as their diet. Silkworms are **hungry little munchkins**, and they’ll need plenty of food to reach their full potential. Make sure you’re changing the leaves daily to keep their diet fresh. If you’re using chow, just follow the instructions on the packaging.
Feeding Your Silkworms: The What and When
Feeding silkworms is one of the most enjoyable parts of rearing them. They eat a lot, growing from tiny babies to big caterpillars in just a few weeks. You might be wondering about the specifics: do they eat anything, or is it just mulberry leaves?
Silkworms are picky eaters. Their favorite food is fresh mulberry leaves, which are packed with the nutrients they need to grow. You can find these at specialty Asian markets or grow your own mulberry tree if you’re up for the challenge! Just make sure the leaves are young and tender. Older leaves can be tough and not as nutritious.
In terms of **feeding frequency**, it’s important to keep a close eye on their appetite. Younger silkworms (first to third instar) usually need feeding every 12 hours, while older ones can eat once every day. Pay attention to how quickly they consume their food; if it’s gone quickly, they’re ready for more!
Signs of a Healthy Silkworm
Monitoring your silkworms is crucial. Healthy silkworms will usually have a nice, plump appearance, and their skin should be smooth. If you notice them becoming sluggish or their skin looks dull, it might be time to check their environment or diet.
Also, keep an eye out for **webbing**. When they start to spin webs, they’re getting ready for the next stage of their life cycle. This is typically a sign that they’re healthy and happy! And remember, stress can lead to issues, so try to keep handling to a minimum.
Handling Silkworms: Best Practices
Handling your silkworms can be a fun part of the experience, but it’s important to do it with care. Silkworms are delicate creatures, and rough handling can stress them out. So, how do you safely interact with your little silk-makers?
If you need to move them, use a soft brush or gently scoop them up with your hands. Make sure your hands are clean and dry; wet hands can make them slimy and uncomfortable.
Also, avoid wearing any strong scents (like lotions or perfumes) when you’re around them. Their sensitive bodies can react poorly to strong smells. Honestly, a little gentle handling can help you bond with your silkworms and make the experience even more enjoyable.
Showing Off Your Silkworms
As your silkworms grow, they’ll start producing silk, which can be an exciting bonus of your new hobby! When they’re fully grown, they may go through a process called **molting**, where they shed their skin. This is a natural part of their growth cycle.
If you want to showcase your silkworms, consider building a small display or terrarium that allows you to observe them closely. Just be sure to keep it clean and safe. You could also share this experience with friends or family, showing them how these little caterpillars turn into beautiful moths.
Remember, there’s not much cuter than a curious child watching a caterpillar munch away!
Dealing with Common Silkworm Problems
Like any hobby, rearing silkworms comes with its share of challenges. You might encounter problems like mold growth, dying larvae, or even issues with feeding. Let’s break down some common issues and how you can handle them.
**Mold** can be a major problem since it can spread quickly in warm, damp environments. To combat this, ensure you’re using clean bedding and regularly changing out any uneaten food. If you spot mold, remove it immediately and clean the area with a gentle disinfectant.
Another common issue is silkworms dying unexpectedly. This can happen for various reasons—poor diet, inappropriate temperatures, or stress. Always keep an eye on the environment, feed them well, and avoid overcrowding.
If you notice yellowing leaves or sluggish behavior, it’s a sign you might need to adjust something in their habitat. Patience is key, and remember that some issues can be fixed with little adjustments to their environment or care routine.
Harvesting Silk: The Final Step
Once your silkworms have spun their cocoons, the next step is harvesting silk. This is where the real magic happens! Once they have cocooned, you can let them mature for about two weeks. After that, you can carefully unwrap the silk.
You might be wondering how to do this. You’ll need to soak the cocoons in warm water for a few minutes, softening the silk. Then, you can gently unravel it. This process requires a bit of patience, but the result is worth it!
You’ll end up with beautiful silk threads, which you can use for various projects or just marvel at. Just remember, once you harvest the silk, the silkworms will be gone, so take the time to appreciate their journey beforehand.
Wrapping Up Your Silkworm Adventure
Raising silkworms at home is not just a fun project; it’s a journey full of learning and growth. From choosing the right housing to feeding, handling, and eventually harvesting silk, there’s plenty to explore.
You’ll find that each step brings a sense of satisfaction, and as you watch your silkworms thrive, you may even develop a fondness for these tiny yet fascinating creatures. Just remember to keep the environment clean, the food fresh, and enjoy the process.
So, are you ready to embark on your silkworm-rearing adventure? With the right setup and some care, you’ll be spinning tales of silk in no time!