
Grub worms are the larvae of various beetles, primarily Japanese beetles, and can wreak havoc on your garden if left unchecked. They thrive in moist soil, so if your raised beds stay damp, they might feel right at home. But here’s the good news: with a little effort and some handy tips, you can protect your garden and keep those mischievous worms at bay. Let’s dive into the nitty-gritty of dealing with grub worms in raised garden beds.
What Are Grub Worms and Why Are They a Problem?
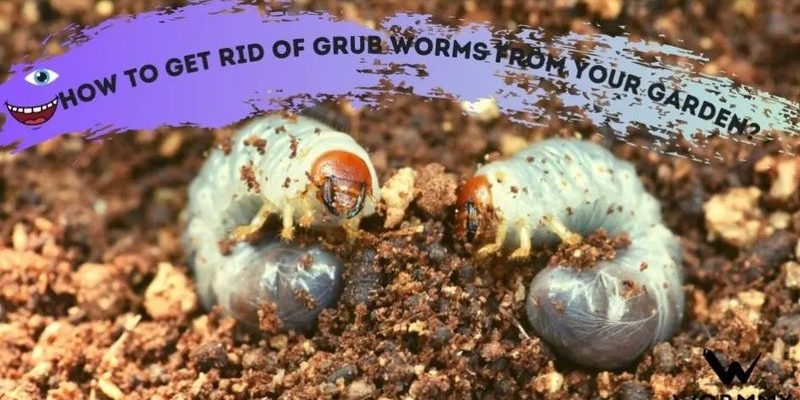
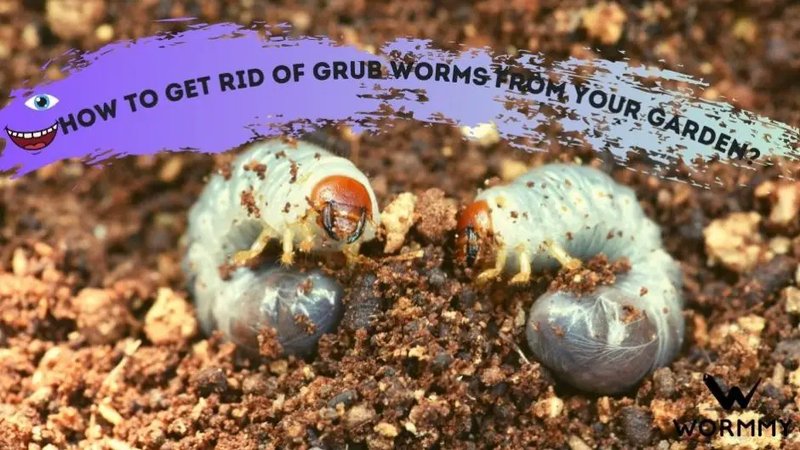
Grub worms, or “grubs” for short, are the immature forms of beetles. They typically have a C-shaped appearance and are often white or cream-colored. These little beings burrow into the soil, munching on plant roots, which can stunt growth or even kill your favorite plants. You might be wondering why these grubs just can’t stick to a diet of leaves instead. Well, they prefer the tender, juicy roots, making your garden their ideal buffet.
The presence of grub worms can indicate that your soil is too moist or that you have other issues, like too much organic matter decomposing. If the conditions are right, they can multiply quickly, leading to bigger issues down the line. You definitely don’t want to wait until your garden is on the verge of a disaster. Being proactive is key.
Identifying Grub Worms in Your Garden
So, how do you know if you have grub worms in your raised beds? It’s not always as obvious as spotting a beetle buzzing around. Start by checking the soil. If your plants are yellowing or wilting despite proper watering, it could be a sign of root damage from grubs.
To check for these pests, you can do a simple test:
- **Dig up a small section** of soil near your plant.
- **Look for C-shaped, white larvae** in the top few inches of the soil.
- **Feel around the roots**; if they’re mushy or detached, grubs might be the culprits.
Remember, the sooner you catch them, the easier it is to take action. Keep an eye out for other signs of pest activity, too, like brown patches in the grass or declining plants.
Natural Methods to Control Grub Worms
If you’re looking for natural ways to keep those grubs in check, you’re in luck! There are several eco-friendly options that can help control their population without harming your garden or the environment.
– **Diatomaceous Earth (DE)**: This natural powder can be a game-changer. When sprinkled on the soil, it dehydrates and kills grubs on contact. Just be careful not to breathe in the dust!
– **Beneficial Nematodes**: These microscopic worms are a gardener’s secret weapon. They invade grub bodies, effectively killing them from the inside out. Simply introduce them into your soil on watering day.
– **Companion Planting**: Introducing certain plants that repel beetles can help. For example, garlic and marigolds are known to deter pests. Plus, they look great in your garden!
Using these methods not only helps manage grub worms but also keeps your garden healthy and thriving.
Chemical Solutions for Grub Worm Control
If natural methods aren’t cutting it, you might be tempted to turn to chemical treatments. There are a range of pesticides available for grub control, but it’s important to proceed with caution. Some may harm beneficial insects or soil health, so pick wisely.
– **Insecticides**: Look for targeted treatments that specify effectiveness against grubs. Always read the instructions carefully. Applying at the right time—usually in late summer or early fall—will yield the best results.
– **Granular Treatments**: These can be spread over the soil and watered in to help penetrate the grub’s hiding spots.
While chemical solutions can be effective, consider using them as a last resort. It’s always best to choose the least harmful method for both the environment and your garden.
Preventing Grub Worm Infestations
Once you’ve tackled your grub problem, you’ll want to prevent future infestations. Think of it as building a castle around your garden—keeping those pests out for good.
1. **Regular Soil Checks**: Make it a habit to inspect your soil. Regular checks help you spot issues before they escalate.
2. **Healthy Soil Practices**: Incorporate organic matter and compost to improve soil health. Healthy soil can support strong plants, making them less susceptible to pests.
3. **Water Wisely**: Overwatering creates an inviting environment for grubs. Make sure to let the top inch of soil dry out before watering again, especially if your plants are established.
Implementing these preventive strategies can save you a lot of headaches in the long run.
How Long Does It Take to Get Rid of Grub Worms?
After you’ve started your battle against grub worms, you might be curious about the timeline. The duration can vary depending on your chosen method and the severity of the infestation.
– **Natural Methods**: If you’re using beneficial nematodes or diatomaceous earth, you might notice a reduction in grub activity within a few weeks.
– **Chemical Solutions**: These can show results more quickly, often within a few days, but can vary based on the specific product used.
Ongoing monitoring is essential. Always keep an eye on your plants and soil to ensure grubs don’t make a comeback.
Dealing with grub worms in raised garden beds can feel overwhelming, but with a bit of knowledge and the right strategies, you can keep your garden healthy and thriving. Whether you opt for natural methods or chemical solutions, being proactive is key. Regular monitoring and preventative measures can save you from future battles.
So, don’t let those pesky grubs spoil your gardening joy! With a little love, attention, and the right tactics, you can enjoy a flourishing garden all season long. Happy gardening!