
Imagine your garden as a treasure chest. You want to protect it from pests just like you’d protect your valuables. Grub worm monitoring tools help you keep an eye on these underground intruders, ensuring you catch any problems before they escalate. Brands like GrubAlert and GrubTector have developed simple, effective devices that any gardener can use to monitor for these pesky critters. Let’s dive into how these tools work and why they’re essential for keeping your garden healthy and thriving.
What Are Grub Worms and Why Should You Monitor Them?
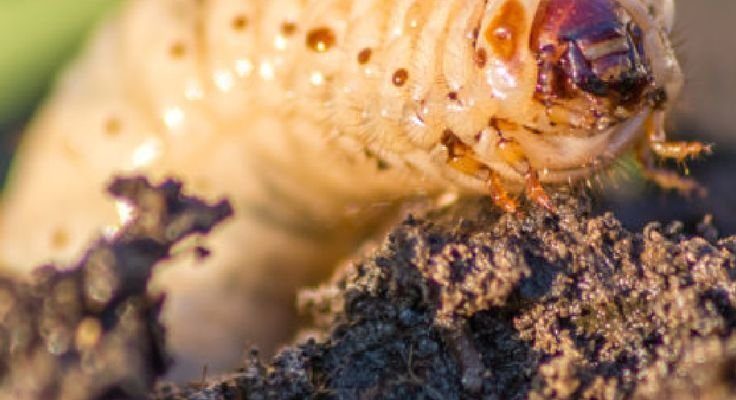
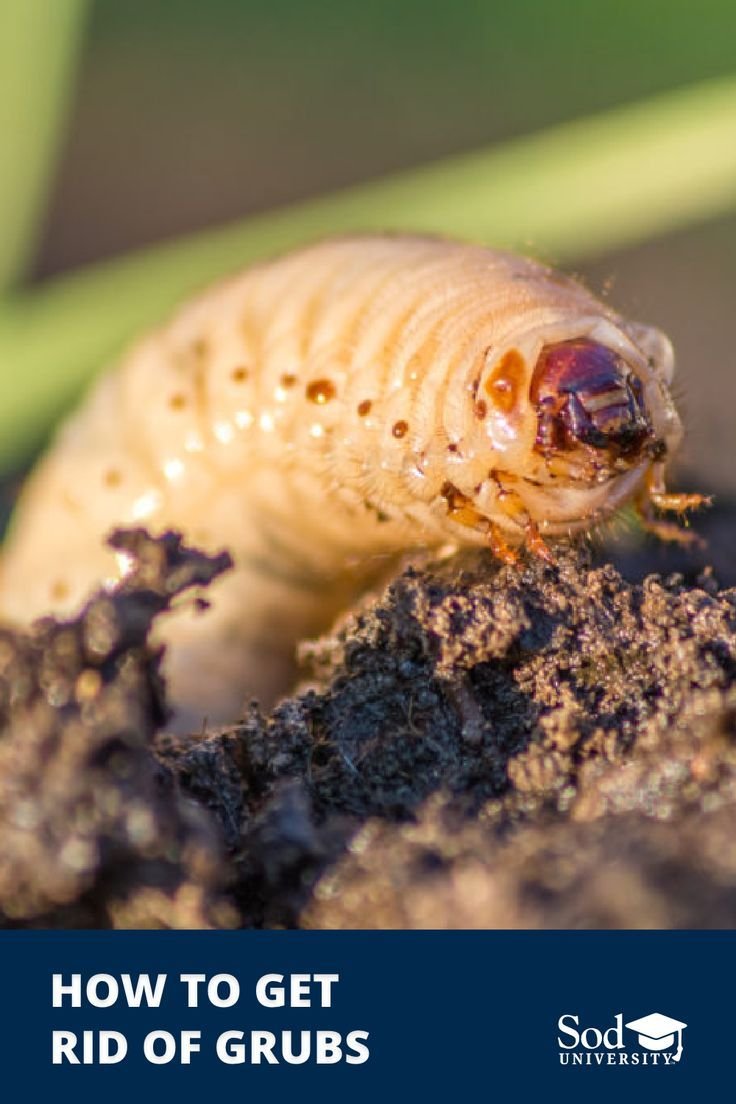
Grub worms are the larval stage of beetles, particularly the Japanese beetle, and they’re notorious for causing trouble in gardens. They feed on the roots of plants, which can lead to wilting, stunted growth, and even death. Honestly, no gardener wants to see their hard work turn to mush because of a few hungry worms. Monitoring for these pests is crucial for preventing damage and protecting your plants.
Here’s the thing: by the time you notice signs of grub damage—like browning grass or drooping plants—your garden might already be in trouble. That’s why prevention is key. Monitoring tools can help you detect these pests early on so you can take action before they do any serious harm. Think of it as getting a check-up before an illness gets too far along.
Types of Grub Worm Monitoring Tools
There are various tools designed to help you monitor grub worms. Some work by taking samples from the soil, while others use traps to provide real-time insights. Choosing the right tool depends on your garden’s size and your monitoring needs.
- Soil Sampling Kits: These are essential for detecting grub populations in your garden. By collecting soil samples, you can assess the number of eggs or larvae present. Kits like those from Gardener’s Supply have easy-to-follow instructions that make sampling straightforward.
- Grub Traps: These traps attract and capture grubs effectively. For instance, the GrubAlert trap uses a bait to lure grubs, allowing you to see if they’re present without disturbing the soil too much. It’s like leaving out a snack for an unwanted guest to catch them in the act!
- Monitoring Apps: Some brands have developed apps that help you track conditions in your garden that may contribute to grub infestations. These apps can alert you when environmental factors are ideal for pests, giving you a heads-up before they invade.
How to Use Soil Sampling Kits
Using a soil sampling kit is pretty simple. First, you’ll want to choose a day when the soil is moist, but not too wet. This will help you get accurate readings. Here’s how to do it step by step:
1. Gather Your Tools: You’ll need the sampling kit, a trowel, and a container to hold your samples.
2. Choose Locations: Select several areas of your garden to sample. It’s best to sample different spots because grub populations can vary.
3. Dig Carefully: Use your trowel to dig out a small square foot of soil, about 6 inches deep.
4. Inspect for Grubs: Shake out the soil over a container or a tarp and look for grubs. Count how many you find. This data will help you determine if it’s time to take action.
Let me explain: the more samples you take, the clearer picture you’ll have of grub activity in your garden. Remember, finding one or two grubs isn’t necessarily alarming, but if you find a lot, you might need to take further steps.
Setting Up Grub Traps
Setting up grub traps can be a fun part of garden monitoring. Here’s how to get started:
1. Choose Your Trap: Invest in a quality trap like GrubAlert. These are designed to be easy to use and effective at catching grubs.
2. Position the Trap: Place your trap in an area where you suspect grub activity. Good spots include near unhealthy plants or areas with brown patches.
3. Follow Instructions: Most traps come with specific instructions on how to use them effectively. Be sure to read and follow these closely to get the best results.
4. Check Regularly: Keep an eye on your traps. Look for signs of grubs regularly, and be prepared to take further action if needed.
You might be wondering what to do if you find a lot of grubs. Don’t panic! There are natural treatments and solutions available that can minimize grub damage without harming your plants.
Understanding Environmental Factors
Understanding the environmental factors that contribute to grub worm populations can help you monitor and manage them proactively. Grubs thrive in certain conditions, and knowing these can give you a leg up.
For starters, moisture is a big factor. Grubs love damp soil. If your garden is overly wet, you may need to adjust your watering schedule to keep things drier. On the flip side, dry soil can also be problematic as it stresses the plants, making them more susceptible to grub attacks.
Another important factor is temperature. Grubs tend to be most active during warm months. In regions where the climate fluctuates, it’s important to monitor both soil and air temperatures. Consider using monitoring apps that can alert you to changing conditions in your garden.
Pay attention to the types of plants you have as well. Some plants are more resistant to grub damage than others. Keeping a diverse plant selection can help safeguard your garden against infestations.
Alternatives to Chemical Solutions
Once you’ve identified a grub problem, you might feel tempted to reach for chemical solutions. However, there are many natural alternatives that can effectively manage grub populations without harming the environment. Here’s a peek at some options:
– Nematodes: These are microscopic worms that prey on grubs. You can introduce beneficial nematodes into your garden, and they’ll seek out and destroy grubs naturally. It’s like sending in a secret agent to take care of the bad guys!
– Diatomaceous Earth: Sprinkling this fine powder on the soil can create a barrier that grubs won’t want to cross. Just be careful not to apply it when it’s windy, or you might end up covering more than just the grubs.
– Companion Planting: Some plants naturally repel grubs. For example, planting garlic or marigolds alongside your vegetables can deter these pests, creating a fragrant garden that your plants will love.
You might find that a combination of these methods works best for you. The key is to monitor regularly and stay proactive, making adjustments as needed.
Wrapping It Up: The Importance of Monitoring
In the end, monitoring for grub worms is an essential part of keeping your garden healthy. With tools like soil sampling kits and traps, you can catch issues before they worsen. Remember, being proactive is much easier than dealing with a full-blown infestation.
By understanding what grub worms are, how they operate, and the environmental factors at play, you empower yourself to protect your plants effectively. Plus, using natural alternatives can help maintain a healthy ecosystem in your garden.
So grab your monitoring tools, keep an eye on your garden, and enjoy the fruits of your labor (literally!). Happy gardening!