
Vermicomposting might sound complicated, but it’s really just a way of harnessing the power of earthworms to decompose organic waste. Whether you live in a tiny apartment or a sprawling house with a garden, anyone can benefit from creating their own vermicompost bin. In this article, we’ll explore how earthworms contribute to composting, the benefits of vermicomposting, and how you can get started right at home.
What Is Vermicomposting?
Vermicomposting is a method of composting that utilizes earthworms to break down organic materials into a nutrient-rich soil amendment. Instead of the traditional composting methods that rely on heat and microorganisms, vermicomposting relies on the digestive systems of worms, specifically red wigglers (Eisenia fetida). These little guys are perfect for composting because they thrive in a wide variety of organic matter, from fruits and vegetables to shredded paper.
Here’s the thing: as earthworms eat this organic material, they convert it into **vermicast**, which is essentially worm poop. This vermicast is packed with nutrients, making it an excellent natural fertilizer for your plants. Plus, it improves soil structure, allowing for better water retention and root growth. So, if you’re looking for a way to boost your garden’s health, vermicomposting is a fantastic option.
Why Are Earthworms Important in Vermicomposting?
You might be wondering, what exactly makes earthworms such crucial players in vermicomposting? Well, for starters, they are nature’s ultimate recyclers. As they munch through kitchen scraps, they help to break down organic matter much faster than traditional composting methods. This speedy decomposition process means you can have rich compost ready in just a few months.
Moreover, the digestive process of earthworms transforms the organic material into **vermicast** that is much richer in nutrients than the original material. This process also increases the availability of nutrients for plants, making it easier for them to absorb what they need to thrive. In simple terms, earthworms take food scraps and turn them into food for your garden.
Additionally, earthworms help aerate the soil as they move through it, creating tunnels that allow air, water, and nutrients to reach plant roots. This is particularly beneficial for soil health, helping to reduce compaction and improve drainage.
Benefits of Vermicomposting
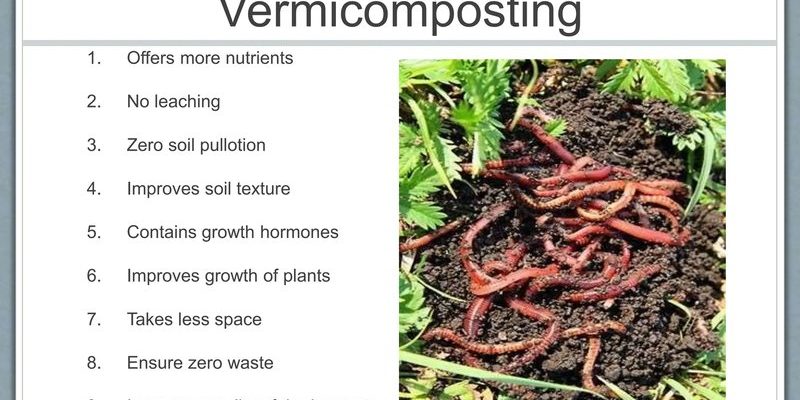
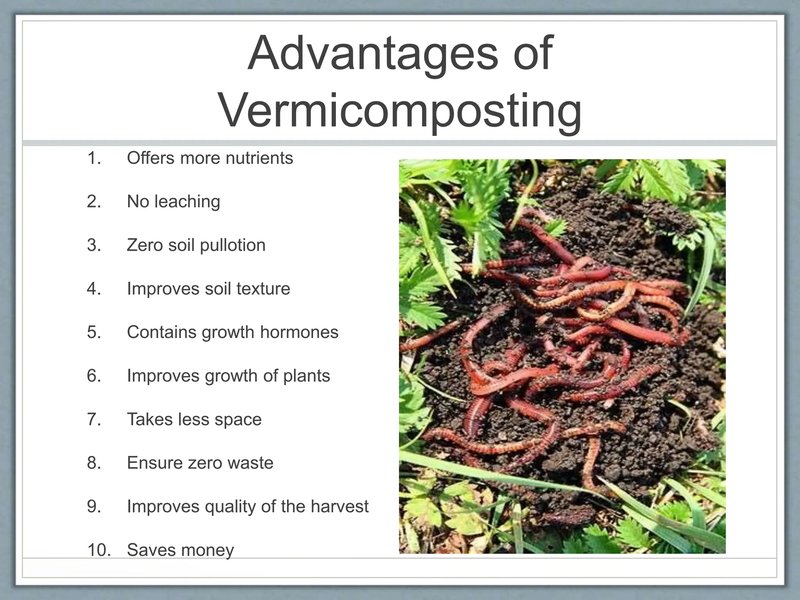
The benefits of vermicomposting go beyond just having nutrient-rich compost for your garden. Here are some of the perks you can enjoy:
- Space-saving: Vermicomposting can be done indoors, making it ideal for apartment dwellers. A small bin can fit under your kitchen sink!
- Reduces waste: By composting your kitchen scraps, you keep organic waste out of landfills, reducing greenhouse gas emissions.
- Improves soil health: The vermicast created by earthworms enhances soil structure, which leads to healthier plants.
- Pest control: Vermicomposting can help deter pests in your garden since the nutrients can help produce stronger, more resilient plants.
- Simple process: Once you set up your vermicomposting system, it requires little maintenance. Just feed your worms regularly, and they’ll do the rest!
By choosing to vermicompost, not only do you benefit your garden, but you also take a meaningful step toward sustainability.
How to Get Started with Vermicomposting
Starting your own vermicomposting bin is easier than you might think! Here’s how to get started:
1. **Choose a Bin:** You’ll need a worm bin that has good ventilation and drainage. You can purchase a pre-made bin or make one yourself out of a plastic storage container. Just make sure it’s about 10–20 gallons, and has holes drilled in the lid for airflow.
2. **Gather Worms:** Look for red wigglers (Eisenia fetida). You can often find them at garden stores or online. A good starting point is about a pound of worms, which can eat through half a pound of kitchen scraps daily.
3. **Prepare Bedding:** Create a cozy environment for your worms using shredded newspaper, cardboard, or coconut coir. Wet it down until it’s damp but not soaking wet. This will help keep the worms happy and healthy.
4. **Feed Your Worms:** Once your bin is set up, start adding food scraps like fruit and vegetable peels, coffee grounds, and crushed eggshells. Avoid meats, dairy, and oily foods, as these can attract pests.
5. **Maintain the Bin:** Keep an eye on moisture levels. If the bedding gets too dry, add a little water; if it’s too wet, add more dry bedding. Rotate the food you add to ensure even decomposition.
6. **Harvesting Vermicast:** After a few months, it’s time to collect the rich vermicast. You can sift through the bin to separate the castings from the worms, or simply move the contents to one side and add fresh bedding to the other side, encouraging the worms to migrate.
Setting up a vermicomposting system is a rewarding way to compost while also providing your garden with high-quality nutrients.
Common Challenges in Vermicomposting
Like any new hobby, vermicomposting can come with its challenges. Here are some common issues and how to tackle them:
– **Odor Issues:** If your bin starts to smell bad, it might be a sign of overfeeding or too much moisture. Try cutting back on the food or adding more dry bedding to balance the moisture levels.
– **Fruit Flies or Pests:** To prevent pests, avoid adding food scraps that can attract them, such as rotten fruits or unprocessed leftovers. Keeping your bin sealed well can also help.
– **Worm Escape:** If your worms are trying to escape, it might be because they aren’t happy with their environment. Check the moisture levels, temperature (ideally between 60-80°F), and make sure they have enough food.
– **Slow Decomposition:** If your compost seems to be breaking down slowly, consider cutting your food scraps into smaller pieces. This helps worms consume them faster and speeds up the decomposition process.
Remember, every vermicomposting experience is unique, and learning from these challenges can make you a better worm caretaker!
Vermicomposting is not just a way to reduce waste; it’s a fantastic method for enhancing your garden and making a positive impact on the environment. With **earthworms** as your partners, you can turn kitchen scraps into black gold for your plants. Plus, it’s a continuously educational journey—watching how these little creatures work their magic can change your perspective on waste and gardening.
If you haven’t yet tried vermicomposting, give it a shot! You might find that it’s not just about the compost; it’s also about connecting with nature and understanding the important processes that keep our ecosystems thriving. So, dig in, get your hands a little dirty, and let those earthworms do their thing!