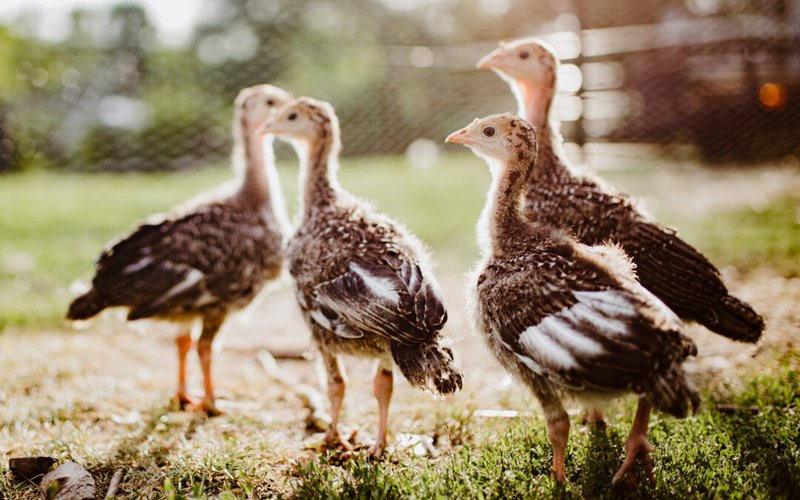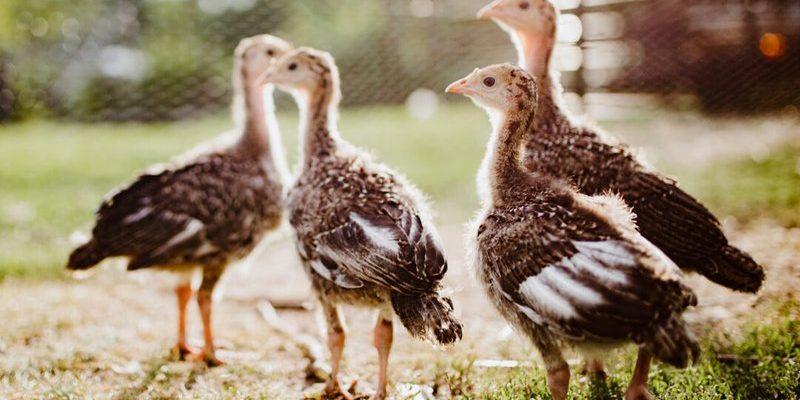
Honestly, there’s something special about watching those fluffy little creatures peck their way into the world. They bring a unique charm, from their big, curious eyes to their comical waddle. But before you dive in, there’s plenty you need to know. In this guide, I’ll walk you through everything from choosing the right eggs to caring for your turkey poults once they hatch. So, grab a cup of coffee and let’s dig into this fun poultry project!
Choosing Fertile Turkey Eggs
When it comes to hatching turkey poults, choosing the right eggs is crucial. Not all eggs are created equal! Look for eggs that are clean and free from cracks or blemishes. Fertile eggs come from healthy, breeding-stock turkeys, so if you’re buying eggs, make sure the source is trustworthy. A good rule of thumb is to buy them from a reputable farm or hatchery that specializes in turkeys.
You might be wondering about the different breeds available. Popular breeds include the Broad Breasted White, Bourbon Red, and Narragansett. Each breed has its unique characteristics, like size, temperament, and growth rate. For beginners, the Broad Breasted White is often recommended because they grow quickly and are widely available.
After you’ve chosen your eggs, store them properly until you’re ready to incubate. Keep them at a temperature around 55°F and gradually turn them a few times each day to maintain viability. This little extra care can go a long way toward hatching healthy poults.
Setting Up the Incubator
Once you have your fertile eggs, it’s time to set up the incubator. Think of this as the cozy home where your turkey poults will begin their journey. You want to replicate the ideal conditions that a mother turkey would provide.
Set your incubator to a temperature of 99.5°F (that’s about 37.5°C). If the temperature fluctuates too much, it can lead to poor hatching rates. You’ll also need to maintain a humidity level of around 55-60% for the first 25 days, increasing it to 70% for the final days before hatching. This is a crucial step because proper humidity helps the chicks break through the shell.
Make sure to turn the eggs at least three times a day during the incubation period, which lasts about 28 days for most turkey breeds. Some advanced incubators have automatic turners, which can save you the trouble. Just make sure you check that your incubator is functioning correctly—like ensuring your car has gas before hitting the road!
Hatching Time: What to Expect
As the incubation period nears its end, excitement builds! Around day 25, you should see some signs of life. The eggs will start to wiggle and make little peeping sounds. This is a good indication that your turkey poults are getting ready to hatch.
During this time, avoid opening the incubator too frequently. It’s tempting to check on them, but each opening causes temperature and humidity shifts that can be detrimental. Instead, trust the process and let nature do its thing.
If everything goes according to plan, your turkey poults will begin hatching on day 28. You might see them pecking their way out of the shell like tiny explorers breaking free from their cocoon. It’s a sight you won’t forget!
Post-Hatching Care for Turkey Poults
Once the poults are hatched, they need a warm, safe environment to thrive. Ideally, you should have a brooder set up. This can be a simple box or a designated area in your coop. Ensure it’s filled with clean bedding like pine shavings, which provides comfort and absorbs waste.
You’ll also need to regulate the temperature in the brooder. For the first week, keep the temperature at 95°F (about 35°C). You can gradually decrease the heat by about 5°F each week until they are fully feathered and can live comfortably at room temperature.
Don’t forget about their diet! Turkey poults require a starter feed that’s high in protein to support their growth. You can find special turkey starter feeds at your local farm store. Providing fresh water every day is equally important—poults are curious and will happily dive into anything, so ensure their drinking area is clean and safe.
Socialization and Handling
As your turkey poults grow, handling them regularly can foster a sense of trust and safety. It’s kind of like getting to know a new friend—you want them to feel comfortable around you! When they’re just a few days old, spend time with them gently, allowing them to explore your hands.
Keep in mind that turkey poults are social creatures. If you have multiple poults, they’ll benefit from each other’s company. It helps them develop social skills and reduces stress. Just watch them play and interact; it’s a lot of fun and can provide hours of entertainment!
However, be cautious not to stress them out. Loud noises or sudden movements can frighten them. Creating a peaceful environment will help them grow into calm and friendly adult turkeys.
Moving to Their Permanent Home
Once your turkey poults are about 8 weeks old, they’ll need to transition to their permanent coop. Before moving them, make sure their new home is secure from predators and spacious enough for them to roam. Ideally, you want at least 4 square feet per turkey.
Before introducing them to the coop, let them explore the area while still keeping them in their brooder. This helps them recognize where they’ll be living. Once they seem comfortable, you can move them in for good.
Keep in mind that your turkeys will still need access to a warm, shaded area and plenty of food and water. As they grow, providing outdoor space allows them to forage for bugs and plants, which can enhance their diet and overall happiness.
Common Challenges and Solutions
Raising turkey poults comes with its challenges, so it’s essential to be prepared. One common issue is poult lethargy, which can mean that something is wrong. They might be too cold, dehydrated, or suffering from a nutritional deficiency. A healthy poult is active and alert, so if you notice any sluggish behavior, check their environment and diet immediately.
Another hurdle can be diseases. Keeping their living space clean and monitoring their health regularly can prevent many common ailments. If you suspect a disease, don’t hesitate to consult a vet who specializes in poultry.
And here’s the thing: if you lose a poult, it can feel disheartening. But remember, this is part of the learning process. Each experience teaches you more about how to care for and raise happy, healthy turkeys.
Embarking on the journey of hatching and raising turkey poults is truly an adventure. From selecting the right eggs to watching them grow into adult turkeys, each step is filled with joy and learning opportunities. You’ll develop a deeper connection to your livestock and gain valuable skills along the way.
Whether you’re doing it for fun, as a family project, or for a sustainable food source, raising turkeys can be incredibly fulfilling. So, grab those fertile eggs, set up your incubator, and get ready for a wonderful experience! Enjoy the journey, and remember, the little things matter just as much as the big milestones in this delightful poultry adventure.

