Picture your garden as a tiny universe. Just like planets need the right conditions to thrive, earthworms require a suitable environment to do their best work. Whether you’re gardening for fun, crops, or just to make your outdoor space more inviting, having earthworms around can make a world of difference. Plus, building their habitat is a simple and rewarding process. Let’s dig into how you can make a cozy home for these wriggly wonders right in your backyard!
Understanding Earthworms and Their Role
Before you dive into building their habitat, it’s helpful to understand why earthworms matter. They’re often called nature’s tillers. As they burrow through the soil, they help aerate it. This process allows water and nutrients to reach plant roots more easily. It’s a little like giving your garden a breath of fresh air.
Earthworms also play a significant role in breaking down organic matter. They consume decaying leaves and other plant material, turning it into rich, nutrient-dense compost—fertilizer that your plants will absolutely love. If you’ve ever marveled at how lush gardens can be, you can thank earthworms for their hard work!
You might be wondering about how many types of earthworms there are. Well, there are over 4,000 species worldwide, but the most common ones found in gardens are the **red wigglers** and **nightcrawlers**. Red wigglers thrive in compost, making them ideal for indoor habitats, while nightcrawlers prefer deeper soils. Choosing the right type for your garden can set the foundation for a thriving earthworm habitat.
Choosing the Right Location
Now that you know why earthworms are important, let’s talk about where to set up their habitat. The best spot is usually in a shaded area of your garden. This is key because earthworms don’t do well in extreme heat or direct sunlight. Think of it like picking the perfect picnic spot; you want it to be comfortable!
Next, consider the soil quality. Earthworms appreciate loose, moist soil loaded with organic matter. If your soil is clay-heavy or hard-packed, you might want to enrich it first. You can do this by adding compost, leaf mold, or well-rotted manure. Not only will this provide nutrients, but it gives earthworms the perfect materials to thrive.
Another factor to think about is accessibility. If you plan to observe the earthworms or check on their habitat regularly, choose a spot that’s easy for you to reach. You want to be able to enjoy the process of watching these little guys work their magic without having to trek through a muddy path every time!
Building the Earthworm Habitat
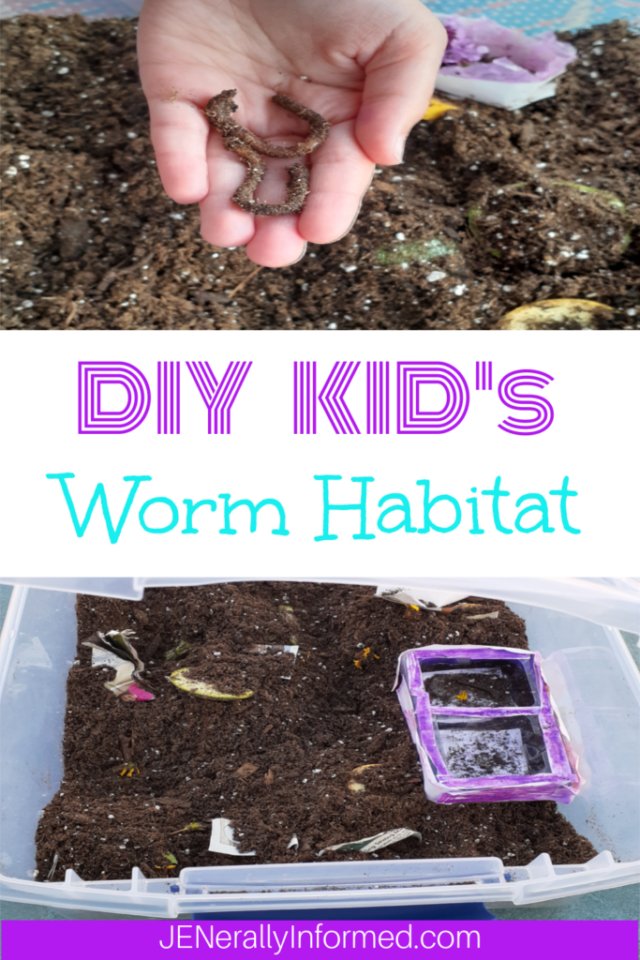
Creating a cozy home for earthworms is quite simple. You can choose to compost or build a designated worm bin. For a worm bin, you’ll need:
- A sturdy container (plastic or wooden)
- Drill for airflow holes
- Moisture-retaining bedding like shredded newspaper or cardboard
- Food scraps (vegetable peels, coffee grounds, etc.)
Start by drilling small holes in your container to allow air to flow. Next, fill it with damp bedding. This is where the worms will live and lay their eggs. You want the bedding to be moist but not soaking wet—think of a wrung-out sponge.
After you’ve prepared the bedding, introduce your earthworms slowly. If you’ve gotten them from a store or garden supply, they’ll likely come in bulk. Don’t just dump them in; instead, spread them evenly across the surface of the bedding. Finally, sprinkle a bit of food on top, such as vegetable scraps, to let them get settled in.
Caring for Your Earthworm Habitat
Once you’ve built your earthworm habitat, how do you keep it thriving? First, monitor moisture levels. Remember, earthworms can drown in overly wet conditions. If the bedding starts to dry out, add a bit of water, but again, avoid making it soggy.
Feeding your earthworms is essential too. They’ll munch happily on kitchen scraps, but not everything is suitable. Avoid adding citrus peels, garlic, or onions, as they can be harmful to them. A good rule of thumb is to feed them in moderation. Too much food can create an unpleasant odor and attract unwanted pests.
Another vital aspect is checking for pests. Keep an eye out for flies or mold. If you notice any issues, it might be time to change the bedding or adjust the food quantity. A healthy balance will ensure your earthworms stay happy and productive!
Harvesting Worm Castings
One of the best parts about maintaining an earthworm habitat is the **worm castings**—that nutrient-rich compost these little guys produce. When it’s time to harvest, you’ll want to wait until the bedding has mostly broken down and the castings have built up.
To harvest, gently remove the top layer of bedding and food. You can either sift through it to collect the castings or move the worms to one side and scoop the castings from the other. Whichever method you choose, be gentle! You want to keep as many worms as possible for future composting.
Using the worm castings in your garden is a fantastic way to boost your soil’s health. Mix it into planting beds or use it as a top dressing for established plants. You’ll likely notice richer, more robust plants that can thrive more easily.
Common Challenges and Solutions
While creating an earthworm habitat is relatively straightforward, you might run into some challenges along the way. Here are a few common issues and how to tackle them:
**Too Wet or Dry:** If you notice your worms surfacing or trying to escape, it might be a sign of poor conditions. Check the moisture level and adjust accordingly—add water if it’s too dry, or air it out if it’s soggy.
**Pests:** Fruit flies or other pests can be a nuisance. To combat this, ensure you’re not overfeeding the worms and keep the habitat clean. If flies are a problem, try covering the food scraps with bedding to minimize exposure.
**Worm Escape Artists:** Some worms like to explore! If they keep trying to escape, it’s often a sign of distress. Ensure their habitat is comfortable. If they’re overcrowded, consider splitting them into another bin.
You might encounter a few bumps in the road, but with a little patience and care, you’ll have a thriving earthworm habitat in no time!
Final Thoughts on Your Earthworm Habitat
Creating an earthworm habitat in your backyard is not just a fun DIY project; it’s a significant step toward fostering a healthier garden ecosystem. Earthworms do so much good beneath the surface, helping to aerate the soil and create nutrient-rich compost. By following the steps outlined here, you’ll provide a safe haven for these important creatures.
So grab your supplies, choose the perfect spot, and get your hands a little dirty. Before you know it, you’ll be enjoying the fruits of your labor—and so will your plants! Happy worm farming!

