
Worm composting, or vermicomposting, is the secret hero of sustainable living. It’s simple enough for anyone to tackle, whether you’re a gardening pro or just looking for a fun weekend project. Plus, it’s a great way to teach kids about recycling and the environment. So grab a cup of coffee, and let’s dive into the earthy world of worm bins!
Why Choose a Worm Bin?
You might be wondering, “Why should I bother with a worm bin?” Well, first off, it’s an *incredible* way to reduce kitchen waste. In fact, composting with worms can shrink your trash by almost half. That’s right! Think of all that food waste and how it contributes to greenhouse gases in a landfill. By worm composting, you’re not just making a difference for your own garden; you’re helping the planet breathe a little easier.
Another major plus is the high-quality compost you get from it. Worm castings (yes, that’s what they’re called) are packed with nutrients and beneficial microbes. This rich and dark material can supercharge your soil, making your plants healthier and happier. Plus, it’s a fantastic natural fertilizer that’s gentle on your plants. So, whether you’ve got a sprawling garden or just a few potted plants, this homemade compost can work wonders.
Finally, worm bins are versatile. You can set them up indoors or outdoors, depending on your space. If you live in an apartment, a small bin can fit neatly in your kitchen or balcony. If you have a backyard, you can create a larger setup. They don’t require a lot of maintenance, and the worms do most of the work for you!
Getting Started: What You Need
Okay, let’s get down to business! To start a worm bin, you’ll need a few supplies. Here’s a quick rundown:
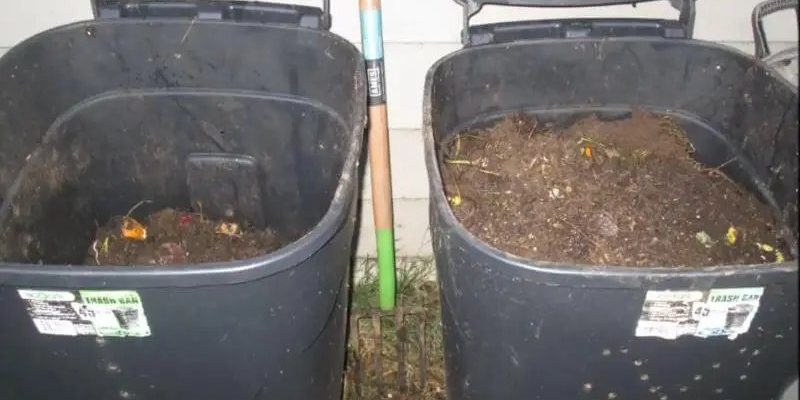
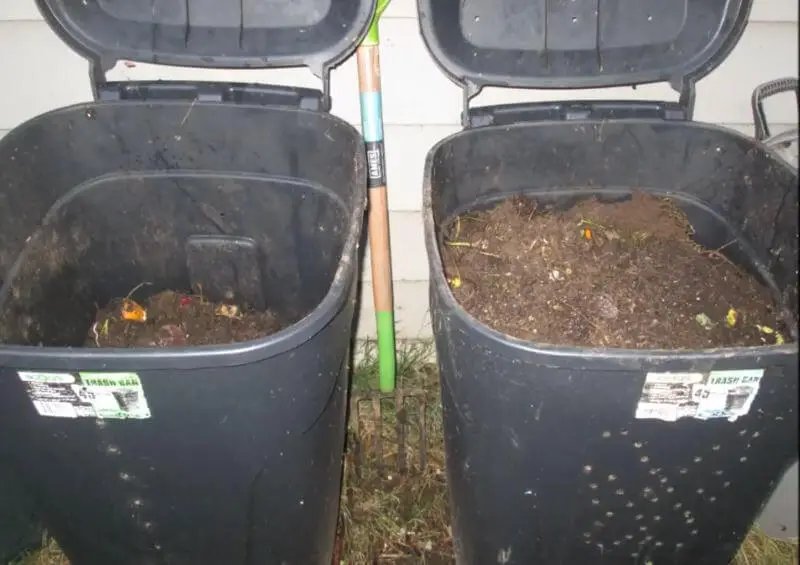
- A Bin: You can use a plastic tote, a wooden box, or even a store-bought worm bin. Just make sure it’s at least 10-12 inches deep and has a lid to keep the worms safe.
- Worms: The star of the show! Red wigglers are the best choice for composting. You can buy them at gardening stores or online.
- Bedding Material: You’ll need shredded newspaper, cardboard, or coconut coir. This helps create a comfortable home for your worms.
- Kitchen Scraps: Save your fruit and vegetable peels, coffee grounds, and eggshells. Just avoid meat, dairy, and oily foods, as they can attract pests.
- Water: Worms need moisture, but not too much! A spray bottle works well to keep things damp.
Gather these items, and you’re on your way to creating your own little ecosystem!
Setting Up Your Worm Bin
Now that you have everything, it’s time to set up your worm bin. Start by choosing a location that’s cool and dark. A basement, garage, or shaded area works great. You want to keep the temperature between 55°F and 77°F, as worms thrive in this range.
1. **Prepare Your Bin:** If you’re using a plastic tote, poke a few small holes in the lid and the bottom for airflow and drainage. If you have a wooden bin, ensure it’s treated for moisture resistance to prevent rot.
2. **Add Bedding:** Take your shredded newspaper or coconut coir and moisten it lightly. You want it like a damp sponge—not soaking wet. Fill the bin with about 4-6 inches of this bedding.
3. **Introduce Your Worms:** Gently place your red wigglers on top of the bedding. They’ll burrow down into their new home. Give them a few days to settle in before adding more scraps.
4. **Start Feeding:** After about 3 days, you can start adding kitchen waste. Bury the scraps in the bedding to minimize odors and pests. Rotate the scraps around the bin to keep things moving and fresh for your worms.
Maintaining Your Worm Bin
Keeping your worm bin healthy is pretty straightforward. Here are a few key tips to ensure your wigglers thrive:
– **Moisture is Key:** Check the moisture level regularly. If it’s too dry, spray a little water; if it’s too wet, add dry bedding to soak it up. Remember, worms like it damp but not soggy.
– **Feeding Balance:** Avoid overfeeding your worms. A good rule of thumb is to add scraps that weigh about half of the worm bin’s weight every week. And always chop the scraps into smaller pieces—they’ll break down faster.
– **Watch for Pests:** If you notice fruit flies or other pests, check your feeding habits. Cover scraps with bedding and don’t add too much food at once. Keeping the bin clean and properly aerated helps too!
Generally, you’ll want to turn the bedding occasionally to aerate it and keep things fresh. And remember, worms are sensitive creatures, so be gentle with them!
Harvesting Worm Castings
After about 3-6 months, you’ll be ready to reap the benefits of your worm bin. Harvesting worm castings is surprisingly easy:
1. **Stop Feeding:** About a week before you plan to harvest, stop adding food. This will encourage worms to finish off the remaining scraps and concentrate in one area.
2. **Split the Bin:** Gently move some of the castings to one side of the bin. The worms will naturally migrate to the other side, looking for food. This makes it easier to collect the castings.
3. **Scoop it Out:** Use a trowel or a shovel to scoop out the worm castings. You can use this dark, crumbly material directly in your garden or mix it into potting soil.
4. **Repopulate the Bin:** Put some bedding and a few of the worms back into the bin along with some food scraps to keep the cycle going.
A little tip: worm castings are incredibly nutrient-dense, so a little goes a long way. You don’t need to cover your entire garden with it—just mix it in where you want to boost growth!
Common Challenges and Troubleshooting
Like any new project, you might run into a few bumps along the way. Here are some common challenges and how to troubleshoot them:
– **Odors:** If your bin starts to smell, it’s usually due to overfeeding or excess moisture. Try adding more dry bedding and reduce the amount of food you put in.
– **Pests:** Fruit flies and other pests can invade if you don’t bury your scraps well or if you add too many at once. Keep the lid on and make sure to cover food with bedding.
– **Worm Escapees:** If you notice worms trying to escape, it’s likely too hot, too dry, or they’re unhappy with their conditions. Make sure to keep the bin moist and in a comfortable temperature range.
– **Slow Processing:** If you find that your worms aren’t breaking down scraps quickly, you might need to chop your food into smaller pieces or ensure you’re not overfeeding.
Don’t worry if things don’t go perfectly at first. Like any new hobby, it takes a bit of practice to find your rhythm.
Enjoying the Benefits of Your Worm Bin
So, you’ve set up your worm bin, maintained it, and are now harvesting the amazing *worm castings*. This is where the fun begins! You’ll notice a difference in plant growth, and your garden or indoor plants will thrive with this nutrient-rich addition. Plus, you’re playing a significant role in reducing waste and being eco-friendly.
Sharing your worm composting experience can also be a great bonding activity with family and friends. You’ll surely inspire others to start their own worm bins, making the world a little greener one worm at a time! If you’re wondering about how to use your worm castings, you can mix them into the soil when planting or use them as a top dressing for houseplants.
The journey of starting a worm bin is not just about composting; it’s about nurturing a small ecosystem that contributes to the larger environment. You’re not just a gardener or a composter; you’re a steward of the planet, and that’s pretty amazing!
In conclusion, starting a worm bin for your kitchen waste is a simple and rewarding endeavor. By following these steps, you can help the environment, enrich your garden, and enjoy the fascinating world of worms—all while reducing what goes to the landfill. So grab your bin, get those little wigglers, and start composting today!