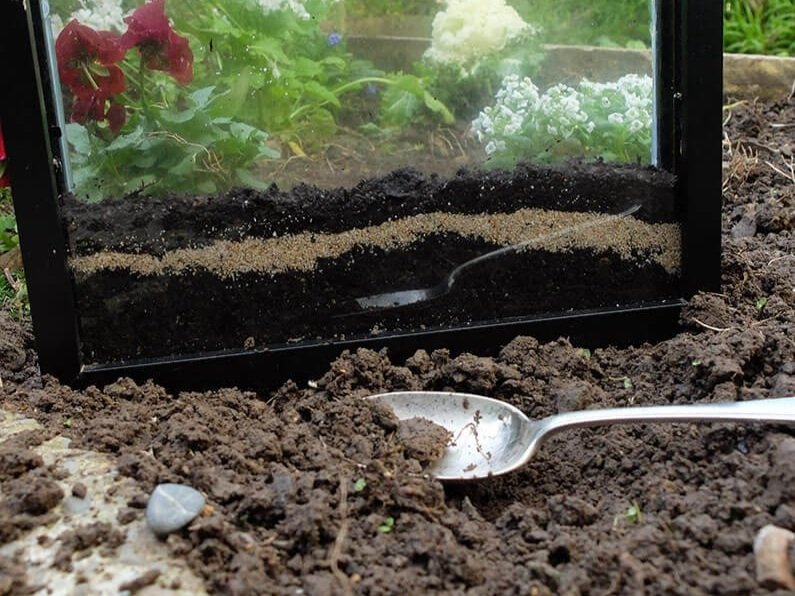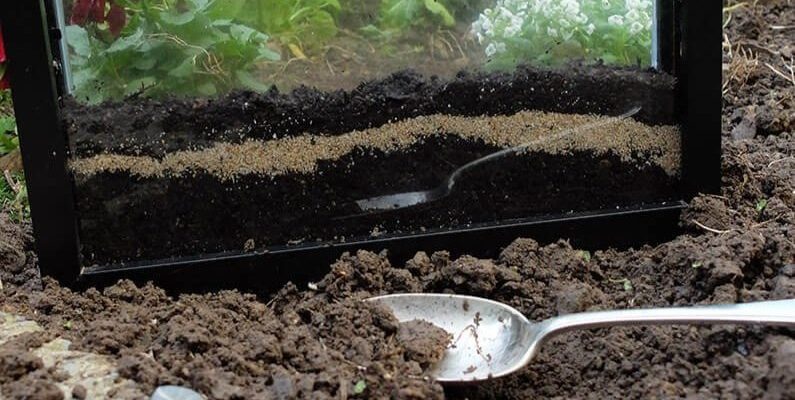
Creating your own earthworm observation station doesn’t require a degree in biology, just a bit of curiosity and the right materials. Think of it as setting up a mini-laboratory where you can watch these fascinating critters at work. You’ll gain firsthand experience in how earthworms contribute to our environment while enjoying the process of building and decorating your station.
Gathering Necessary Materials
Before you jump into building, let’s gather what you’ll need. You won’t need to break the bank, but a few essential items will help make your observation station effective and engaging.
- A clear plastic container: This will be the main habitat for your worms. Look for something around 10 gallons; it should be big enough for the worms to move around. A lid is essential to prevent escape!
- Soil: Try to use organic soil or potting mix, which reflects their natural habitat. You can even mix in some compost to provide additional nutrients.
- Worms: Red wigglers (Eisenia fetida) are a popular choice for observation. You can find them at local bait shops or gardening stores.
- Moisture spray bottle: Earthworms thrive in damp environments, so a spray bottle will help keep their habitat moist.
- Decorative elements: Consider adding small rocks or sticks for the worms to hide and explore, mimicking their natural environment.
Once you have everything, you’re ready to start putting it all together!
Setting Up Your Observation Station
Now it’s time to create the optimal living conditions for your earthworms. Start by choosing a location for your observation station. A spot with indirect sunlight is ideal. Too much light can overheat the container and stress the worms.
Next, fill your container with soil. Make it about 6-8 inches deep so the worms have plenty of room to move around. Gently pack the soil down—just enough so it’s firm but still airy. You want them to be able to burrow and live comfortably. Here’s the thing: earthworms need good drainage. If the soil is too packed, they won’t be able to survive.
Once the soil is in place, it’s time to add the worms. You might be wondering how many to add. A good starting point is about 100 worms for a container this size. Gently place them on top of the soil so they can naturally burrow down into it. After that, give them a light mist with water from your spray bottle. This helps to hydrate them and settle them into their new home.
Feeding Your Earthworms
Just like any pet, your earthworms need to eat. The good news is that they enjoy many kitchen scraps, making them eco-friendly pets, too! Here are some tips on keeping your earthworms well-fed and happy:
- Scraps: Feed them shredded newspaper, vegetable peels, and fruit scraps. Just be sure to chop them into smaller pieces, as this makes it easier for worms to digest.
- Avoid: Some foods aren’t good for worms. Stay away from citrus peels, meat, dairy, or anything oily. These can create odors and harm the worms.
- Frequency: You can add food about once a week. Just make sure to monitor how quickly they’re eating. If you see leftover scraps, reduce the amount next time.
Feeding your worms is an opportunity to get creative. You might even start a compost bin in your kitchen just for them!
Monitoring Conditions
Creating a safe and comfortable environment is key to having healthy, happy earthworms. Regular monitoring will help ensure their habitat remains ideal.
First, check the moisture level of the soil. It should feel damp but not soggy. If it’s too dry, give it a light mist. If it’s too wet, you can leave the lid slightly open for a bit to let some moisture escape. You could also add dry newspaper to absorb excess water if needed.
Next, keep an eye on the temperature. Earthworms prefer a cool climate, ideally between 60°F – 70°F (15°C – 21°C). If it’s too hot, relocating your observation station to a cooler spot or adding ice packs around the outside of the container can help.
Lastly, watch for earthworm behavior. If they aren’t burrowing or seem sluggish, it could be a sign that something’s off with their environment. Adjust accordingly, and soon you’ll be back on track!
Engaging with Worms: Observation Tips
Now that your observation station is up and running, it’s time for the fun part—watching and learning! Here are some tips for effectively observing your earthworms:
- Observation log: Keep a journal to record your observations. Note the number of worms, their activity levels, and any changes you see. This can be a great educational tool for kids.
- Time of day: Earthworms are often more active at night. Consider peeking at them after sunset when they might be more lively.
- Movement patterns: Watch how they burrow into the soil and interact with their environment. You might notice they tend to gather around moist areas or food scraps.
It’s fascinating to see how earthworms contribute to the soil structure. You might even observe the way they aerate the soil as they wiggle through it. This helps plants grow better—an important reminder of the interconnectedness of nature!
Maintaining Your Observation Station
Like any pet or project, your earthworm observation station will need regular upkeep. Here are some simple maintenance tasks to keep in mind:
- Cleaning: Every few weeks, remove any uneaten food and replace it with fresh scraps. If the soil starts to smell or gets too compacted, you might consider refreshing it entirely.
- New worms: If you notice a decrease in worm activity or population, don’t hesitate to add new worms. They can thrive in a well-kept environment, so make sure it remains inviting.
- Seasonal adjustments: Depending on the temperature and weather changes, you might need to alter their habitat. For instance, bring them indoors during extreme weather.
Maintaining the station can be a rewarding experience, and you’ll often find yourself learning something new each time you check in on your squiggly friends.
Why Earthworms Matter
Understanding and observing earthworms isn’t just an intriguing hobby; it’s also a lesson in ecology. These little champions play a significant role in maintaining our environment.
Earthworms help in **soil aeration**, which allows water and air to reach plant roots more effectively. They also break down organic matter, recycling nutrients back into the soil and enhancing plant growth. Imagine them as nature’s own little composters, working tirelessly to improve soil quality.
Plus, by building an observation station, you’re instilling a sense of responsibility and curiosity in younger generations. They’ll learn about the balance of ecosystems, the importance of worms, and how small creatures can make a big difference. So, while you observe their movements, you’re also teaching valuable lessons about sustainability and the interconnectedness of life.
In closing, building an earthworm observation station offers a wonderful opportunity to explore the wonders of nature right in your own backyard. With a little bit of setup and regular care, you can enjoy the fascinating world of earthworms and their essential contributions to our ecosystem. Not only does it make for a cool project, but it also fosters a deeper appreciation for the tiny creatures that help our planet thrive. So grab those materials, gather your worms, and get ready to dig into the exciting world beneath our feet!

