
You may think, “Where did these pesky pests come from?” or “How can I get rid of them without harming my plants?” Great questions! In this guide, we’ll explore everything you need to know about grub worms in your raised garden beds. From identifying them to practical ways to manage them, I’ll take you through the ins and outs of dealing with grub worms—and getting your garden back on track.
What Are Grub Worms?
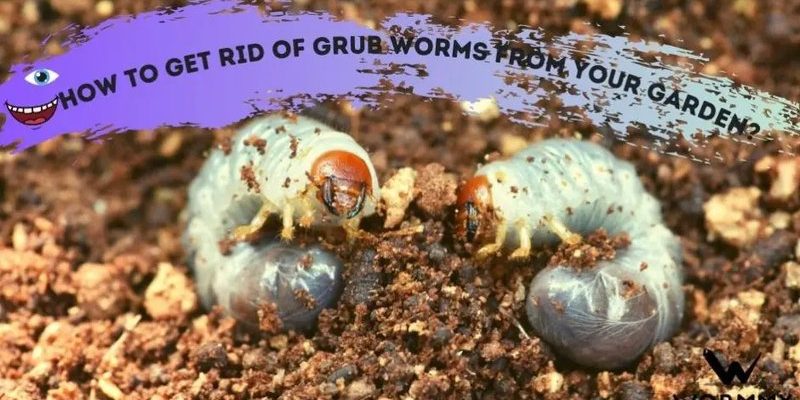
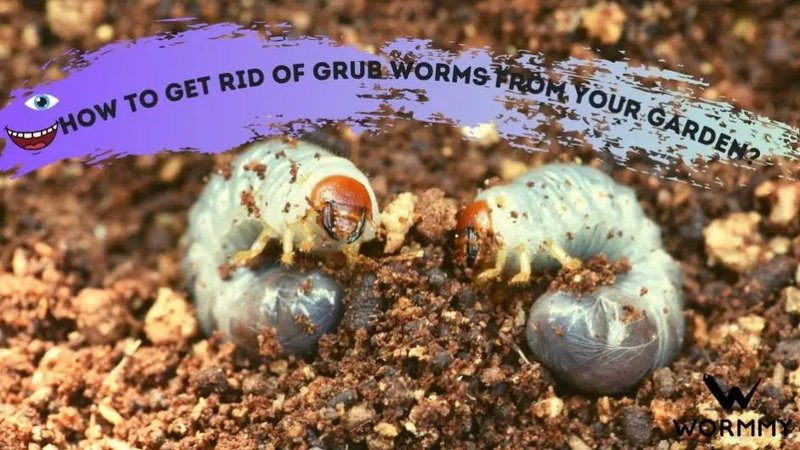
Grub worms, or simply “grubs,” are the larval form of various beetles, including Japanese beetles and June bugs. You can often recognize them by their C-shape, white body, and little brown head. They typically grow to about 1 to 2 inches long, and their presence can spell trouble for your garden. Grubs feast on plant roots, which can lead to wilting or dying plants—so, yeah, they’re not just harmless little wigglers.
The life cycle of grubs is tied to the seasons. They usually hatch in the late summer and fall, becoming active in the soil as they grow. This can be quite an inconvenience because the damage they do often becomes evident in the spring when your plants are just starting to bloom. You might be wondering how to spot the signs of grub damage. Look for patches of grass or plants that are browning or wilting. If you dig into the soil, you might find the grubs themselves hanging out near the roots.
Why Should You Care About Grub Worms?
You might think, “Why not let nature take its course?” While grubs are part of the ecosystem, they can become a problem in a controlled environment like a raised garden bed. When these pests go unchecked, they can wreak havoc on your garden plants. Imagine working hard to plant your seeds, only to have the roots gnawed away by these pesky invaders. It can be a gardener’s nightmare!
Beyond just causing wilting plants, grub worms can attract other pests. Birds and animals may dig up your beds in search of a snack, which can lead to further damage. Plus, high populations of grubs can lead to a decline in beneficial insects, which help keep your garden healthy. So, taking action against grub worms not only protects your current garden but also ensures a more thriving ecosystem for the future.
How to Identify Grub Worms in Your Garden
Identifying grub worms is pretty straightforward if you know what to look for. Start by observing any unusual plant behavior. Droopy leaves or sparse growth are telltale signs that something’s amiss underground.
To confirm your suspicions, you can dig a little deeper. Using a small garden spade, gently turn over a section of your raised bed—about 6 to 12 inches deep. If you find small, white, C-shaped larvae, congratulations (or unfortunately, depending on how you view it), you’ve got grubs!
You can also check the soil for brown patches, which may indicate the roots are being eaten away. If you see these signs, it’s time to take action to protect your plants.
How to Manage Grub Worms in Raised Garden Beds
Now that you’ve identified grubs in your garden, the real question is: What can you do about them? Here are some effective strategies to manage them:
1. Handpicking: This may sound tedious, but handpicking grubs can be quite effective, especially if you have a small garden. Wear gloves and inspect the soil, removing any grubs you find. Toss them into a bucket of soapy water to dispose of them.
2. Natural Predators: Consider introducing natural predators like nematodes, which are microscopic worms that attack grubs. You can often find them at garden centers or online. Just mix them with water and apply them to your garden bed; they’ll seek out the grubs and help keep their population in check.
3. Organic Treatments: There are various organic insecticides available that are safe to use in your garden. Look for products containing neem oil or diatomaceous earth. These can disrupt the grubs’ life cycle without harming beneficial insects or plants.
Preventing Grub Worms from Returning
Once you’ve dealt with those pesky grubs, you’ll want to take measures to prevent them from coming back. Here are some proactive steps you can take:
1. Healthy Soil: Maintaining healthy soil is key in preventing grubs. Healthy soil supports strong plants, making them less vulnerable to pest damage. Incorporate organic matter like compost regularly to nourish your plants and soil.
2. Proper Watering: Overwatering or underwatering can stress your plants, making them prime targets for grubs. Make sure you’re watering appropriately based on the needs of your plants.
3. Crop Rotation: If you can, practice crop rotation. This means changing the types of plants you grow in a certain area each season. Grubs often struggle to survive when their food source changes.
Grub worms in raised garden beds might seem like a daunting problem, but with a little know-how, you can take control. By identifying them early, managing them effectively, and implementing preventative measures, you can protect your plants and enjoy a thriving garden. Remember, gardening is all about balance—between you, your plants, and even the critters that share your space. So don’t let grubs cramp your gardening style! Take action, and keep your garden thriving for seasons to come.