
Storing and incubating silkworm eggs may sound tricky, but it’s easier than it seems. In this guide, I’ll walk you through everything you need to know to keep your eggs safe and help them hatch into those fluffy little caterpillars we adore. From understanding the ideal storage environment to tips on optimal incubation, we’ll cover all the essentials so you can embark on your sericulture journey with confidence.
Understanding Silkworm Eggs
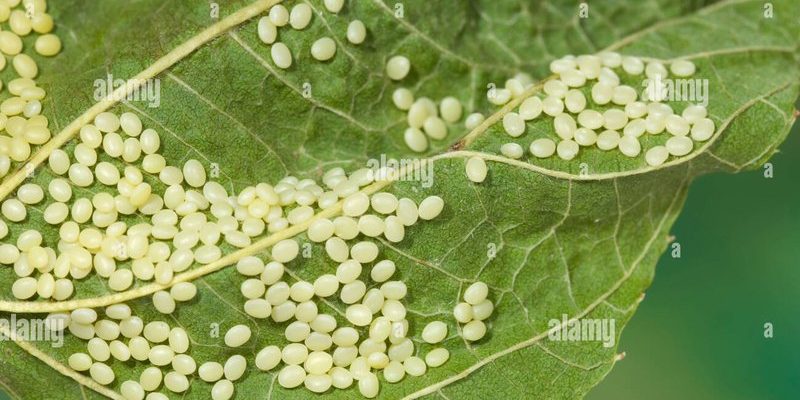
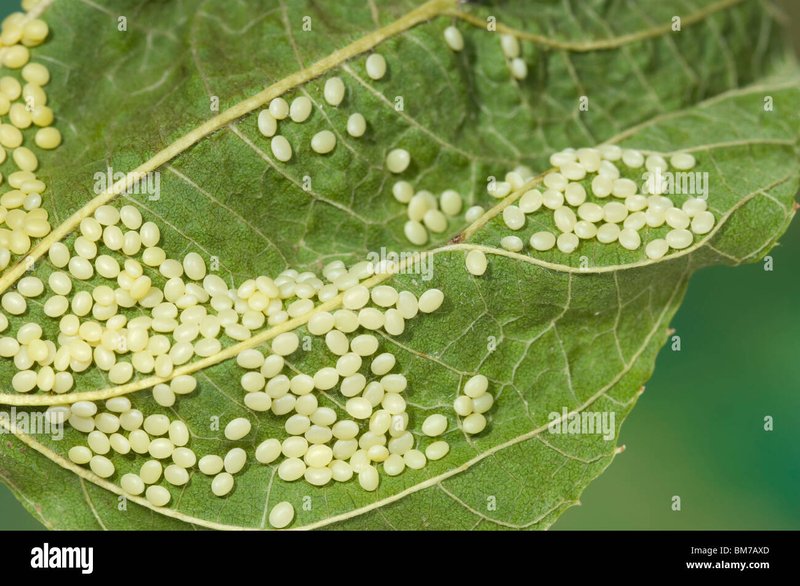
Before diving into storage and incubation, let’s take a moment to understand what silkworm eggs actually are. These eggs, often laid by the female of the *Bombyx mori* species, look like tiny beads and can vary in color from light yellow to brown. Each egg is about the size of a grain of sand! They might be small, but they hold the promise of a new life, transforming into silkworms that will eventually produce silk.
Interestingly, silkworm eggs go through a fascinating life cycle. After hatching, silk larvae (or caterpillars) grow rapidly, feeding primarily on mulberry leaves. Understanding this lifecycle is vital, as it helps you realize the importance of proper storage and incubation practices. You wouldn’t want to skip steps when preparing for something so exciting!
Why Proper Storage is Crucial
You might be wondering, “Why does it matter how I store these tiny eggs?” Well, improper storage can lead to a range of problems, from reducing hatch rates to damaging the eggs entirely. Just like keeping your food in the right place prevents spoilage, proper storage ensures the eggs remain viable until you’re ready to incubate them.
Here’s the thing: silkworm eggs are sensitive to temperature and humidity. Storing them in the wrong conditions can lead to mold growth or dehydration. Moreover, exposure to direct sunlight can damage them, making it harder for them to hatch. So, taking the time to set up a suitable storage space can significantly impact your silkworm farming success.
Ideal Conditions for Storing Silkworm Eggs
When it comes to storing silkworm eggs, think of it like creating a cozy little nook for them. The ideal storage conditions include a cool, dark place with stable humidity levels. Aim for temperatures around 18°C to 25°C (64°F to 77°F) and humidity levels between 60% and 70%.
To create this environment, consider using airtight containers to keep moisture in and pests out. You can also place a small damp sponge or paper towel in the container to maintain humidity. Just make sure it’s not dripping wet—too much moisture can be just as harmful as too little. Keeping the eggs away from drafts or heat sources is also crucial for their well-being.
How to Incubate Silkworm Eggs
Now that your silkworm eggs are safely stored, the next step is incubation. This process involves creating the right environment for the eggs to hatch successfully. Typically, you’ll want to maintain similar conditions as when you stored them: a steady temperature and humidity.
Start by preparing an incubator. If you don’t have one, you can use a simple setup with a plastic container, a heating pad, and a thermometer. Place the heating pad under the container to keep it warm. Make sure to monitor the temperature regularly. If it gets too hot, you could end up cooking those little eggs!
Additionally, maintaining humidity is critical during incubation. You can use the same damp sponge or paper towel trick here. Just be sure to check it frequently to prevent drying out. Aim for a temperature of about 25°C to 30°C (77°F to 86°F) during the incubation process to encourage hatchlings to come out.
Monitoring the Incubation Process
As the days go by, you’ll want to keep a close eye on the eggs. Depending on the temperature and humidity, it typically takes about 10 to 14 days for silkworm eggs to hatch. During this time, avoid opening the incubator frequently, as this can disrupt the delicate conditions you worked so hard to create.
One way to monitor the hatching process is by observing the eggs. They’ll start to change color and may become slightly translucent as they near hatching time. It’s almost like watching a magic show! Once you start to see little caterpillars emerging, it means your efforts are paying off.
Common Problems and Their Solutions
Even with the best planning, things can go wrong. One common issue is mold growth inside the storage container. If you notice this, you need to act fast. Remove the eggs carefully and transfer them to a new container with fresh air circulation. Also, regularly check moisture levels to avoid moldy conditions.
Another potential problem is low hatch rates. If you find that not many eggs are hatching, it could be due to improper storage temperatures or humidity levels. Double-check that you’re maintaining the right environment. If you’ve noticed that your eggs are too dry or too humid, adjust accordingly to enhance your chances of a successful hatch next time.
After Hatching: Caring for the Caterpillars
Once your silkworm eggs have hatched, it’s time to take care of those tiny caterpillars! They’ll be hungry, so you’ll need to provide plenty of **fresh mulberry leaves**. Remember, these little guys eat a lot, so be ready to keep up with their appetites.
You’ll also want to make sure they have enough space. Overcrowding can lead to stress and diseases. Space them out in different containers, if possible, to create a healthier environment. Keep monitoring the temperature and humidity to keep your new silkworms happy.
Wrapping It Up
Storing and incubating silkworm eggs might seem daunting, but with the right knowledge and careful attention, you can have a thriving batch of caterpillars in no time. Just remember that these eggs require a little bit of love and the right conditions to flourish.
As you embark on your silkworm farming journey, think of it as a rewarding adventure, full of surprises and learning experiences. You’ll get to witness the miracle of life transforming before your eyes, and with all the steps outlined here, you’ll be well on your way to becoming a silkworm pro! Happy farming!