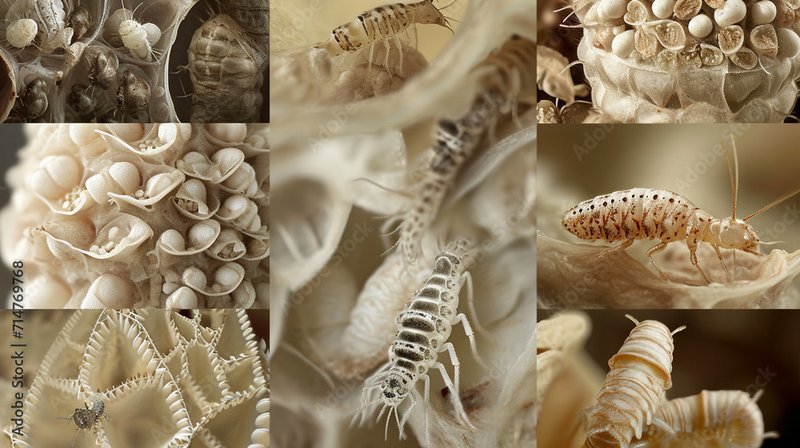
So, why should you care about silkworm preparation? Well, for those looking to dive into the commercial silk business, understanding how to raise and care for these little guys is key. Just imagine nurturing them like you would with new plants; they need the right environment, food, and care to flourish. Preparing silkworms isn’t just a step; it’s a journey that ensures you get the best silk possible.
The Lifecycle of Silkworms
Before you start preparing silkworms, it’s essential to understand their lifecycle. Silkworms go through several stages: the egg, larva (caterpillar), pupa, and adult moth. Each stage has its own requirements and challenges.
1. **Egg Stage:** Silkworms begin their journey as eggs. These tiny, round eggs are usually incubated for about 10 days before they hatch. The right temperature and humidity are crucial here. Ideally, you want temperatures around 25°C (77°F) and humidity levels around 70%. If conditions aren’t right, you might end up with a lot of wasted eggs.
2. **Larval Stage:** Once the eggs hatch, the larvae emerge and start feeding voraciously on mulberry leaves. This stage lasts about 4–6 weeks. It’s the most critical period, as the larvae must eat and grow to be strong enough to form cocoons. They need access to fresh, high-quality leaves daily. Honestly, if they don’t get enough food or the right kind, they won’t grow properly.
3. **Pupal Stage:** After the larval stage, the silkworms will stop eating and begin spinning cocoons. This is where the magic happens. They produce silk fibers that are secreted from glands in their mouths. The pupal stage lasts about 10 days, and it’s a delicate time. You want to ensure they’re in a quiet, controlled environment to avoid stress.
Creating the Perfect Environment
An optimal environment is crucial for the health of your silkworms. Think of it like setting the scene for a cozy dinner party; you want everything just right to ensure everyone enjoys themselves.
1. **Temperature Control:** Silkworms thrive in temperatures between 20°C and 30°C (68°F and 86°F). Too hot or too cold, and you could derail the entire process. A temperature fluctuation of just a few degrees can affect their growth and silk production.
2. **Humidity Requirements:** Humidity plays a big role too. During the larval stage, around 60–70% is ideal. Once they start spinning cocoons, lower humidity (around 50%) can help to prevent mold and keep the cocoons healthy.
3. **Ventilation:** Good airflow is key. Stagnant air can cause problems, especially with diseases. Setting up a well-ventilated space helps maintain airflow and keeps your silkworms healthy.
Feeding Your Silkworms Properly
Just like humans need a balanced diet, silkworms need the right food to grow strong and produce high-quality silk. They primarily eat mulberry leaves, but there are a few things to keep in mind.
1. **Fresh Leaves:** Always provide fresh mulberry leaves. Stale or wilting leaves can harm the silkworms’ growth. You’ll need to source quality leaves, so establishing a reliable supply chain is essential.
2. **Quantity of Feed:** Overfeeding can lead to waste, while underfeeding stunts growth. It’s all about balance. Generally, they can consume about 20 times their body weight in leaves.
3. **Water Needs:** Surprisingly, silkworms don’t drink water the way we do. They get moisture from the leaves. So, ensuring that the leaves are fresh is also a part of meeting their hydration needs.
Handling Silkworms with Care
Handling silkworms requires a gentle touch. They are fragile and can easily be stressed, which can impact their growth and silk production.
1. **Minimize Handling:** Try not to handle them too much. When you need to, make sure your hands are clean and dry. Gently picking them up or moving them can prevent injury.
2. **Avoid Temperature Shock:** Avoid moving them between areas with different temperatures too quickly. This can shock the silkworms and hinder their growth.
3. **Monitoring Health:** Keep an eye on your silkworms for any signs of illness. Look for changes in their eating habits or unusual behaviors. Early detection is key to preventing illnesses from spreading.
Harvesting Cocoons
After about 10 days of spinning, it’s time to harvest the cocoons. This is a delicate process and requires care to ensure you get the best quality silk.
1. **Timing the Harvest:** You want to harvest the cocoons just before they start to emerge as moths. If you wait too long, the moths will break the silk, reducing the quality.
2. **The Harvesting Process:** Use scissors or a sharp knife to cut the cocoons off their frames. Be gentle to avoid damaging them. Place the cocoons in a dry area to let them dry out, which will improve the quality of the silk.
3. **Post-Harvest Care:** After harvesting, you’ll want to sort the cocoons. Look for any that are damaged or have holes, and separate them. This step ensures you only work with the best quality for silk production.
Preparing silkworms for commercial cocoon production may seem daunting at first, but once you understand the basics, it can be a rewarding venture. It’s like nurturing a garden; with the right care, you’ll see your silkworms flourish and contribute to a wonderful product. From managing their environment to feeding them right and ensuring they spin beautiful cocoons, the whole process is about attention to detail and a little bit of love.
As you embark on your silkworm farming journey, remember that patience and care go a long way. With each batch of cocoons you harvest, you’re participating in a time-honored tradition that has provided silk for centuries. So, get ready to roll up your sleeves, embrace the process, and watch your silkworms work their magic!

