
In this article, we’ll dive into the ins and outs of indoor silkworm farming. From understanding their requirements to tips on keeping them happy and healthy, we’ll cover everything you need to know. By the end, you’ll be equipped with the knowledge to decide whether this intriguing activity fits your lifestyle. So, grab a cup of coffee, and let’s explore the world of silkworms!
Understanding Silkworms and Their Needs
Silkworms, or *Bombyx mori*, are the larvae of the silk moth. These little guys primarily feed on mulberry leaves, which are essential for their growth. If you’re thinking about raising them indoors, it’s important to grasp what they need to thrive. Here’s the scoop:
– **Temperature:** Silkworms prefer a warm environment, ideally between 25°C and 28°C (77°F to 82°F). This helps them grow quickly and produce silk efficiently. If your home is too cold, you might need to invest in a small heater or heat mat.
– **Humidity:** These worms also love humidity, around 60-70%. A humidifier can do wonders here, keeping their living space comfortable. You might have to monitor this closely; dry air can affect their growth.
– **Space:** Silkworms need room to breathe and munch on leaves. A multi-tiered rearing system can be helpful, allowing you to maximize space while keeping them organized. Just be sure to clean their environment regularly to avoid any health issues.
Setting Up Your Indoor Silkworm Habitat
Creating the perfect habitat for your silkworms isn’t rocket science, but it does require some planning. Here’s how to get your indoor setup just right:
1. **Choose the Right Container:** You can use plastic bins or cardboard boxes for raising silkworms, but make sure there’s adequate ventilation. A container with small holes allows for airflow while keeping them safe from pests.
2. **Layering for Success:** Place a layer of newspaper or paper towels at the bottom of the container. This acts as a substrate, soaking up excess moisture and making cleanup easier.
3. **Feeding Stations:** Dedicate sections for fresh mulberry leaves. Keep in mind, they need access to food daily, so plan your feeding routine accordingly.
4. **Temperature Control:** Consider using thermometers and hygrometers to keep track of temperature and humidity. This way, you can adjust your setup if needed.
Setting a stable environment is crucial for the health and productivity of your silkworms.
Feeding Silkworms: The Basics
Feeding your silkworms may seem straightforward, but understanding their dietary needs is vital. Here’s a simple breakdown:
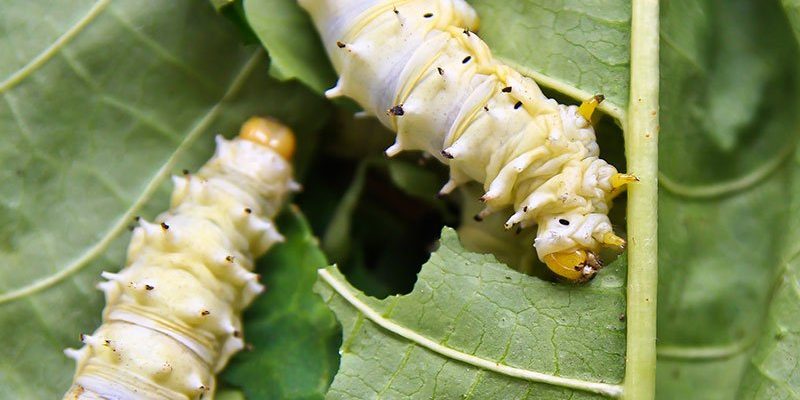
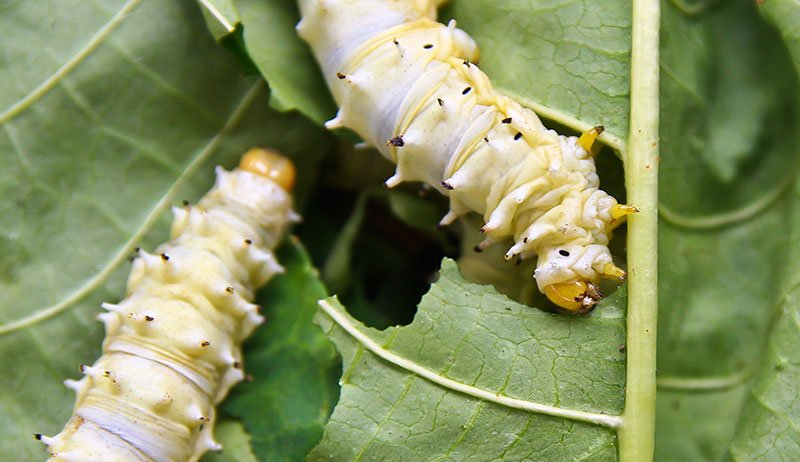
– **Mulberry Leaves:** Fresh, juicy mulberry leaves are like a gourmet meal for your silkworms. You can also use dried mulberry leaves in a pinch, but fresh is always best. If mulberry isn’t available, other leaves like osage orange may work, but watch for how your silkworms react.
– **Feeding Frequency:** Young silkworms, or larvae, should be fed several times a day. As they grow, you can reduce feeding to once a day. Always check their leaves—if they’re wilting or eaten up, it’s time for a fresh batch.
– **Water Needs:** Silkworms get most of their water from the leaves. However, a small water dish can be added to their habitat, but be cautious—too much water can drown them!
Feeding your silkworms properly is one of the most significant factors determining their growth and silk production.
Recognizing Silkworm Life Stages
Silkworms go through several life stages, and understanding these can help in managing their care. It’s like watching a miniature life cycle unfold right in your home! Here’s what to expect:
1. **Eggs:** After mating, female moths lay tiny eggs, which are usually collected and kept in a suitable environment. Expect them to hatch in about 10 days.
2. **Larvae:** Once they hatch, the silkworm larvae are incredibly small and will go through five growth stages, called instars. They will grow bigger with each stage, requiring more food—so be ready to switch out those leaves!
3. **Pupation:** After their final instar, the larvae will spin cocoons, entering the pupal stage. This is when the magic happens; they transform into silk moths.
4. **Adults:** Once fully developed, the adult moths will emerge. They will mate and the cycle continues. This whole process can take about 6-8 weeks.
Understanding their life stages ensures you provide the right care at each step.
Indoor Challenges: What You Might Face
Raising silkworms indoors can come with its own set of challenges. Here are a few potential issues and how you might tackle them:
– **Pests:** Silkworms are prone to pests like spiders and mites. Keeping their habitat clean and minimizing outside contact can help protect them. Regular checks will keep you informed of any unwanted visitors.
– **Temperature Fluctuations:** If your home tends to get drafty or too warm, you might find it hard to maintain the ideal temperature. Invest in climate control solutions if needed.
– **Overfeeding:** It’s easy to overfeed your silkworms, especially if you’re excited to watch them grow. Keep an eye on their eating habits; if they’re leaving a lot of uneaten leaves, it’s time to adjust.
By being proactive, you can help ensure your silkworm project runs smoothly.
Harvesting Silk: The Reward of Your Efforts
The ultimate goal of raising silkworms is to harvest the silk they produce. Here’s how to do it properly:
1. **Wait for the Right Time:** Allow the cocoons to mature fully. This usually takes around 2-3 weeks. You’ll want to ensure that the silk filaments are strong and ready for processing.
2. **Boiling:** To harvest the silk, boil the cocoons in water. This softens the sericin, a protein that binds the silk threads, making it easier to unravel.
3. **Spooling:** Once boiled, carefully unwind the silk threads from the cocoon. It can be a delicate process, so take your time!
4. **Drying and Storing:** Finally, allow the silk threads to dry before storing them.
Your patience and care will pay off when you’re able to see—and possibly use—your very own silk!
Final Thoughts on Raising Silkworms Indoors
Raising silkworms indoors year-round can be a rewarding and educational experience. Whether you’re after a unique hobby, a science project, or just a curiosity about nature, silkworms offer a fascinating glimpse into life cycles and silk production.
With a little preparation and dedication, you can create a thriving environment for these interesting creatures. Remember, it’s all about keeping their needs in mind—temperature, humidity, and nutrition are key.
So, are you ready to start your silkworm journey? Gather your supplies and embrace the adventure of watching these little creatures transform before your eyes!