
Watching inchworms undergo their transformation can be a delightful experience that’s both educational and engaging. Imagine setting up a small observation station, filled with plants and a cozy little habitat, where students can closely observe how these tiny critters grow and change. It’s like having a front-row seat to a nature documentary, but this time, you’re part of the action. Let’s dive in and explore how to effectively observe inchworm metamorphosis in the classroom!
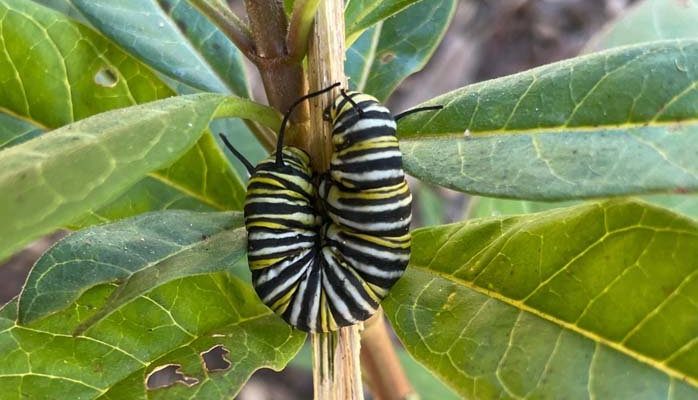
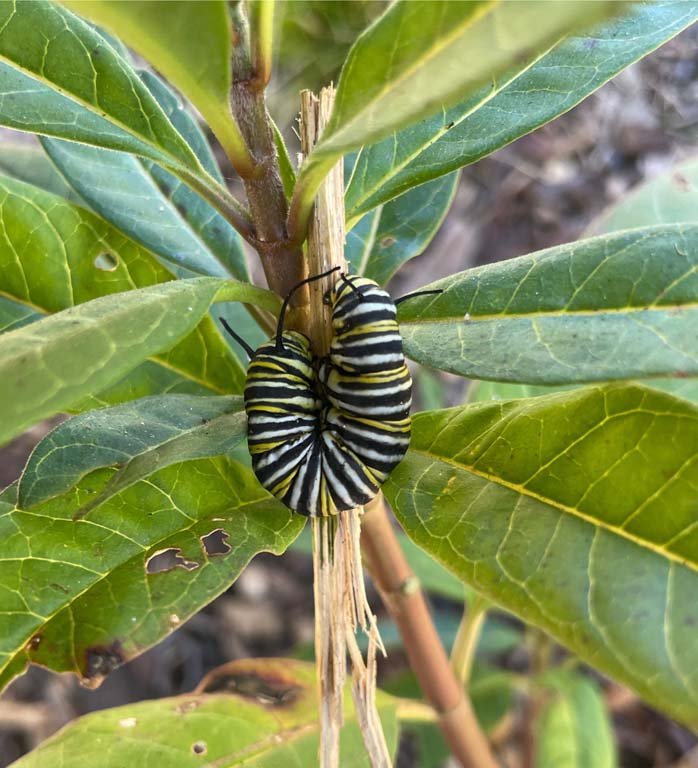
Before we jump into the metamorphosis process, it’s essential to know what inchworms are. **Inchworms**, or “measuring worms” as they’re sometimes called, are the larvae of various moth species. They get their name from their unique way of moving, which resembles measuring — they arch their bodies and then pull themselves forward, giving the illusion that they are measuring their surroundings.
You might be wondering where to find these fascinating creatures. Inchworms are often spotted on trees and shrubs, especially during spring and summer. They are usually green or brown, allowing them to blend in with the foliage. This camouflage is not just for show; it helps protect them from predators as they munch on leaves.
Understanding their lifecycle is crucial for observing their metamorphosis. Inchworms go through several stages, starting as eggs, then moving to the larval stage where they eat voraciously, followed by a pupa stage, before finally emerging as adult moths. This journey takes a bit of time and patience, but it’s worth every moment spent watching.
Creating a suitable environment for inchworms in your classroom is key to successful observation. You’ll need a few supplies to get started. Here’s what you should consider:
- A clear container: This will house the inchworms, allowing students to see their behavior without disturbing them.
- Fresh leaves: Inchworms love to munch on leaves, so include some from local plants, ensuring they are pesticide-free and safe.
- A damp sponge or paper towel: This will maintain humidity, which is essential for the inchworms’ environment; just don’t let it get too wet!
- A magnifying glass: This will help students get a closer look at the inchworms and their unique features.
Make sure to place the container in a spot where it gets indirect sunlight. Direct sunlight can become too hot for the inchworms, and they might not survive. Taking these simple steps sets the stage for a close-up view of nature’s magic!
As you set up your observation station, it’s helpful to familiarize yourself (and your students) with the different life stages of inchworms. Understanding these stages will enrich the learning experience as students observe firsthand how inchworms transform.
1. **Egg Stage:** The cycle begins when female moths lay eggs on leaves. These eggs are tiny and can easily go unnoticed. After a few days to a week, they hatch into larvae.
2. **Larval Stage:** This is where inchworms come into play. During this stage, they spend a lot of time eating and growing. This can last anywhere from a few weeks to several months, depending on the species and environmental conditions.
3. **Pupa Stage:** Once the inchworms are fully grown, they find a safe spot to pupate. They create a cocoon or simply attach themselves to a surface where they will transform into moths. This is a critical stage where amazing changes occur.
4. **Adult Stage:** Finally, adult moths emerge from their pupae. At this point, they are ready to reproduce and continue the life cycle. Isn’t it amazing how they start so small and change so dramatically?
By discussing these stages with your students, you can make the observations more meaningful. They can document their findings, draw diagrams, or even journal about their experiences.
Encouraging students to document their observations can enhance their learning experience. You can set up a simple observation log that includes a few key elements:
– **Date and time:** Keeping track of when students observe changes is essential.
– **Drawings:** Students can sketch the inchworms at different stages or even create a time-lapse series of drawings to showcase their metamorphosis.
– **Descriptive notes:** Encourage students to note behaviors, changes in size, and how their inchworms interact with the environment.
For example, they might write, “On Day 3, my inchworm was really active and ate a whole leaf!” This kind of data collection not only helps in learning but also aligns with key scientific practices like observation and documentation.
To spice things up, consider incorporating some fun activities related to inchworm metamorphosis. Engaging students through hands-on learning enhances their understanding and keeps their interest alive.
– **Crafting Cocoons:** Have students create their own cocoons using materials like paper or fabric. They can decorate them and label them with an inchworm lifecycle stage.
– **Inchworm Movements:** Get the students moving! Have them mimic the inchworm’s way of moving by inching forward while arching their bodies. It’s a fun way to understand how inchworms navigate their environment.
– **Storytime:** Read books that feature inchworms or similar topics. Discuss what the students learned from the stories and how they relate to their observations.
These activities will not only reinforce the learning objectives but also promote a fun, interactive classroom environment.
Understanding metamorphosis is more than just observing inchworms; it’s about grasping the broader concept of change in nature. This transformation showcases how organisms adapt to their environment, and it serves as a wonderful metaphor for growth in our own lives.
Here’s the thing: By observing inchworms, students learn patience and the value of nurturing. Just like the inchworm requires care and time to metamorphose, so do our own skills and understanding grow through gradual, intentional effort.
Moreover, exploring metamorphosis can spark discussions about the ecosystem, biodiversity, and the roles different creatures play in our environment. It’s a gateway to understanding not only inchworms but also the interconnectedness of all living things, which is vital in today’s world.
Like any project, observing inchworm metamorphosis may come with its own set of challenges. Here are some common issues and how to handle them:
– **Inchworm is not eating:** If you notice your inchworm isn’t eating, check that the leaves are fresh and suitable for their diet. Sometimes they may also require a specific type of leaf.
– **Temperature issues:** If the container is too hot or cold, inchworms might become inactive or die. Make sure the habitat is in a well-regulated area, away from direct sunlight.
– **Mold growth:** Mold can develop if the environment is too damp. Ensure you’re not overwatering the sponge or towels. A little moisture goes a long way!
By being attentive and responsive to your inchworms’ needs, you can ensure a successful observation experience.
Observing inchworm metamorphosis in the classroom is a delightful way to engage students with nature and science. With a little setup, patience, and creativity, you can create an unforgettable learning experience that sparks curiosity and fosters a love for the natural world. So go ahead, set up your observation station, and watch as these tiny creatures tell their extraordinary story of change!