
To get that stunning shot of an inchworm crawling gracefully on a leaf, you might need to think about your camera setup, lighting, and timing. It’s like playing hide-and-seek, but with a twist—you’re the seeker, and motion is your target. In this guide, I’ll share tips on how to best photograph inchworms and other slow movers, highlighting how to effectively capture their beauty in motion.
Understanding Inchworms: Nature’s Little Movers
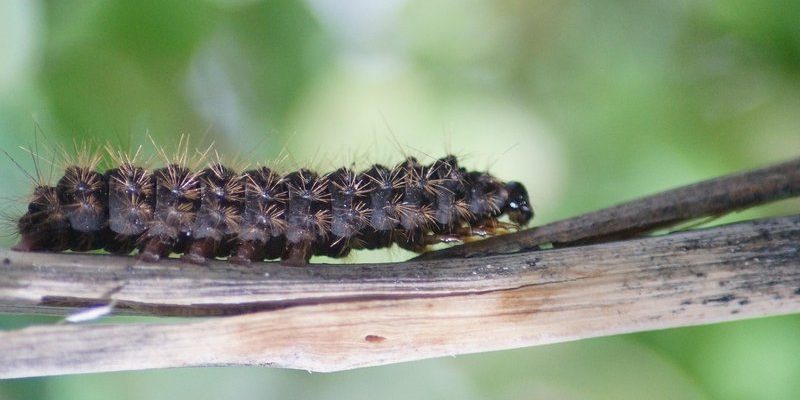
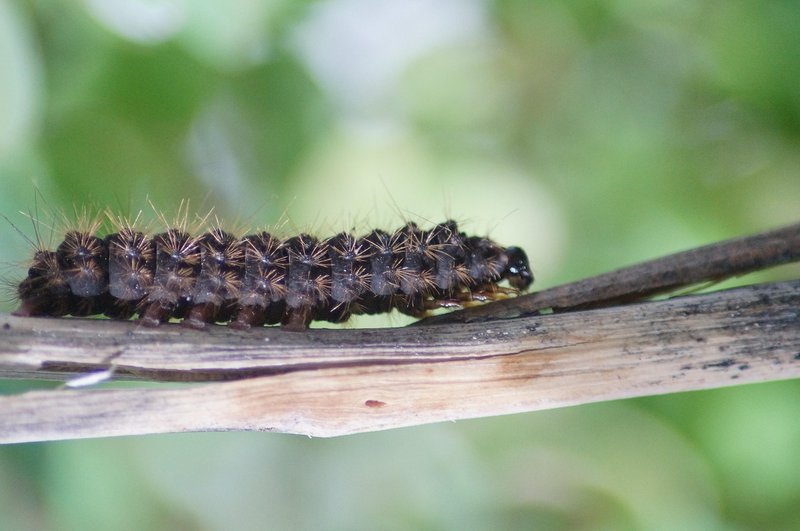
To photograph inchworms, we first need to understand who they are. These fascinating little creatures aren’t just cute; they have a unique way of moving that can be captivating through a lens. Inchworms, usually the larvae of moths, inch along by arching their bodies and pulling themselves forward. This movement creates a gentle swaying effect that can be mesmerizing when caught on camera.
When aiming to photograph these little guys, knowing their behavior is crucial. Inchworms are often found on trees and shrubs, munching on leaves during the day. They tend to blend in with their surroundings, thanks to their green and brown colors. So, spotting one can be a journey in itself, much like searching for rare Pokémon in the wild. If you understand where they like to hang out, you’re one step closer to getting that perfect shot.
Choosing the Right Equipment
You might be wondering, “What gear do I need to capture inchworms?” The truth is, you don’t need a fancy camera. While DSLRs and mirrorless cameras are great, you can also get fantastic shots with compact cameras or even your smartphone. Here’s what to consider when choosing your gear:
- Macro Lens: If you’re using a DSLR or mirrorless camera, investing in a macro lens can help you focus on the inchworms up close. These lenses allow for incredible detail.
- Tripod: A tripod is essential for keeping your camera steady, especially if you’re shooting in low light. It helps you capture clear images without the shake.
- Smartphone Attachments: If you’re using your smartphone, there are clip-on macro attachments available that can help you take close-ups of inchworms without breaking the bank.
Remember, it’s not just about having the most expensive gear. Understanding how to use what you have is equally important.
Picking the Perfect Time and Place
Timing is key in wildlife photography. Inchworms are generally more active during certain times of the day, particularly in the early morning or late afternoon. This is when they’re stretching their tiny bodies out for a meal, which makes for super photogenic moments.
Think about the weather too. Soft, diffused light on overcast days can add a magical quality to your photos, eliminating harsh shadows. If you’re out on a sunny day, try to position yourself so that the sun is behind you, lighting up the inchworm without washing out the colors.
Finding the right spot also matters. Look for areas with plenty of foliage, as inchworms love to hang out on leaves. You may also want to check the underside of leaves, where they often blend in. It’s all about getting in the right position to catch them in action.
Practicing Patience and Observation
Here’s the thing: wildlife photography requires a lot of patience. You’ll often find that inchworms are not going to perform on cue. They move slowly and can be quite shy, especially when they feel threatened. So, embrace your inner zen master and find a comfy spot to settle in.
While you’re waiting, take time to observe their movements. Notice how they inch along, how they occasionally stop and blend into their environment. This not only helps you anticipate their next move but can also lead you to capture beautiful moments of them interacting with their surroundings.
For instance, you might witness an inchworm mimicking a twig as it pauses—a perfect moment for a photo! The more you observe, the more you’ll find yourself in tune with nature.
Mastering Camera Settings for Motion
Now let’s talk about camera settings. Capturing motion, even a tiny inchworm moving slowly, can be tricky. You want to ensure that your camera is set up to capture that motion clearly.
Start with a faster shutter speed, around 1/250 or faster. This helps freeze any unexpected twitches or movements the inchworm makes. If you’re shooting in manual mode, you’ll also want to adjust your aperture to let in adequate light—aim for a mid-range f-stop like f/8 to f/11.
Don’t forget to adjust your ISO as well. On bright days, keep it low (100–200), but if it’s cloudy or you’re shooting in the shade, you might need to bump it up to 400 or more.
Honestly, experimenting with these settings will help you find the perfect balance. The more you practice, the more you’ll feel comfortable adjusting things on the fly.
Composing Your Shot: Finding the Right Angle
Once you’ve got the inchworm in your sights, it’s all about how you frame it. Think about your angle—getting down low to their level can create an engaging perspective that draws viewers in.
Try using the rule of thirds: imagine dividing your frame into a grid of nine squares and placing the inchworm along those lines or at their intersections. This can help create a visually satisfying composition.
You might also want to include some of the surrounding environment in your shot. This gives context and can make the image more dynamic. For example, capturing an inchworm on a leaf with a blurred background of greenery creates depth and interest.
Feel free to experiment! Move around, change your angle, and take multiple shots from different perspectives. The more you play, the better your shots will be.
Post-Processing: Enhancing Your Inchworm Images
Once you’ve captured your inchworm moments, it’s time for some post-processing to really make those photos pop. You don’t need to be a Photoshop wizard for this; there are many user-friendly apps out there that can help you enhance your images.
Start by adjusting the brightness and contrast to bring out the details in the inchworm while keeping the colors vibrant. If you shot in RAW format, you’ll have more flexibility with these adjustments.
Don’t forget about cropping! Sometimes, a slight crop can take an already-good image to the next level. Focus on what you want viewers to see about the inchworm.
Finally, consider adding a subtle vignette to draw attention to the center of your image. This can really help highlight your subject and create a more polished feel overall.
Capturing inchworms in wildlife photography can be a rewarding experience. By following these tips, you’ll not only improve your skills but also gain a deeper appreciation for these fascinating little creatures and the environment they inhabit. So grab your camera, embrace your inner inchworm, and get ready to dive into the wonderful world of wildlife photography!