
So, what exactly does it take to go from inchworm eggs to adults? It’s not as daunting as it sounds! With the right environment, a bit of care, and some knowledge about their needs and behaviors, you can create a habitat that encourages them to flourish. Let me explain how you can transform those little eggs into vibrant inchworms and eventually into stunning adult moths.
Understanding Inchworm Life Cycle
Before we dive into the nitty-gritty of raising inchworms, it’s essential to grasp their life cycle. Inchworms begin as eggs, usually laid on the leaves of trees or shrubs. Once those eggs hatch, tiny larvae emerge and start munching on leaves. As they grow, they go through several molts, shedding their skin to accommodate their increasing size. This growth continues until they reach their final stages, where they transform into pupae and, ultimately, adult moths.
Here’s the basic breakdown of the life cycle:
- Eggs: Tiny and usually laid in clusters.
- Lava/Inchworm: The stage where they feed and grow. This is what most people think of when they hear “inchworm.”
- Pupa: A transitional phase where they develop into moths.
- Adults: They emerge as moths, ready to reproduce and start the cycle over again.
Each stage is crucial, and understanding them will help you provide the best care for your inchworms.
Setting Up the Perfect Habitat
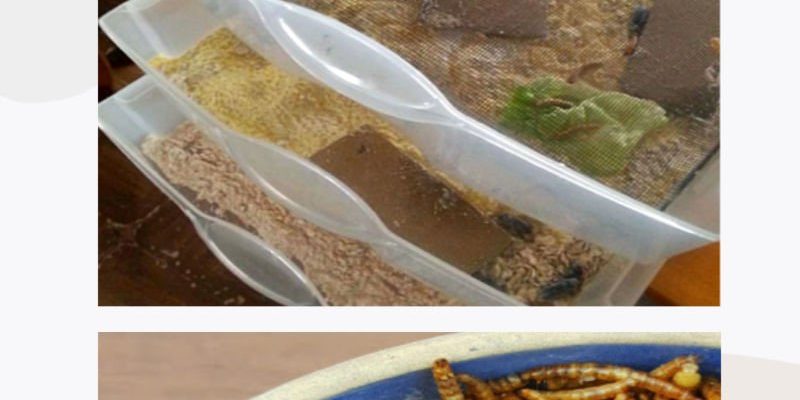
Creating a comfortable home for your inchworms is essential for their growth. Think of it as setting up a cozy apartment where they can thrive. You’ll need a suitable container—something like a small terrarium or even a large jar will do. Just make sure it has good ventilation because inchworms need air to breathe.
Next, consider what to include in their habitat:
- Fresh Leaves: Inchworms love to munch on leaves. Oak, maple, and fruit tree leaves are great choices. Just ensure the leaves are free from pesticides.
- Moisture: Keeping the environment slightly damp (but not soggy) is important. You can mist the leaves gently with water every few days.
- Temperature: A room temperature environment is ideal. Inchworms can be sensitive to extreme heat or cold, so keep them away from direct sunlight.
By providing a suitable habitat, you’re giving your inchworms the best chance at a happy life.
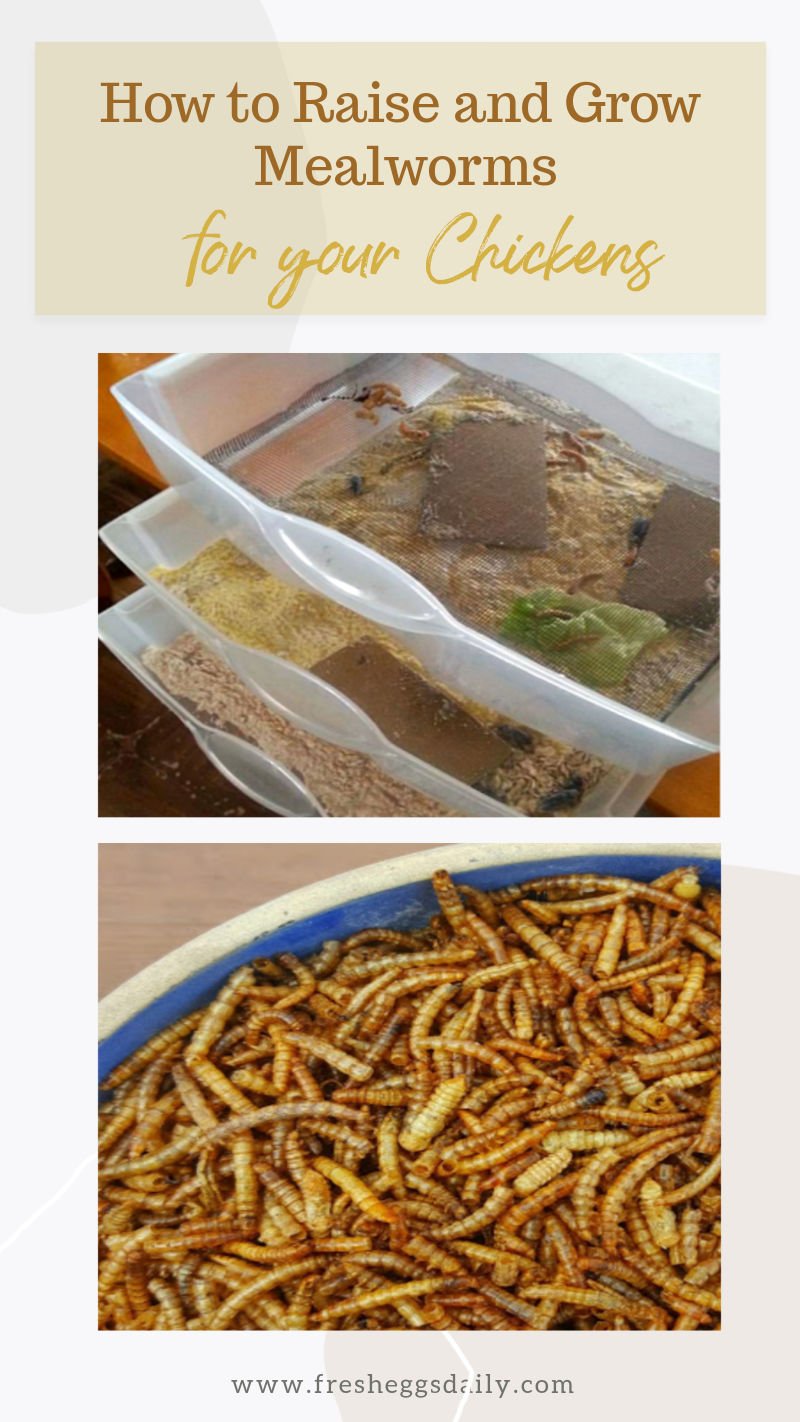
Feeding Inchworms: What Do They Eat?
When it comes to feeding your inchworms, think of them as little diners with a hunger for greens. Their diet mainly consists of fresh leaves, and it’s important to provide a steady supply. Young inchworms will munch on leaves whole, while older ones may prefer larger pieces.
Here’s how to ensure your inchworms are well-fed:
- Offer Variety: Rotate different types of leaves to prevent boredom. They may enjoy oak one day and preference apple the next!
- Remove Old Leaves: Regularly check for any withered or moldy leaves and replace them to keep the habitat clean and healthy.
- Watch for Feeding Signs: If they’re not eating, or if they seem lethargic, it might be a sign that something’s off. They should be active and nibbling on the leaves.
Keeping your inchworms fed and happy will support their growth and development.
Handling Common Problems
Like any other pet, inchworms come with their own set of challenges. You might be wondering, “What if my inchworms look sick?” or “What if they aren’t growing?” It’s okay; these are common concerns. Here are a few issues you might face and how to tackle them.
Firstly, if your inchworms are turning brown, it could be a sign of dehydration or too much heat. Make sure they’re in a cool, shaded area and that the habitat is slightly moist.
Secondly, if you notice that they aren’t eating, check the leaves. Old or bad leaves can turn them off their food. Fresh produce is essential for keeping their appetite up.
Lastly, overcrowding can be a problem. If you notice a lot of inchworms in your container, it might be time to split them into another habitat. They can be territorial and may not thrive when together.
Preparing for the Pupa Stage
Once your inchworms have matured, they will enter the pupa stage. This is a fascinating time as they prepare to transform into adult moths. To facilitate this metamorphosis, you need to provide them with a cozy spot to hang out.
Here’s what you can do:
- Move Them to a New Container: It’s best to transfer them into a larger container with soft tissue or paper for them to attach themselves.
- Keep It Dark: As they prepare to pupate, a dim environment can help reduce stress.
- Be Patient: This stage can take a while, so give them time and maintain the right conditions.
When they finally emerge, you’ll witness the magic of transformation!
Watching Your Inchworms Become Adults
After the pupal stage, it’s all about watching your inchworms bloom into beautiful moths. Once they break free, they’ll initially be soft and vulnerable. They need to pump fluid into their wings to expand—this is one of those magical moments you won’t want to miss!
Keep in mind that:
- They Might Not Fly Right Away: Give them time to dry and strengthen their wings before attempting to fly.
- Feeding: Once they’re ready, provide them with sugary water or fruit to help them regain strength.
- Releasing Them: If you plan to release your adult moths, wait until it’s cooler outside, as they tend to be sensitive to the sun.
Watching them grow from tiny eggs to full-grown moths is a truly rewarding experience that connects you with nature.
Raising inchworms from eggs to adults is not just a fun project; it’s an engaging way to learn about nature and the life cycles of insects. Honestly, there’s something incredibly satisfying about nurturing these little beings and witnessing their incredible transformation.
So grab some eggs, set up a cozy habitat, and start your journey. The next time you spot an inchworm inching along, you’ll remember the journey you took with them—from tiny eggs to fluttering moths. It’s a reminder of the beauty and complexity of life right in your own backyard!