
Just like a musician needs to know their instrument, a photographer needs to understand their camera. You can get stunning shots of glow worms with the right settings, whether you’re armed with a sophisticated DSLR or a solid mirrorless camera. Let’s dive into the nitty-gritty of the best camera settings for this enchanting photography niche.
Understanding Glow Worms and Their Environment
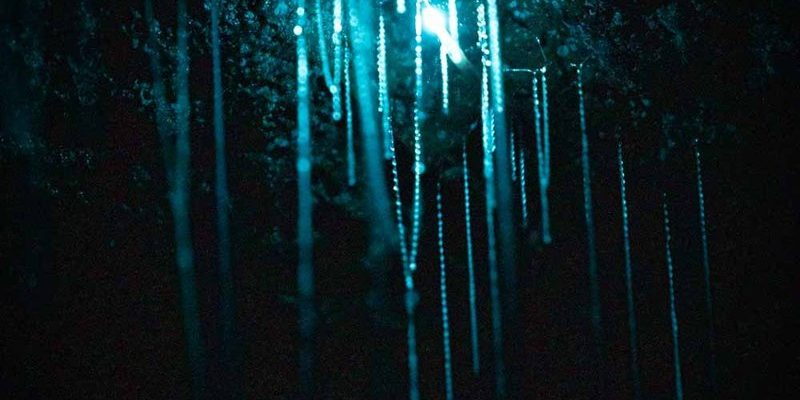
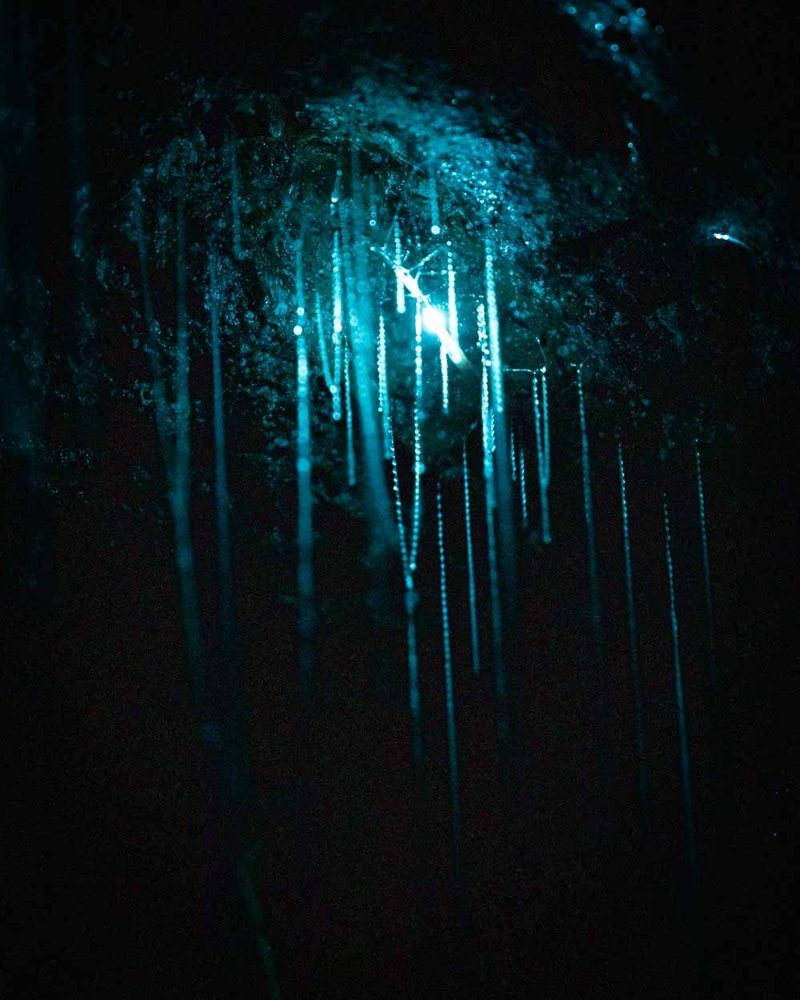
Before we dig into the settings, it helps to know what you’re working with. Glow worms are the larvae of beetles, particularly from the Lampyridae family, and they emit light to attract prey. This light isn’t just some whimsy; it serves a purpose in nature. When you’re out snapping photos, you’ll want to create an atmosphere that highlights their glow.
Typically found in damp, dark places like caves or rainforests, glow worms thrive in wet conditions. When heading out, think about the location. You’ll need a spot that’s relatively free from distractions—like too much artificial light. The natural darkness accentuates the glow and makes for a great backdrop. Here’s the thing: the night sky can be noisy with other light sources, so finding a secluded area will make all the difference in your shots.
Choosing the Right Camera and Lens
Choosing the right camera for glow worm photography isn’t just about having the latest model. Most modern DSLRs or mirrorless cameras work well, but a camera with good low-light capabilities is key. Cameras with larger sensors usually handle low light better, producing cleaner images with less noise.
As for lenses, a wide aperture lens (like f/1.8 or lower) is your best friend. It allows more light in, which is particularly useful when photographing in dark environments. Consider using a macro lens if you want to get close-up shots. These lenses can capture the intricate details of the glow worms’ luminescent bodies. If you’re using a smartphone, look for apps that allow for manual adjustments, as they can help you tweak settings like exposure time and ISO.
Setting Up Your Shots
Now that you have your camera and lens, let’s dive into the settings you need. First off, put your camera on manual mode. This setting gives you full control over the exposure. Here’s a simple breakdown:
– Aperture: Set this to a wide opening (like f/1.8 to f/4). A wider aperture allows more light, which helps capture the glow.
– Shutter Speed: Since glow worms are stationary, you can afford to use a slower shutter speed—around 1 to 30 seconds depending on how bright the glow is. The longer the exposure, the more light it collects, but be careful of getting too much light, which can wash out your images.
– ISO: Start low (around 800-1600) to avoid noise, then gradually increase if the photos are too dark. Just remember, higher ISOs can make your photos grainy, so use this as a last resort.
Setting your camera on a tripod is essential here, too. With long exposure times, any shake can make for a blurry image. A tripod will keep everything steady, ensuring sharp and clear photos of those glowing beauties.
Focusing Techniques for Glow Worm Photography
Focusing can be tricky in low-light situations. Here’s how to nail it:
– Manual Focus: Autofocus can struggle in dark settings, so manual focus is usually the way to go. Look for the faintest signs of light and gently adjust the focus until the glow worms are sharp.
– Use a Flashlight: To help with focusing, shine a small flashlight on the glow worms for a brief moment. Once you’ve locked the focus, switch off the light before taking the shot. This little trick helps ensure you’re capturing the glow without interference.
While shooting, consider taking test shots to see if the focus is right. You might be wondering how to know if your focus is spot on; make sure to check your images on the camera’s display!
Post-Processing Your Images
After capturing your shots, most of the fun occurs during post-processing. Even the best shots can often use a little tweaking. Here are a few tips to enhance your glow worm photos:
– Adjust the Exposure: Sometimes, your glow worms may need a little more pop. Use software like Lightroom or Photoshop to brighten the glow without losing the dark surroundings.
– Reduce Noise: If you had to crank up the ISO, your images might look grainy. Use noise reduction tools to smooth things out.
– Highlight the Glow: Adding contrast can really make the glow stand out against the dark backdrop. Gently increase contrast to deepen the shadows and enhance the light.
– Crop Smartly: Don’t be afraid to crop your shots for a more intimate feel. Focusing on the glowing worms helps pull the viewer’s eye directly to the subject.
Remember, every photo can be improved. Don’t hesitate to experiment with different settings during post-processing to find what works best for you.
Common Challenges and Troubleshooting Tips
Glow worm photography can present several challenges, but don’t let that discourage you. Here are a few common issues and how to solve them:
– Overexposed Images: If your images are too bright, try reducing the exposure time or lowering the ISO. Sometimes, just a slight adjustment can bring everything back into balance.
– Blurry Photos: If your images are coming out fuzzy, check if your tripod is stable and your focus is locked. Also, make sure to use a remote shutter release or your camera’s timer to minimize shake.
– Not Enough Glow: If the glow isn’t as pronounced as you’d hoped, consider adjusting the aperture or using a longer exposure time to capture more light.
If you find yourself struggling with your remote settings, make sure to check the battery and connection to ensure everything syncs up properly. The right troubleshooting can save a night of hard work!
Final Thoughts on Glow Worm Photography
Capturing the enchanting glow of glow worms is a rewarding experience that requires patience and practice. Armed with the right camera settings, a bit of creativity, and some knowledge, you can create stunning images that bring out their natural beauty.
So grab your camera, head out to a dark spot, and let the magic unfold. Remember, photography is all about experimenting and learning. With each shot, you’ll discover more about what makes these tiny creatures shine. Happy shooting!