
Think of sterilizing live rock as giving your aquarium a refreshing spring cleaning. Just as you’d tidy up your living space to make it comfortable, you need to ensure that your live rock is free of nuisances that could harm your fish. We’ll guide you through this process step-by-step, making sure you feel confident and informed. So, pour yourself a cup of coffee, and let’s dive in!
Understanding Worm Infestations in Live Rock
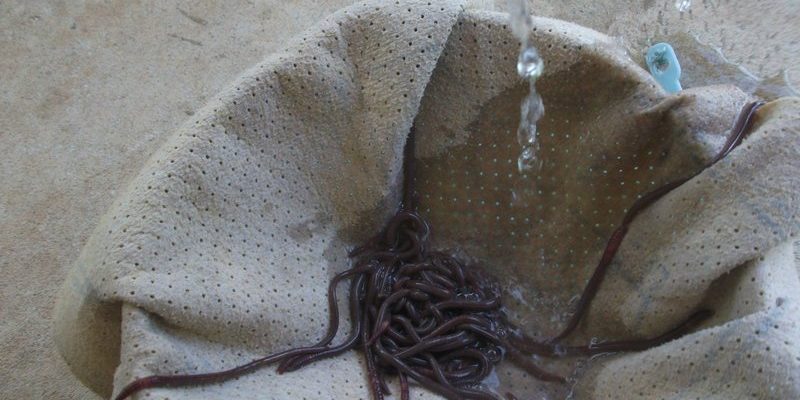
Worm infestations in live rock can be frustrating. These critters often thrive in the porous surfaces of the rock, creating homes where they can multiply. You might be wondering, “How did I end up with worms in my aquarium?” Well, these can hitch a ride on new rock purchases or even be introduced through fish or corals. While some worms can be beneficial, others can be destructive, consuming valuable resources or harming delicate coral species.
Common types of worms found in live rock include bristle worms and flatworms. Bristle worms are generally harmless scavengers, while flatworms may compete with your other aquarium inhabitants for food. If you notice worms outnumbering other life forms or causing stress to your fish, it’s time to take action. Sterilizing your live rock can help restore balance in your underwater paradise.
Gathering Your Supplies for Sterilization
Before diving into the sterilization process, you’ll need to gather a few supplies. Here’s a handy list to make sure you have everything on hand:
- Container: A large bucket or container to soak the rock.
- Hydrogen peroxide: A common household disinfectant that will help eliminate unwanted organisms.
- Water: Clean, dechlorinated water is crucial for rinsing.
- Brush: A soft-bristled brush to gently scrub the rock.
- Protective gloves: It’s always wise to protect your hands when dealing with chemicals.
Having everything ready will streamline the process and prevent any interruptions. Make sure you’re working in a well-ventilated area and are prepared to give yourself some time to fully complete the task.
Step-by-Step Sterilization Process
Now let’s break down the sterilization process into manageable steps. You may be nervous about diving in, but with each step, you’ll gain confidence.
Step 1: Prepare the Hydrogen Peroxide Solution
Start by mixing a solution of hydrogen peroxide and water. A good ratio is one part hydrogen peroxide to three parts water. This combination is effective at cleaning without damaging the rock. You might be thinking, “Is this safe for my live rock?” Yes, it is! Just be sure to rinse thoroughly later.
Step 2: Soak the Live Rock
Place your live rock in the container and pour the hydrogen peroxide solution over it. Make sure the rock is fully submerged. Let it soak for about 10–15 minutes. This duration allows the solution to work its magic by killing off unwanted pests and bacteria. You might notice bubbling—that’s the hydrogen peroxide breaking down contaminants!
Step 3: Scrub the Rock
After soaking, use your soft-bristled brush to gently scrub the rock. Focus on crevices where worms and other pests might be hiding. The goal is to remove any visible signs of infestation. Remember to wear your protective gloves during this process!
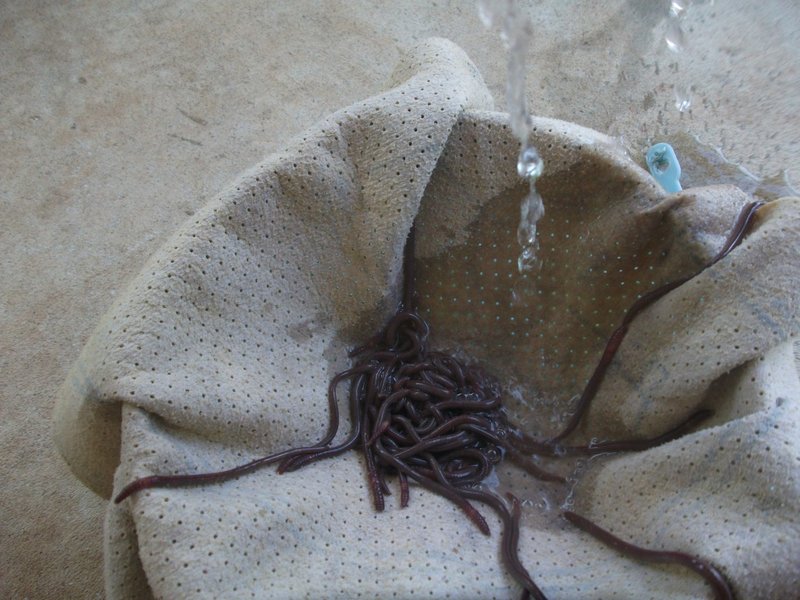
Step 4: Rinse Thoroughly
Once you’ve finished scrubbing, it’s time to rinse the rock. Use clean, dechlorinated water to wash away any remaining hydrogen peroxide and any dead organisms. This step is crucial because leftover chemicals can harm your aquarium inhabitants.
Drying and Reintroducing the Live Rock
After rinsing, it’s best to allow the live rock to dry completely. This step not only ensures that any remaining contaminants are eliminated but also allows beneficial microbes to re-establish themselves. Place the rock in a dry area, ideally in natural sunlight, for at least a few hours. The sunlight can help in the drying process, making your rock ready for reintroduction.
Once the rock is dry, you can safely place it back into your aquarium. Just make sure to monitor your tank closely for any signs of re-infestation. This vigilance will help maintain the health of your aquatic ecosystem.
Preventing Future Infestations
Now that you’ve successfully sterilized your live rock, you might be wondering how to prevent future worm infestations. Here are some practical tips:
- Quarantine New Purchases: Always quarantine new fish and corals before introducing them into your main aquarium. This step will reduce the risk of bringing in any unwelcome pests.
- Regular Maintenance: Regularly check your live rock for any signs of infestation. Quick action can prevent a small problem from becoming a larger one.
- Maintain Water Quality: Keeping your water parameters stable will help your tank’s ecosystem thrive and discourage unwanted pests.
By incorporating these practices, you can enhance your aquarium’s health and reduce the likelihood of future infestations.
When to Seek Professional Help
Sometimes, despite your best efforts, the infestation can be too severe for a simple DIY approach. If you notice:
- A substantial increase in pest populations.
- Signs of distress in your fish or corals.
- Persistent problems after multiple treatments.
It may be time to consult with a professional aquarist or a local aquarium store for advice. They can provide you with tailored solutions or recommendations for treatments that you might not have considered.
Wrapping Up
Sterilizing live rock suspected of a worm infestation may sound intimidating, but breaking it down into manageable steps can make it feel like a breeze. Plus, once you understand the process, you can keep your tank healthy and vibrant, ensuring a happy home for your aquatic friends.
Remember, prevention is key. Keeping a watchful eye on your tank, regular cleaning, and being cautious with new additions will help maintain the balance in your underwater ecosystem. With a little effort, you can ensure your aquarium remains a thriving paradise. Happy fishkeeping!