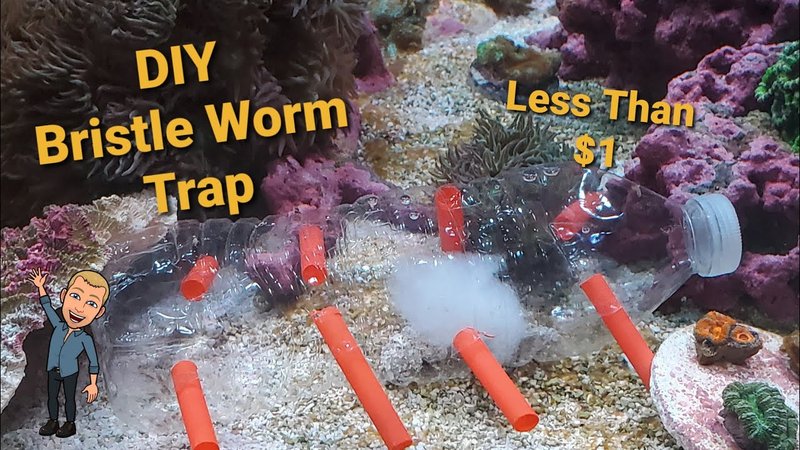
Dealing with hammerhead worms doesn’t have to be a hassle. In fact, with a little bit of creativity, you can craft some effective *DIY traps and baits* right in your own backyard. Think of it as a bit of pest control crafting that could save your favorite plants from being turned into worm snacks. Let’s dive into how you can outsmart these intriguing yet pesky critters without resorting to heavy-duty pesticides.
What Are Hammerhead Worms?
Before we jump into traps and baits, let’s understand these worms better. *Hammerhead worms*, scientifically known as *Bipalium kewense*, are flattened and can grow up to a foot long. They are usually brown or gray, with a distinctive head that resembles a hammer. You might spot them slinking through moist areas in your garden, especially at night. These worms are predators primarily feeding on earthworms and other small invertebrates. So, if you’re hoping to keep your soil healthy, you definitely want to manage their population.
Here’s the thing: hammerhead worms can reproduce through fragmentation. This means that if you cut one in half, both halves might grow into separate worms! Sounds wild, right? That’s why just picking them off isn’t always effective. You need a strategic approach to tackle these guys effectively and ensure they don’t return to wreak havoc again.
Why DIY Traps and Baits?
You might wonder why go the DIY route instead of purchasing ready-made solutions. The truth is, creating your own traps and baits can be an affordable and eco-friendly approach. Plus, it lets you use ingredients you probably already have at home. Think of it as a fun weekend project that not only engages your creativity but also protects your beloved plants.
DIY solutions can be tailored to fit your specific garden environment. For instance, if you have pets or kids, you’d want to steer clear of harmful chemicals. Making your own traps and baits allows you to control what goes into them, ensuring safety without sacrificing effectiveness.
Gather Your Materials
To get started, you’ll need some basic materials. The good news? You probably have most of them lying around your house. Here’s a quick list to gather:
- Shallow containers (like plastic bowls or jars)
- Fresh fruit (bananas are a hit!)
- Beer or a mixture of sugar and water
- Garden soil or compost
- Cardboard or newspaper for traps
Once you have everything, you’re ready to get your hands dirty! Using these common items not only saves you money but also gets you in touch with nature as you work on your gardening skills.
Creating Basic Bait
Let’s start with some simple baits. One effective bait involves using ripe bananas. Hammerhead worms are attracted to the strong scent of decaying fruit. Here’s how to set it up:
1. **Cut the Bananas**: Slice a banana into chunks and place them in your shallow container.
2. **Add Water**: Pour a bit of water over the banana pieces to keep them moist and attract the worms.
3. **Placement**: Set the container in areas where you’ve seen the worms. Their natural curiosity will do the rest!
Another effective bait option is a mixture of sugar and water. Mix about two tablespoons of sugar in a cup of water, then pour it into your containers. The sweetness lures them in, and once they’re in, they find it hard to escape.
Making a Simple Trap
Now, let’s talk traps. A simple trap can be made using cardboard or newspaper. This is a classic method that many gardeners swear by. Here’s how you do it:
1. **Wet the Cardboard**: Moisten the cardboard or newspaper to make it appealing to the worms.
2. **Placement**: Lay it flat on the ground where you’ve noticed worm activity.
3. **Check Regularly**: Return after a few hours. The worms will be attracted to the dampness and will gather underneath.
Once you’ve collected a good number of worms, simply dispose of them far away from your garden. Remember not to toss them in your compost pile, as they’ll just make their way back!
Using Beer as a Trap
Believe it or not, beer can be an excellent weapon against hammerhead worms! Worms are drawn to the yeast in beer, so why not use that to your advantage? Here’s how:
1. **Dig a Hole**: Find an area where you’ve seen worms and dig a small hole.
2. **Place a Container**: Set a container (like a small bowl) into the hole so the rim is level with the ground.
3. **Fill with Beer**: Pour beer into the container, leaving some space at the top.
4. **Check It Daily**: Over time, the worms will crawl into the beer and drown. You can replace the beer every few days to keep the trap effective.
This method is easy, and it might even give you a chuckle as you think about worms enjoying their “last drink!”
Monitoring Your Success
Once you’ve got your traps and baits set up, monitoring their effectiveness is key. Check your DIY solutions daily. If you’re catching worms, that’s fantastic! If not, consider adjusting your bait or trap placement.
It’s also helpful to keep a garden journal where you can note down the spots where you’ve had success. This way, you can more easily target problem areas in the future. Plus, it’ll help you track the changes in your garden and how your plants react to the treatments.
Final Tips for Hammerhead Worm Control
Dealing with hammerhead worms can feel overwhelming, but remember that consistency is crucial. Here are a few additional tips to keep in mind as you move forward with your traps and baits:
– **Regular Maintenance**: Continually check and replenish your traps. This keeps them fresh and appealing to the worms.
– **Observe Your Environment**: Keep an eye on moisture levels in your garden; hammerhead worms thrive in damp conditions.
– **Avoid Chemicals**: Stick to natural solutions to keep your garden healthy for plants, pets, and beneficial creatures.
In the grand scheme, hammerhead worms may be just another garden challenge, but with your newfound knowledge of DIY traps and baits, you’re well-equipped to handle it. Remember to enjoy the process and appreciate the little moments—like finding a worm in your trap! It’s all part of the gardening adventure.
By taking these proactive steps, you’ll protect your plants and regain control over your garden ecosystem. Happy gardening!

