
In a nutshell, live rock dipping involves submerging your live rock in a specific solution for a brief time. This process can help remove the bristle worms and, if done right, it won’t harm the beneficial microorganisms that also call your rock home. It’s essential to choose the right dipping solution, and many aquarium enthusiasts prefer using products designed specifically for this purpose. Brands like **Seachem** and **ADA** make popular options that can safely treat your rock without harming the overall ecosystem in your tank.
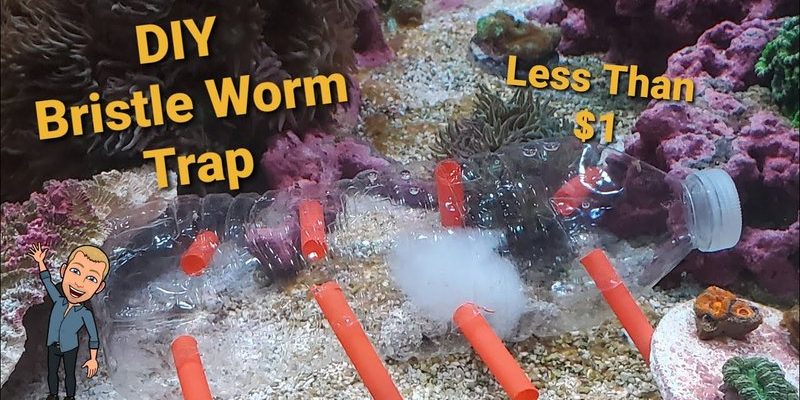
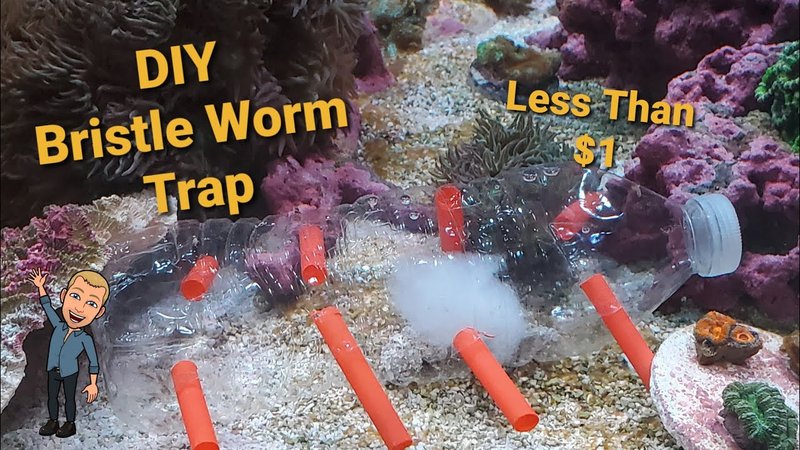
What Are Bristle Worms and Why Should You Care?
Bristle worms are tube-dwelling annelids, and they thrive in marine environments. They’re often considered a nuisance because they can reproduce quickly, leading to an explosion of their population. You might see them poking out from your live rock or scuttling across the substrate during feeding times. While they’re generally not harmful, a large population can lead to issues like algae blooms and competition for food with your other tank inhabitants.
Here’s the thing: **not all bristle worms are bad**! Some are actually beneficial, helping to clean up detritus and other waste. But when they start taking over, they can disrupt the balance in your aquarium. That’s why it’s essential to keep their numbers in check. If you notice an uptick in their population, it might be time for some proactive measures, like live rock dipping.
How Do You Prepare for Live Rock Dipping?
Before you dive into the live rock dipping process, you’ll want to gather some supplies. Here’s a quick checklist:
- **Dipping solution**: This could be a commercially available dip designed for aquarists.
- **A bucket**: You’ll need this to hold the solution and the live rock.
- **A small brush**: For gently scrubbing off any stubborn worms or debris.
- **A timer**: To keep track of how long your rock is in the dipping solution.
Make sure you choose a **safe and effective dipping solution**. Check the label to ensure that it’s suitable for use with live rock and won’t harm any of the beneficial critters living on it. Products like Seachem Coral Dip or D-D Aquascape are great options that many experienced aquarists trust.
Step-by-Step Guide to Live Rock Dipping
Now that you have your supplies ready, let’s walk through the live rock dipping process step by step.
Step 1: Mix Your Dipping Solution
Follow the instructions on your dipping solution to prepare the right concentration. Most products will require you to mix a specific ratio of the solution with water. It’s important to use **fresh, clean water**—ideally, it should be saltwater mixed to match the typical salinity of your aquarium.
Step 2: Dip and Shake
Place the live rock into the bucket containing your dipping solution. Make sure it’s fully submerged. Gently **agitate the rock** in the solution, shaking it lightly to dislodge any worms. You might see some critters starting to come loose, and it can be quite satisfying! Use a small brush to scrub off any stubborn spots if needed.
Step 3: Timing Is Key
It’s crucial to time how long you leave the live rock in the solution. Most dips recommend around 5 to 10 minutes. You don’t want to leave it too long, as that could harm beneficial life forms. Set your timer and keep an eye on the rock during this period.
Step 4: Rinse and Return
Once the time is up, remove the live rock from the solution and rinse it thoroughly in **clean, saltwater**. This helps wash away any remaining dip solution and any loose bristle worms that might still be clinging on. After rinsing, it’s time to put the live rock back in your aquarium.
What Are the Risks of Live Rock Dipping?
While live rock dipping is a great way to manage bristle worm populations, it’s not without risks. Here are a few things to keep in mind:
– **Harm to Beneficial Organisms**: You might accidentally kill off some of the helpful microorganisms living on your rock, especially if you leave it in the solution too long.
– **Stress to Live Rock**: The abrupt change in environment might stress the rock itself. If possible, try to keep the dipping solution as close to your tank’s parameters as you can.
– **Residual Chemicals**: Always rinse thoroughly. Leaving any dipping solution in contact with the rock can be harmful to your aquarium’s ecosystem.
It’s a bit of a balancing act. You want to remove the bad while preserving the good. So, approach the process with care.
Alternatives to Live Rock Dipping
If live rock dipping feels a bit too intense for you, there are other methods for managing bristle worms. Here are a couple of alternatives:
- **Manual Removal**: Using a pair of tweezers or your fingers (with gloves!) to remove visible bristle worms can be simple and effective. This method requires patience, but it’s a way to directly target what you want to eliminate.
- **Predatory Fish**: Certain fish, like **wrasses**, are known to eat bristle worms. Introducing one of these species can help keep their population in check naturally.
Just remember, every option has its pros and cons. It’s all about finding what works best for your setup and comfort level.
Wrapping It All Up
So there you have it! Live rock dipping is an effective strategy to eliminate bristle worms while maintaining the health of your aquarium. Whether you decide to take the plunge or explore some alternatives, what’s most important is striking a balance between keeping unwanted invaders at bay and nurturing the vibrant ecosystem you’ve created. Think of it like maintaining a garden—you want to remove the weeds without harming the flowers. Happy dipping, and may your aquarium thrive!